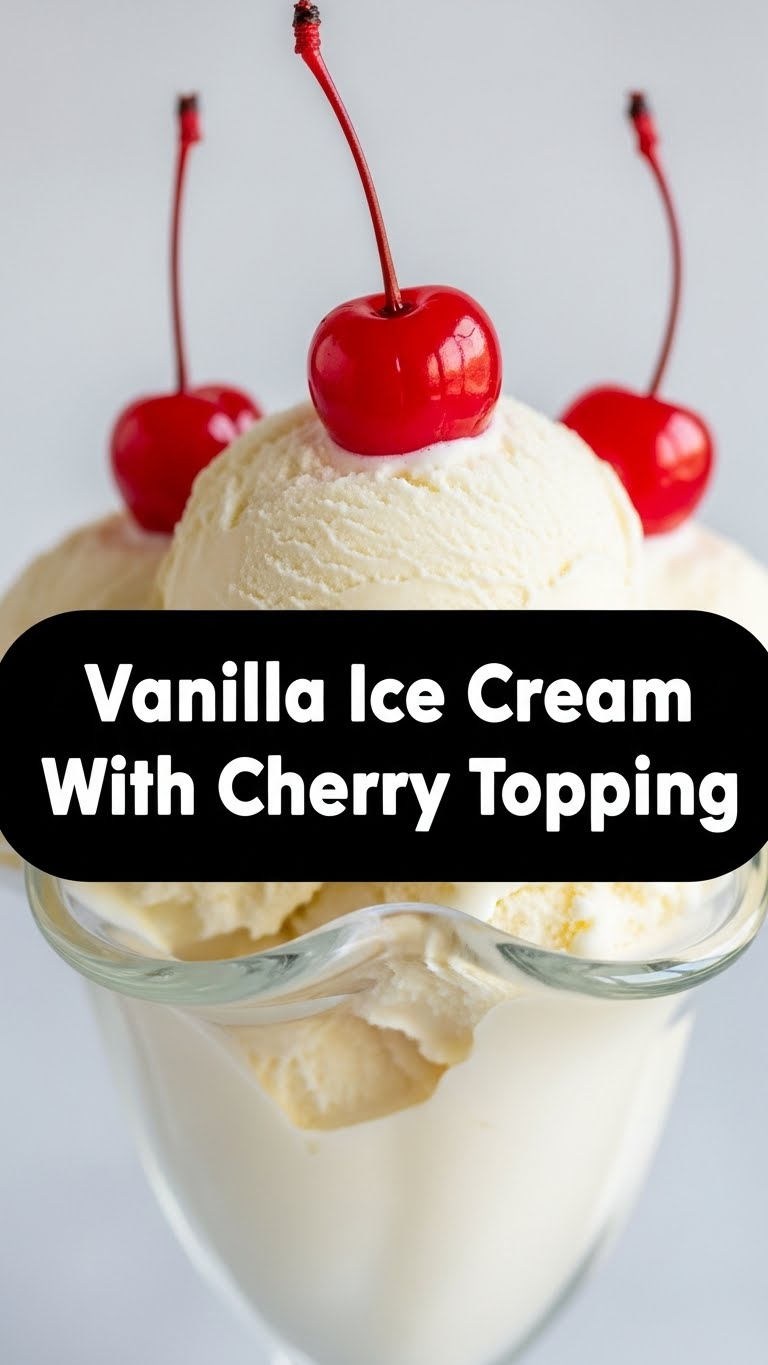
Okay, let’s be real. You’ve scrolled through enough fancy food blogs with ingredients you can’t pronounce and steps that require a culinary degree. You’re here because you want something outrageously delicious, relatively easy, and that screams “I tried… but not too hard.” Am I right? High five! Because today, we’re diving headfirst into the creamy, dreamy world of homemade Vanilla Ice Cream with a ridiculously good Cherry Topping. Forget store-bought; your taste buds are about to thank you profusely.
Why This Recipe is Awesome
Why, you ask? Oh, let me count the ways! First off, it’s virtually idiot-proof. Seriously, if I can pull this off without setting the kitchen on fire (a common occurrence, FYI), you’re golden. Secondly, the sheer satisfaction of making your own ice cream is unparalleled. You’ll be like, “Yeah, I just whipped up this gourmet dessert from scratch, no big deal.” And finally, it’s summer (or wish-it-was-summer), and what’s better than cool, creamy vanilla mingling with tart, sweet cherries? Nothing, that’s what. Plus, it’s way cheaper and tastes a million times better than anything from the freezer aisle. You’re welcome.
Ingredients You’ll Need
Time to raid the pantry! Don’t worry, nothing too exotic here. We’re keeping it simple and delicious.
For the Seriously Good Vanilla Ice Cream:
- 2 cups Heavy Cream: The star of the show! Go full-fat, baby. This isn’t the time for ‘light’ anything.
- 1 cup Whole Milk: Team player, helps with the texture.
- ¾ cup Granulated Sugar: Sweetness factor. Adjust if you like it less sweet, but don’t go crazy.
- Pinch of Salt: Don’t skip this! It really makes the vanilla flavor pop. Trust me on this one.
- 1-2 teaspoons Pure Vanilla Extract: The absolute MVP. Splurge on the good stuff if you can. It makes ALL the difference. Think of it as investing in your happiness.
For the Killer Cherry Topping:
- 2 cups Fresh or Frozen Cherries: Pitted, obviously. Unless you enjoy dental work, which, no judgment, but also, no. Frozen works just as well and is usually cheaper!
- ¼ cup Granulated Sugar: Or a little more/less, depending on the sweetness of your cherries and your sweet tooth.
- 1 tablespoon Lemon Juice: Brightens everything up and cuts through the sweetness. Essential!
- 1 tablespoon Water: Just to get things simmering.
- ½ teaspoon Almond Extract (optional, but highly recommended): Elevates the cherry flavor to a whole new level. Seriously, try it. It’s a game-changer.
Step-by-Step Instructions
Alright, apron on (or not, we’re friends here), let’s get cooking! This is where the magic happens.
Making the Creamy Vanilla Ice Cream:
- Whisk it Good: In a large bowl, whisk together the heavy cream, whole milk, granulated sugar, and that tiny pinch of salt until the sugar is dissolved. You don’t want grainy ice cream, do you? No.
- Vanilla Time: Stir in the pure vanilla extract. Give it a good sniff; smells amazing, right?
- Chill Out: Cover the bowl and chill the mixture in the fridge for at least 2 hours, or even better, overnight. This is crucial for that super creamy texture! Don’t skip this, I’m watching you.
- Churn, Baby, Churn: Once thoroughly chilled, pour the mixture into your ice cream maker and churn according to the manufacturer’s instructions. This usually takes about 20-25 minutes until it’s soft-serve consistency.
- Freeze to Perfection: Transfer the soft ice cream to an airtight container and freeze for another 3-4 hours (or overnight) until firm. Resist the urge to eat it all straight from the churn. It’s tough, I know.
Whipping Up the Killer Cherry Topping:
- Simmer Down: In a small saucepan, combine the pitted cherries, sugar, lemon juice, and water. Bring it to a gentle simmer over medium heat.
- Bubble Away: Let it simmer for about 5-10 minutes, stirring occasionally, until the cherries have softened and released their juices, and the sauce has thickened slightly. If using fresh cherries, this might take a bit longer.
- Flavor Boost (Optional but awesome): Remove from heat and stir in the almond extract, if you’re using it. Oh my, the aroma!
- Cool Off: Let the cherry topping cool completely before serving. You can even make this a day or two ahead and store it in the fridge. It actually tastes even better chilled!
Common Mistakes to Avoid
Because nobody’s perfect, and we’ve all been there! Learn from my mishaps, people.
- Not Chilling Your Base Enough: This is a biggie! If your ice cream base isn’t ice-cold before churning, your ice cream will be icy, not creamy. It’s like trying to run a marathon without stretching – you’re just asking for trouble.
- Skipping the Salt: A tiny pinch makes a huge difference in enhancing flavor. Without it, your vanilla can taste a bit flat. Don’t be a hero, add the salt!
- Over-churning: While it sounds counter-intuitive, churning too long can actually incorporate too much air or make your ice cream too stiff too fast, affecting the texture. Follow your machine’s instructions!
- Not Pitting Cherries: Seriously? Unless you’re planning a trip to the dentist, get those pits out. Your teeth (and friendships) will thank you.
- Eating It All At Once: Okay, maybe not a “mistake” per se, but pacing yourself means more deliciousness for later. Just sayin’.
Alternatives & Substitutions
Feeling adventurous? Or just missing an ingredient? No worries, we can totally roll with it!
- Milk Swap: While I highly recommend whole milk and heavy cream for ultimate creaminess, you *could* technically use half-and-half if that’s all you have. Just know it might be slightly less rich. But hey, it’ll still be good!
- Sugar Saga: Want to use honey or maple syrup instead of granulated sugar? You totally can, but the flavor will change, and you might need to adjust the quantity. Start with less and taste as you go.
- Vanilla Varieties: No pure vanilla extract? Vanilla bean paste or even a scraped vanilla bean will work wonderfully and give you those gorgeous speckles. Don’t use imitation vanilla if you can help it; your ice cream deserves better.
- Cherry Change-up: Not a cherry fan (gasp!)? You could totally swap them for raspberries, blueberries, or mixed berries for the topping. The method remains the same, just adjust sugar for tartness. Imagine a blueberry-lemon topping? Yum!
- Boozy Cherries (for the grown-ups): Add a splash of kirsch (cherry brandy) or a nice bourbon to your cherry topping after it’s cooked and off the heat. Trust me, it’s a revelation. Just a tablespoon or two!
FAQ (Frequently Asked Questions)
Got questions? I’ve got (casual and hopefully helpful) answers!
- Do I *really* need an ice cream maker? Well, for the absolute best, creamiest result, yes. There are no-churn methods, but they usually involve condensed milk and whipped cream, which is a different (though also delicious) beast. If you’re serious about ice cream, an ice cream maker is a worthy investment!
- Can I use skim milk? Can you? Yes. Should you? My friend, please don’t. It’ll be icy and sad. Go for the full-fat goodness; your soul will thank you.
- My ice cream is too hard, what gives? Probably not enough fat, or it’s been in the freezer for too long. Let it sit out on the counter for 10-15 minutes before scooping. Patience is a virtue!
- How long does the ice cream last? In an airtight container, it’ll be good for about 2 weeks. But let’s be honest, it probably won’t make it past 2 days.
- Can I make the cherry topping spicier? Oh, you rebel! Yes, a tiny pinch of red pepper flakes or a sliver of fresh ginger while simmering can add a delightful kick. Go wild!
- Is it okay if my cherries are super tart? Totally! Just add a little extra sugar to the topping until it hits that sweet-tart balance you love. It’s your dessert, make it sing!
Final Thoughts
And there you have it! You’ve just unlocked the secrets to a truly phenomenal homemade dessert that will make you question why you ever bought ice cream from a store. This vanilla ice cream is pure bliss, and that cherry topping? Chef’s kiss! Now, go forth and impress your friends, your family, or—most importantly—yourself. You just created something utterly delicious, and you deserve every single scoop. Enjoy the creamy, cherry-licious ride!


