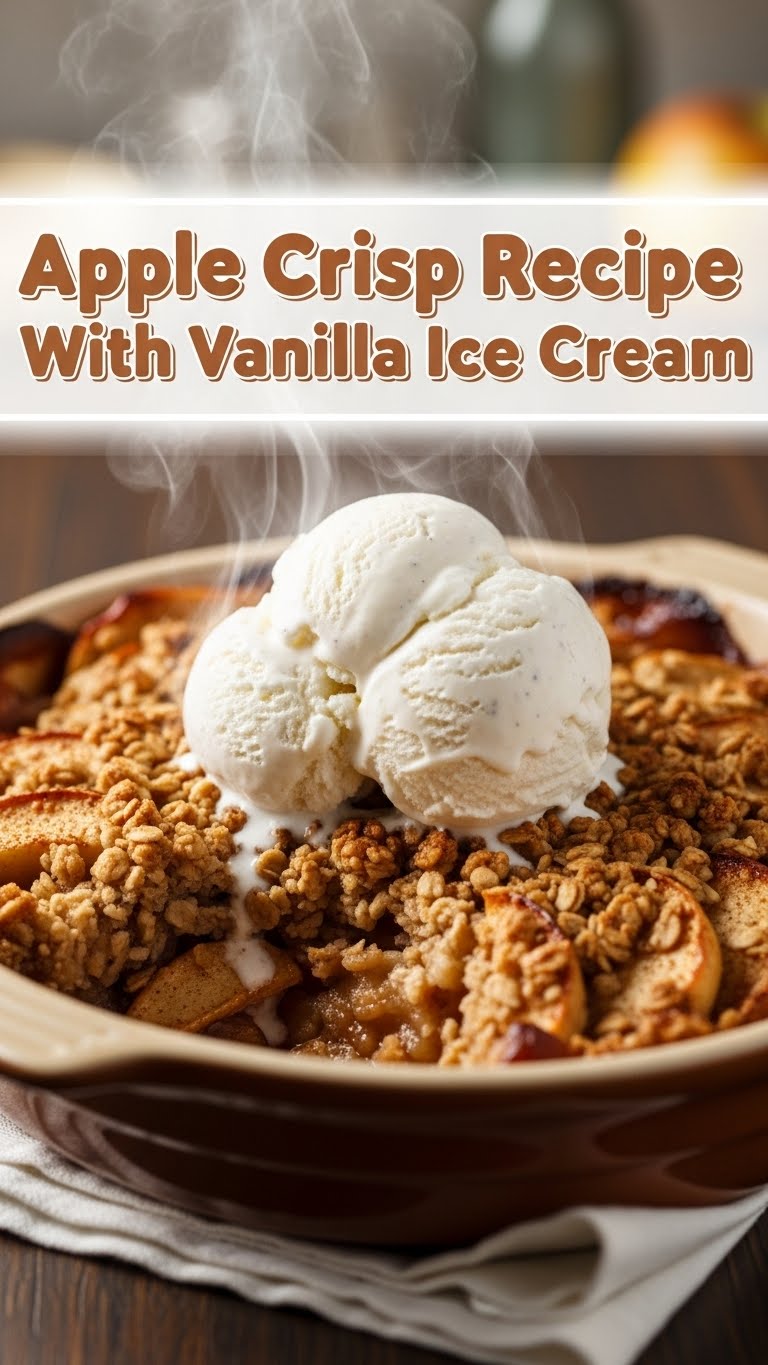
So you’re craving something warm, cozy, and utterly delicious but also want to avoid a kitchen disaster? My friend, you’ve come to the right place. We’re talking about Apple Crisp with Vanilla Ice Cream – the kind of dessert that makes your soul sing without requiring you to sell your soul to the kitchen gods. Get ready to impress everyone (including yourself) with minimal effort. Let’s do this!
Why This Recipe is Awesome
First off, it’s basically a hug in a bowl, served with a side of pure joy (that’s the ice cream, in case you were wondering). It’s also ridiculously easy. Seriously, if you can chop an apple and crumble some butter, you’re halfway there. No fancy techniques, no obscure ingredients, just pure, unadulterated comfort food that screams ‘I tried a little, but mostly I just wanted to eat something delicious.’ Plus, your house will smell like a professional bakery, and who doesn’t want that?
Ingredients You’ll Need
Gather ’round, my aspiring dessert wizard! Here’s your loot list:
For the Apple-y Goodness:
- 6-8 medium apples: Granny Smith if you like a tart kick, Honeycrisp for sweetness, or a mix of whatever sad apples are looking lonely in your fruit bowl.
- 1/4 cup granulated sugar: Just enough to sweeten the deal.
- 1/4 cup packed light brown sugar: Adds a lovely molasses note.
- 1 teaspoon ground cinnamon: Because apples and cinnamon are soulmates.
- 1/4 teaspoon ground nutmeg: Adds that extra layer of warmth.
- 1 tablespoon all-purpose flour: Helps thicken those lovely apple juices.
- 1 tablespoon lemon juice (optional but recommended): Brightens everything up and keeps apples from browning too fast.
For the Crunchy, Buttery Topping:
- 1 cup all-purpose flour: The foundation of our crumble kingdom.
- 1/2 cup rolled oats: Gives it that perfect chewiness.
- 1/2 cup packed light brown sugar: More sweetness, more caramel notes.
- 1/2 teaspoon ground cinnamon: Can you ever have too much? (The answer is no.)
- 1/4 teaspoon salt: Balances all that sweet goodness. Don’t skip it!
- 1/2 cup (1 stick) unsalted butter, COLD and cubed: This is non-negotiable, folks. Trust me.
And for the Grand Finale:
- Vanilla Ice Cream: A generous scoop (or three) per serving. This is mandatory.
Step-by-Step Instructions
- Preheat & Prep: Pop that oven to 375°F (190°C). Lightly grease an 8×8 or 9×9 inch baking dish. Nobody likes a stuck crisp.
- Apple Time! Peel, core, and slice your apples into roughly 1/2-inch thick pieces. Don’t go too thin, or you’ll have applesauce. Don’t go too thick, or they’ll be crunchy. Aim for Goldilocks perfection! In a large bowl, toss the sliced apples with the granulated sugar, brown sugar, 1 tsp cinnamon, nutmeg, flour, and lemon juice (if using). Make sure every apple gets a hug from the spices.
- Topping Triumph: In another bowl, whisk together the 1 cup flour, oats, 1/2 cup brown sugar, 1/2 tsp cinnamon, and salt. Now, the fun part: add your COLD, cubed butter. Use your fingers (or a pastry blender, if you’re fancy) to cut the butter into the dry ingredients until it resembles coarse crumbs. Some pea-sized pieces are totally fine – those will get extra crispy!
- Assemble Your Masterpiece: Pour the apple mixture evenly into your prepared baking dish. Spread it out like you mean it. Then, sprinkle that glorious crumble topping all over the apples. Make sure it’s evenly distributed for maximum crispiness.
- Bake It ‘Til It’s Golden: Slide that dish into your preheated oven. Bake for 35-45 minutes, or until the topping is golden brown and the apple filling is bubbly and tender when poked with a fork. If the topping starts getting too dark too fast, loosely tent it with foil.
- Serve & Devour: Let it cool for a few minutes (if you can resist!) before serving warm. And here’s the kicker: top each serving with a generous scoop (or two, or three, who’s counting?) of vanilla ice cream. The cold, melting cream against the warm, spiced apples is pure magic.
Common Mistakes to Avoid
- Not using COLD butter for the topping: Seriously, this is crucial. Warm butter makes a sad, greasy paste, not distinct, crispy crumbs. Keep that butter chilly!
- Overmixing the topping: Once it looks like coarse crumbs, stop. Overmixing develops the gluten in the flour and can make your topping tough instead of tender and crumbly.
- Forgetting the lemon juice: It’s optional, but it really brightens the flavor of the apples and keeps them from turning a sad grey color. Rookie mistake, but easily fixed.
- Skipping the ice cream: Is it even apple crisp without vanilla ice cream? I think not. This is a non-negotiable part of the experience. Don’t be that person.
- Cutting apples too thick or too thin: As mentioned, aim for that sweet spot around 1/2 inch. Too thick and they won’t soften enough; too thin and they’ll be mush.
Alternatives & Substitutions
Feeling adventurous or just working with what you’ve got? No problem, my friend!
- Different Fruits: Pears, peaches (fresh or frozen), or even a mix of berries would be fantastic in place of or in addition to apples. Adjust sugar if your fruit is super sweet or tart.
- Gluten-Free: Swap out the all-purpose flour for a 1:1 gluten-free baking blend (make sure it contains xanthan gum) and use certified gluten-free oats. Easy peasy!
- No Oats? No Problem: If you’re not an oat fan, you can increase the flour by about 1/4 cup and perhaps add some chopped nuts (pecans or walnuts work great) for crunch.
- Dairy-Free: Use a good quality plant-based butter (like Miyoko’s Kitchen or Earth Balance sticks) instead of regular butter. The texture might be slightly different but still delicious!
- Spice It Up: Add a pinch of ground ginger, allspice, or cardamom to the apple filling for an extra layer of flavor.
- Ice Cream Alternatives: Not a vanilla fan? Caramel swirl, cinnamon, or even a nice salted pecan ice cream would be divine. Or, a dollop of whipped cream works too!
FAQ (Frequently Asked Questions)
- Can I use any type of apple? Well, technically yes, but some are better than others. Granny Smiths hold their shape and offer tartness, Honeycrisps are sweet and firm. A mix is usually best, but use what you love!
- Do I have to peel the apples? That’s a personal preference! The skin adds some texture and nutrients. I usually peel for a smoother filling, but if you don’t mind a bit of chew, leave ’em on.
- Can I make this ahead of time? Absolutely! You can assemble the whole thing and keep it covered in the fridge for up to 24 hours before baking. Just add an extra 5-10 minutes to the baking time. FYI, it’s best served warm!
- How do I store leftovers? Pop any leftovers into an airtight container and store in the fridge for up to 3-4 days. Reheat gently in the microwave or oven.
- My topping isn’t crispy, what gives? You probably overmixed the topping or your butter wasn’t cold enough. Remember, cold butter and light hands are key for that perfect crumble.
- What if I don’t have brown sugar for the topping? You can use granulated sugar, but the brown sugar adds a nice chewiness and depth of flavor. If you’re really in a pinch, you can mix 1 cup granulated sugar with 1 tablespoon molasses for a DIY brown sugar!
- Can I double the recipe? Yep! Just use a larger baking dish (like a 9×13 inch) and adjust baking time as needed – it might take a bit longer.
Final Thoughts
See? You’re basically a professional baker now! You’ve just whipped up a dessert that’s guaranteed to make anyone who tries it swoon. Whether it’s for a potluck, a cozy night in, or just because it’s Tuesday and you deserve it, this apple crisp is a winner. Now go on, bask in the glory of your crispy, appley creation, and don’t forget to enjoy every single spoonful. You’ve earned it!


