So, you’ve hit that point in the day where your brain screams ‘DESSERT!’ but your body whispers ‘…but make it easy, please?’ You’re in good company, friend. Today, we’re making something so ridiculously delicious and deceptively simple, it’ll make you feel like a culinary wizard without actually having to *be* one. Get ready for a cheesecake experience that’s pure bliss, minimal fuss, and maximum yum.
Why This Recipe is Awesome
Let’s be real, who has time for complicated recipes these days? Not you, not me. This cheesecake? It’s basically a hug in dessert form, wrapped up in a ‘you did that?!’ kind of impressiveness. It’s **idiot-proof**, I swear. Even if your kitchen skills usually involve setting off the smoke alarm with toast (no judgment!), you’ll nail this. Plus, cheesecake + caramel + ice cream = pure bliss. Need I say more?
Ingredients You’ll Need
- **For the Crust:**
- 1 ½ cups graham cracker crumbs (about 10–12 full sheets, pulverized. Use a food processor or a Ziploc bag and your aggression!)
- ½ cup unsalted butter, melted (because everything’s better with butter, *amirite*?)
- **For the Cheesecake Filling:**
- 2 (8-ounce) blocks full-fat cream cheese, softened (don’t even *think* about light cream cheese here, we’re making dessert, not a diet plan!)
- ¾ cup granulated sugar (for that sweet, sweet goodness)
- 2 large eggs (our binders, keeping it all together)
- 1 teaspoon vanilla extract (a little fancy, a little homey)
- ½ cup sour cream (our secret weapon for ultimate creaminess, shhh!)
- **For Serving:**
- Your favorite store-bought caramel sauce (or homemade if you’re feeling extra fancy, but seriously, no pressure)
- Vanilla ice cream (or whatever flavor floats your dessert boat!)
Step-by-Step Instructions
- **Crust Time!** Preheat your oven to 350°F (175°C). In a medium bowl, mix your graham cracker crumbs and melted butter until they’re good friends. Press this mixture firmly into the bottom of a 9-inch springform pan. **Pro Tip:** Use the bottom of a glass to get it super compact. Pop it in the oven for 8-10 minutes, then let it cool while you work on the good stuff.
- **Filling Frenzy!** Reduce oven temperature to 325°F (160°C). In a large bowl, beat the softened cream cheese with an electric mixer until smooth – no lumps allowed! Gradually add the sugar and beat until just combined.
- **Eggcellent Addition!** Add the eggs one at a time, mixing on low speed until *just* incorporated after each. Don’t overmix! Stir in the vanilla extract and sour cream until smooth. Overmixing here can lead to cracks, and nobody wants a cracked cheesecake, right?
- **Bake Away!** Pour the luscious cream cheese filling over your cooled crust in the springform pan. Gently tap the pan on the counter a few times to release any air bubbles.
- **Baking Patience!** Bake for 50-60 minutes, or until the edges are set, but the center still has a slight wobble when you gently shake the pan. **Don’t overbake!** A slight wobble is your friend here.
- **Cool Down!** Turn off the oven, crack the door open slightly, and let the cheesecake cool inside for an hour. This helps prevent cracking. Then, remove it from the oven and let it cool completely on a wire rack.
- **Chill Out!** Once completely cool, cover the cheesecake and refrigerate for at least 4 hours, but **overnight is best**. Seriously, don’t rush this step. Good things come to those who chill.
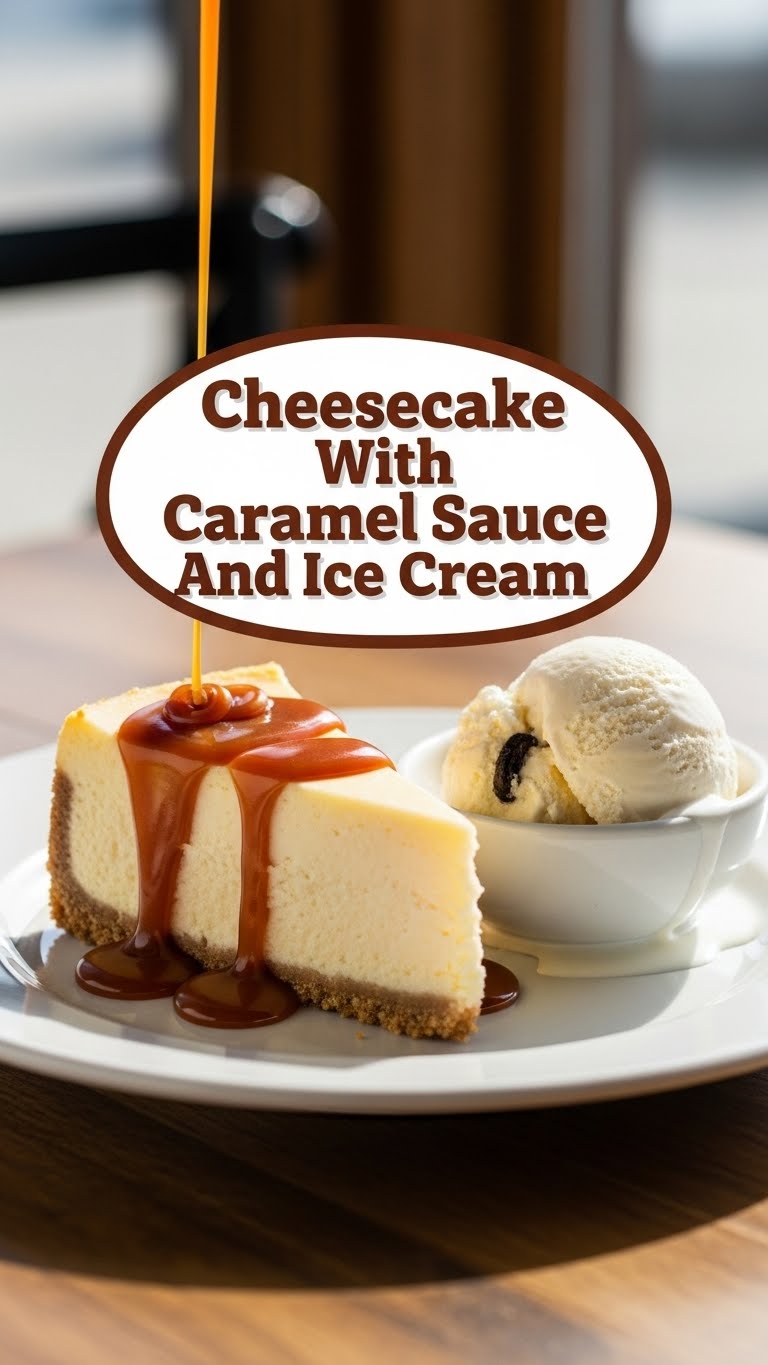
- **Serve it Up!** When you’re ready to demolish this masterpiece, remove the sides of the springform pan. Slice yourself a generous piece, drizzle with that glorious caramel sauce, and top with a scoop (or two!) of your favorite ice cream. Prepare for pure edible joy.
Common Mistakes to Avoid
- **Using Cold Cream Cheese:** Oh, honey, no. **Always let your cream cheese soften** to room temperature. Otherwise, you’ll end up with lumps, and nobody wants a lumpy cheesecake. It’s not a cottage cheese cake, after all!
- **Overmixing the Batter:** This is a biggie! Once the eggs are in, mix *just* until combined. Overmixing incorporates too much air, which expands during baking and then collapses, causing dreaded cracks. We’re aiming for smooth, not frothy.
- **Skipping the Chill Time:** Impatience is not a virtue here. Seriously, **do not skip the refrigeration step**. A well-chilled cheesecake sets properly, slices cleanly, and tastes infinitely better. Warm cheesecake is just a sad, wobbly mess.
- **Constantly Opening the Oven Door:** Resist the urge to peek every five minutes! Temperature fluctuations can make your cheesecake angry and prone to cracking. Trust the process, and your oven.
Alternatives & Substitutions
Feeling a bit rebellious? Here are some ways to shake things up:
- **Crust Swap:** Not a graham cracker fan? Try **crushed Oreos** (omit the sugar for the crust, obviously!) for a chocolatey kick, or shortbread cookies. Get creative!
- **Sauce It Up:** Instead of caramel, how about a rich chocolate ganache? Or a fresh berry compote for a fruity contrast? Your cheesecake, your rules.
- **Ice Cream Alternatives:** If ice cream isn’t your jam (gasp!), a dollop of fresh whipped cream or a dusting of cocoa powder is always a win.
- **Flavor Boost:** Want to jazz up the cheesecake itself? Add a tablespoon of espresso powder for a coffee vibe, or the zest of one lemon for a bright, citrusy tang.
FAQ (Frequently Asked Questions)
- Can I use low-fat or fat-free cream cheese?
- Well, technically you *could*, but why would you want to hurt its feelings like that? And your tastebuds? For truly rich, creamy cheesecake, **full-fat is the only way to go**. This is dessert, not a health food aisle, people!
- How do I know when my cheesecake is perfectly baked?
- The edges should be set, but the center will still have a slight, delicate jiggle when you gently nudge the pan. It will firm up completely as it cools and chills. **A little wobble is good!**
- Can I make this cheesecake ahead of time?
- Oh, absolutely! In fact, it’s encouraged. Cheesecake tastes even better the next day after all those flavors have had a chance to mingle and chill out. So yes, **make it a day in advance!**
- My cheesecake cracked! What did I do wrong?
- Don’t panic! Cracks happen to the best of us (usually due to overmixing, opening the oven too much, or sudden temperature changes). The good news? It still tastes amazing! Just cover it with extra caramel sauce, whipped cream, or sprinkles. Nobody will ever know… unless you tell them. And even then, who cares?
- Do I need to use a water bath?
- For this particular recipe, nope! We’re keeping it simple and (mostly) stress-free. While a water bath can help prevent cracks and ensure an ultra-creamy texture, this recipe is designed to be delicious without one. Fewer dishes, more dessert!
- Can I freeze leftover cheesecake?
- You had *leftover* cheesecake? Impressive! Yes, you can totally freeze it. Wrap individual slices tightly in plastic wrap, then foil, and freeze for up to 1 month. Thaw in the fridge before serving. Future you will thank past you.
Final Thoughts
Alright, superstar, you’ve officially got the intel to whip up a cheesecake that’s going to make jaws drop and tastebuds sing. This isn’t just a recipe; it’s a mood. It’s comfort, it’s indulgence, it’s pure, unadulterated happiness on a plate. Now go impress someone—or yourself, which, IMO, is way more important—with your new culinary skills. You’ve earned it! Seriously, go make it, then come back and tell me how epic it was. Happy baking (and eating)!


