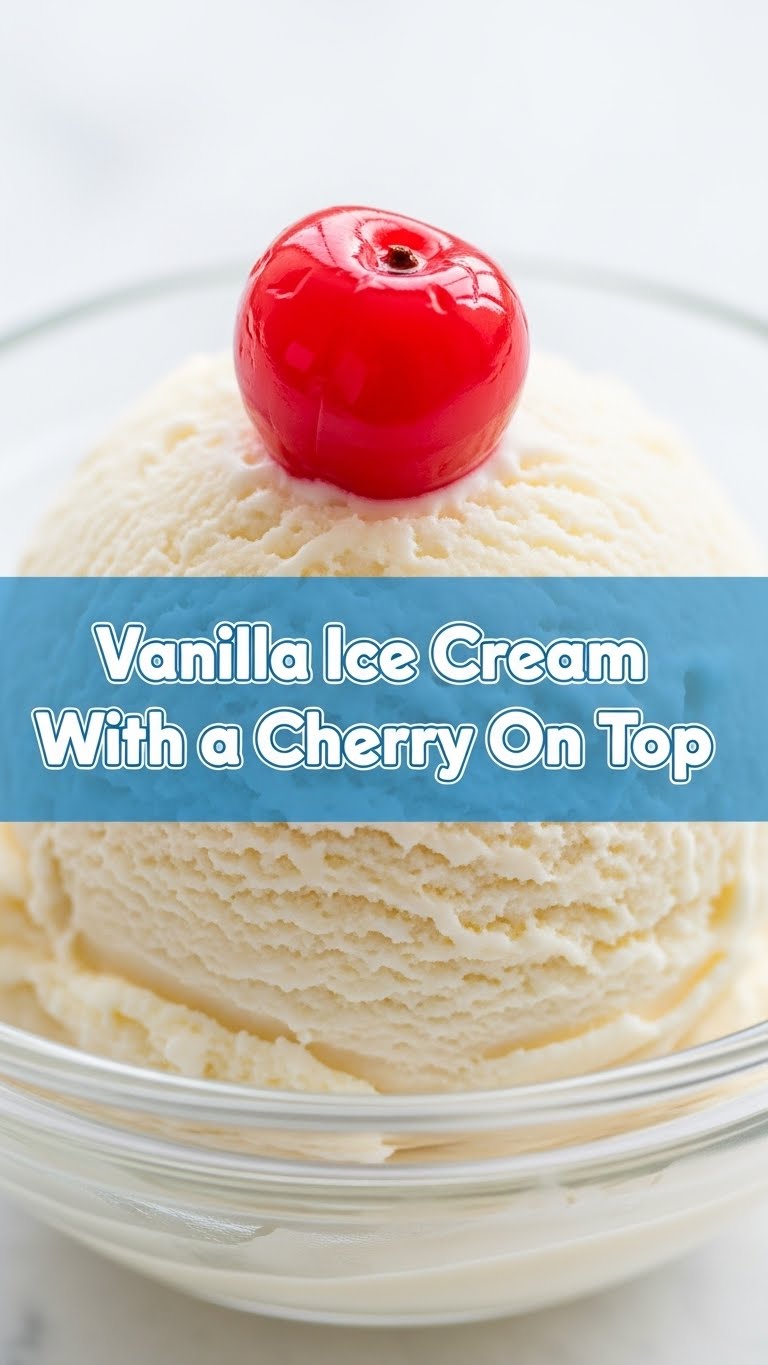
So you’re craving something ridiculously good but also want minimal effort, maximum payoff? My friend, you’ve come to the right place. We’re talking about that dreamy, creamy, classic vanilla ice cream, but with a *pop* of cherry on top. Because life’s too short for boring desserts, right? This isn’t just a recipe; it’s a ticket to instant happiness with minimal fuss. Get ready to impress yourself (and anyone lucky enough to be around you)!
Why This Recipe is Awesome
Let’s be real, making ice cream sounds like a whole *thing*, doesn’t it? But not this one! This recipe is the ultimate low-effort, high-reward situation. It’s no-churn, which means **no fancy ice cream machine required** – just your trusty mixer (or strong arm) and a freezer. Seriously, it’s practically **idiot-proof**; even I didn’t mess it up. Plus, vanilla ice cream is the ultimate canvas, and those cherries? They’re the vibrant, tangy mic drop this dessert deserves. It’s a classic for a reason, but we’re making it effortlessly cool.
Ingredients You’ll Need
Gather ’round, fellow culinary adventurers! Here’s your treasure map to deliciousness:
- Heavy Cream (2 cups / 470ml): The **MVP** of creamy dreams. Don’t skimp here, trust me. We need that high fat content for ultimate lusciousness.
- Sweetened Condensed Milk (1 can, 14oz / 397g): Your shortcut to sweetness and perfect texture. Seriously, magic in a can. Don’t confuse it with evaporated milk!
- Vanilla Extract (1-2 teaspoons): The soul of vanilla. Go for the good stuff if you can, it makes a surprising difference. Use 2 if you’re a vanilla fiend like me.
- Pinch of Salt (about 1/4 teaspoon): Sounds weird, but it makes everything pop and balances the sweetness. It’s a secret weapon!
- Fresh or Frozen Cherries (1 cup, pitted): The vibrant crown jewel. Pitted, obviously, unless you like a dental adventure. Fresh are great in season, frozen work perfectly otherwise.
- Granulated Sugar (1-2 tablespoons, optional, for cherries): Just a spoonful to sweeten the deal, if your cherries are feeling a bit sour or you like things extra sweet.
- Lemon Juice (1 teaspoon, optional, for cherries): A little squeeze brightens everything up and makes the cherry flavor sing!
Step-by-Step Instructions
Alright, let’s get down to business. Prepare for shockingly simple steps!
- Chill Your Gear: First things first, grab a large mixing bowl and your whisk attachment (if using a stand mixer) or beaters (for a hand mixer). Pop them into the freezer for about 15-20 minutes. Seriously, a cold bowl makes whipping cream a breeze!
- Whip It Good: Pour the heavy cream into your now-chilled bowl. Whip it on high speed until stiff peaks form. Think fluffy cloud consistency, where the cream holds its shape beautifully. **FYI: Don’t overmix, or you’ll have butter** (unless you want butter, then by all means!).
- Fold in the Good Stuff: In a separate bowl (or directly into the whipped cream if you’re feeling brave), pour in the sweetened condensed milk, vanilla extract, and that tiny pinch of salt. Give it a quick stir. Now, gently fold this mixture into your whipped cream. **Be gentle!** We want to keep all that lovely air you just whipped in.
- Cherry Prep Party: If using fresh cherries, pit and halve them. If frozen, let them thaw a bit. Toss them in a small bowl with the optional sugar and lemon juice. Give them a quick stir; this creates a *super* simple, slightly syrupy cherry compote.
- Layer and Swirl: Grab a freezer-safe container (a loaf pan works great!). Pour about half of your glorious vanilla ice cream mixture into the bottom. Dollop about half of your cherry goodness over it. Swirl *gently* with a knife or a skewer if you want that pretty marbled look. Repeat with the remaining ice cream mixture and cherries.
- Freeze, Patience, Enjoy: Cover your container tightly with plastic wrap or a lid. Now, the hardest part: freeze for at least 6 hours, or ideally overnight. The longer it freezes, the firmer it will be. I know, right? Waiting is a cruel mistress.
Common Mistakes to Avoid
We all make mistakes, but let’s try to avoid these common ice cream blunders, shall we?
- Warm Bowl/Cream: Trying to whip warm cream is like trying to reason with a toddler – futile and frustrating. **Always chill your bowl and cream for best results!**
- Over-Whipping the Cream: You want stiff peaks, not butter. Unless, again, you’re going for butter. Then carry on, you rebel. Once it looks like fluffy clouds, stop!
- Not Covering the Ice Cream: Hello, freezer burn! If you leave it exposed, you’ll end up with icy, stale ice cream. Cover it tightly before freezing.
- Skipping the Salt: “**Don’t skip the salt!**” It balances the sweetness and makes the vanilla shine. It’s like a secret weapon that elevates the entire flavor profile.
- Impatience: Pulling it out too early will result in a runny mess. Give it the full freezing time it deserves! Good things come to those who wait.
Alternatives & Substitutions
Feeling creative? Here are some ways to shake things up:
- Cherries: Not a cherry fan? *Gasp!* Just kidding. Try fresh raspberries, sliced strawberries, or even a drizzle of homemade chocolate fudge sauce for a different vibe. You do you!
- Vanilla: Want to go wild? Add a hint of almond extract (just 1/2 tsp) or even some coffee liqueur (1-2 tbsp) for an adult version. Or, if you’re feeling super fancy, scrape the seeds from half a vanilla bean into the mix. Ooh la la!
- Sweetened Condensed Milk: Honestly, for a no-churn recipe, this is pretty key for both sweetness and texture. But if you *must*, you could try a simple syrup base, though the texture won’t be quite the same. **IMO, stick to the can for guaranteed success.**
- Heavy Cream: For a dairy-free option, you *can* try using chilled full-fat coconut cream (the thick cream part from the top of a can, chilled overnight), but be aware the flavor profile will be distinctly coconut-y. Still delicious, just different!
FAQ (Frequently Asked Questions)
Got questions? I’ve got (casual) answers!
- “Do I *really* need to chill the bowl and whisk?” Yes, my friend, **yes you do.** It’s the secret sauce to perfectly whipped cream without a meltdown (yours or the cream’s). Trust the process!
- “Can I use regular milk instead of heavy cream?” Oh, bless your heart. No. Heavy cream has the fat content needed for that luscious, creamy texture. Regular milk will just give you… sad, icy water, basically. Stick to heavy cream!
- “What if my cherries are super sour?” No worries! Add a bit more sugar (or even a splash of maple syrup) when you’re making your cherry compote. Taste as you go! It’s your dessert, make it sing.
- “How long does this last in the freezer?” If it lasts longer than a week, you’re clearly making too much or not eating enough! But seriously, properly covered, it’s good for 2-3 weeks. Past that, freezer burn starts creeping in.
- “Can I make this dairy-free?” You can try with full-fat coconut cream (chilled overnight!), but the texture and flavor will be different. Still delicious, just a tropical twist! Be sure to use a good quality coconut cream.
- “Is an ice cream machine better?” For some recipes, yes. But for this no-churn marvel? Nah, save yourself the counter space and the extra gadget. This method gives you amazing results with zero fuss. **Seriously, it’s that good!**
Final Thoughts
And there you have it! A dessert that screams ‘I’m fancy!’ but whispers ‘I barely lifted a finger.’ You just created pure, unadulterated happiness in a bowl. Take a moment to appreciate your culinary prowess. This isn’t just ice cream; it’s a testament to simple ingredients coming together to make something truly special. Now go impress someone—or yourself—with your new culinary skills. You’ve earned it, you magnificent dessert maestro! Go forth and spoon.


