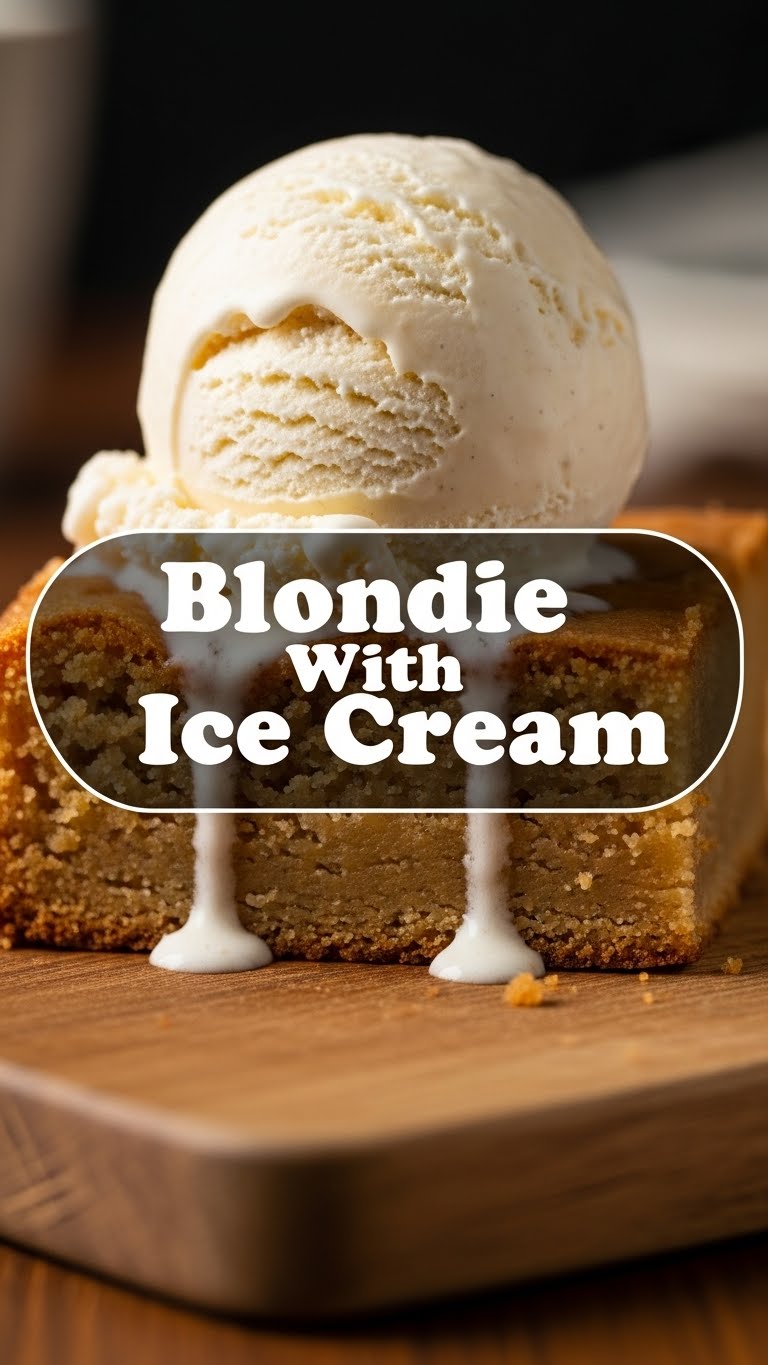
So you’re craving something warm, gooey, and utterly divine, but the thought of a super-complicated recipe makes you want to just order takeout and call it a day? Been there, my friend, been there. Good news: today we’re making Blondies with Ice Cream, and it’s so easy, you’ll wonder why you ever bothered with anything more complex. We’re talking minimal effort, maximum deliciousness.
Why This Recipe is Awesome
Okay, let’s be real. This isn’t just a recipe; it’s a life hack. First off, it’s pretty much **idiot-proof**. Even I, who once managed to burn water (don’t ask), have mastered this one. It’s incredibly quick to whip up, meaning you’re mere minutes away from warm, buttery, chewy bliss. Plus, the dishes? Minimal. We love a low-effort, high-reward situation, don’t we?
The best part? It’s a blondie. Not a brownie. So, no pressure to get that perfect crackly top, no agonizing over the cocoa powder-to-sugar ratio. Just pure, unadulterated caramel-y goodness, made even better with a scoop (or three, no judgment) of melting ice cream. It’s comfort food that screams, “I totally have my life together… for at least the next 30 minutes while I eat this.”
Ingredients You’ll Need
- **1/2 cup (113g) unsalted butter, melted:** The good stuff. Don’t even think about margarine unless you want to hurt my feelings.
- **1 cup (200g) packed light brown sugar:** This is your secret weapon for that signature chewy, caramel-y blondie texture. No substitutes, people!
- **1 large egg:** Just one, keeping it simple. Make sure it’s at room temperature if you’re feeling fancy (or just remembered to take it out).
- **1 teaspoon vanilla extract:** Don’t skimp on this! It really makes a difference.
- **1 cup (125g) all-purpose flour:** The structural engineer of our blondie dreams.
- **1/2 teaspoon salt:** Balances out all that glorious sweetness. Don’t skip it!
- **1/2 cup (90g) chocolate chips (or any mix-ins your heart desires):** Semi-sweet is classic, but white chocolate, milk chocolate, or even a mix is fair game.
- **Your favorite ice cream:** Vanilla is a timeless choice, but let’s be honest, almost any flavor would be a winner here.
Step-by-Step Instructions
- **Get Prepped:** Preheat your oven to 350°F (175°C). Lightly grease and flour an 8×8 inch (20×20 cm) baking pan, or line it with parchment paper for easy lift-out. Seriously, **don’t skip the parchment!** It’s a lifesaver.
- **Melt the Butter:** In a medium microwave-safe bowl, melt your butter. Keep an eye on it so it doesn’t splatter everywhere.
- **Whisk in the Sugar:** Add the brown sugar to the melted butter and whisk vigorously until well combined and smooth. It should look like a rich, caramelly syrup.
- **Add Wet Ingredients:** Stir in the egg and vanilla extract until everything is fully incorporated. The mixture should be glossy and smell amazing already.
- **Mix Dry Ingredients:** In a separate small bowl, whisk together the flour and salt. Then, gradually add the dry ingredients to the wet ingredients, mixing until just combined. **Do not overmix!** Overmixing leads to tough blondies, and nobody wants a tough blondie.
- **Fold in the Goodies:** Gently fold in your chocolate chips (or whatever mix-ins you’ve chosen). Distribute them evenly throughout the batter.
- **Spread it Out:** Pour the batter into your prepared baking pan. Spread it evenly with a spatula. It might seem a little thick, but that’s okay.
- **Bake Away!** Pop the pan into your preheated oven and bake for 20-25 minutes.
- **Check for Doneness:** You’ll know it’s ready when the edges are set and lightly golden, and a toothpick inserted into the center comes out with moist crumbs, not wet batter. The middle should still look a little soft.
- **Cool (a Little):** Let the blondie cool in the pan for about 10-15 minutes. This is crucial for it to set up properly without crumbling.
- **Serve Hot and Gooey:** Cut into squares, scoop on that glorious ice cream, and enjoy immediately!
Common Mistakes to Avoid
- **Not preheating your oven:** Rookie mistake! Your oven needs to be at the correct temperature from the start for even baking.
- **Overmixing the batter:** Once you add the flour, mix just until no streaks of flour remain. Overmixing develops the gluten, making your blondies dense and chewy in a bad way.
- **Overbaking:** This is the most common culprit for dry, cakey blondies. Keep an eye on them! When in doubt, take them out a minute early. The residual heat will continue to cook them slightly.
- **Forgetting the salt:** It might seem minor, but salt is essential for balancing the sweetness and enhancing all those delicious flavors.
- **Trying to serve it too quickly:** I know the temptation is real, but a little cooling time allows the blondie to set. Otherwise, you’ll have a delicious, but structurally unsound, mess.
Alternatives & Substitutions
Feeling adventurous? Or just out of something? Here are a few ideas:
- **Mix-ins:** Chocolate chips are classic, but seriously, go wild! White chocolate chunks, butterscotch chips, chopped nuts (pecans or walnuts are fab), pretzels for a sweet and salty crunch, M&Ms, or even chopped candy bars would be amazing.
- **Extracts:** If you’re out of vanilla, almond extract can give it a lovely, subtle nutty flavor. Maple extract could also be a fun twist!
- **Sugar:** While brown sugar is key for a classic blondie, if you’re in a pinch, you *could* do half granulated and half brown, but the texture will be less chewy. Consider yourself warned!
- **Ice Cream Flavors:** Vanilla is a no-brainer, but imagine salted caramel, coffee, strawberry, or even a good old chocolate ice cream melting into that warm blondie. **IMO**, salted caramel takes it to another level.
FAQ (Frequently Asked Questions)
Got questions? I’ve got (casual) answers!
Can I use white sugar instead of brown sugar?
Well, technically yes, but why hurt your soul like that? Brown sugar is what gives blondies their signature chewy texture and deep caramel flavor. Using only white sugar will result in a much drier, cakier bar. Trust me on this one, brown sugar is your friend!
How do I know when the blondie is done baking?
Look for edges that are golden brown and set. The center should look slightly lighter and perhaps a little “jiggly” if you gently shake the pan. A toothpick inserted into the center should come out with moist crumbs attached, not wet batter. Remember, a little underbaked is better than overbaked!
My blondie is dry! What went wrong?
Ah, the classic overbake. You likely left it in the oven a tad too long. Every oven is different, so keep a closer eye on it next time and pull it out when it just looks set in the middle. Less baking time = more gooey goodness!
Can I make these gluten-free?
Absolutely! Just swap the all-purpose flour for a 1:1 gluten-free baking blend. Make sure your blend contains xanthan gum, or add 1/2 teaspoon yourself, for the best texture.
What’s the best way to store leftover blondies?
If there even *are* leftovers (highly doubtful, FYI), store them in an airtight container at room temperature for up to 3-4 days. You can reheat them quickly in the microwave for that fresh-baked feel before adding ice cream.
Can I add nuts to this recipe?
Heck yes! Chopped walnuts or pecans would be fantastic. Add them in with the chocolate chips during step 6 for a delicious crunch and nutty flavor.
Do I *have* to serve it with ice cream?
Do you *have* to breathe? No, but it makes life infinitely better. The warm blondie with cold, melting ice cream is a match made in dessert heaven. But if you’re feeling rebellious, a dollop of whipped cream or just eating it plain is also perfectly acceptable.
Final Thoughts
So there you have it, your new go-to recipe for when you need a little (or a lot) of sweetness in your life. This Blondie with Ice Cream is pure joy, easy to make, and guaranteed to impress—even if the only person you’re impressing is yourself while you eat the entire pan. Now go forth and bake, you magnificent culinary wizard! You’ve earned this deliciousness!


