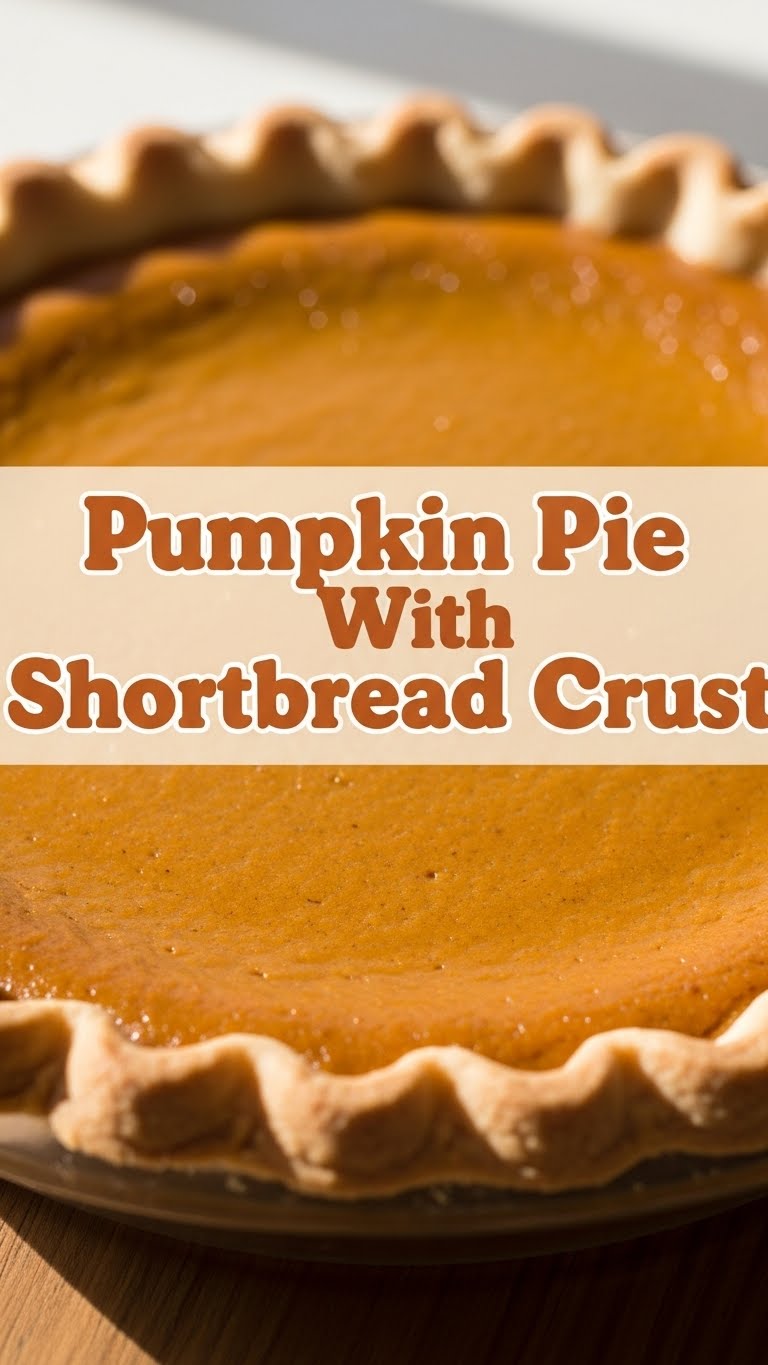
So you’re craving something warm, spicy, and utterly delicious but also want to feel a little fancy without actually *being* fancy? And maybe, just maybe, you’re a tiny bit over the traditional, sometimes-soggy pie crust situation? You, my friend, have come to the right place. We’re talking Pumpkin Pie, but with a **Shortbread Crust**. Yeah, you heard that right. Prepare for your mind (and taste buds) to be blown!
Why This Recipe is Awesome
Let’s be real, regular pumpkin pie crusts can be… finicky. And sometimes, let’s just say, they don’t always live up to the creamy, dreamy filling. Enter the shortbread crust: a literal game-changer. This recipe is awesome because:
- It’s practically **idiot-proof**. Seriously, if I can do it without burning down the kitchen, you definitely can.
- **No more soggy bottom!** (IYKYK – the struggle is real, folks). The buttery shortbread bakes up perfectly crisp and crumbly every time.
- It tastes like a hug from your favorite aunt who also happens to be a pastry chef, but without all the complex techniques.
- It combines two of life’s greatest pleasures: the cozy comfort of pumpkin pie filling with the melt-in-your-mouth goodness of a shortbread cookie. It’s a match made in dessert heaven, IMO.
Ingredients You’ll Need
Gather ’round, my aspiring pie-makers! Here’s your shopping list. Don’t stress, it’s mostly pantry staples.
For the Shortbread Crust:
- 1 cup (2 sticks) unsalted butter, cold and cubed: The good stuff. Don’t skimp! It’s the star of the show.
- 2 cups all-purpose flour: Your basic baking buddy.
- 1/2 cup powdered sugar: For that melt-in-your-mouth magic. Granulated sugar can make it gritty, so stick to powdered.
- 1/4 teaspoon salt: Just a pinch, to make everything pop and balance the sweetness.
For the Pumpkin Filling:
- 1 (15-ounce) can pumpkin puree: **Crucial point: make sure it’s PUREE, not pumpkin pie filling!** Read that label like your dessert destiny depends on it (because it does).
- 2 large eggs: The binders, baby! At room temp if you’re feeling fancy, but not strictly necessary.
- 1 (14-ounce) can sweetened condensed milk: Our secret weapon for creamy sweetness. No need for extra sugar with this MVP.
- 1/4 cup packed light brown sugar: A little extra hug for that classic, deep pumpkin flavor.
- 2 teaspoons pumpkin pie spice: Because, duh. All the cozy vibes in one tiny spoon.
- 1 teaspoon vanilla extract: Adds depth, like a good conversation.
Step-by-Step Instructions
Alright, apron up! Let’s get this deliciousness going. You’ve got this!
- **Crust Time, Baby!** In a large bowl, whisk together the flour, powdered sugar, and salt for the shortbread crust. Add the cold, cubed butter. Use your fingertips or a pastry blender to cut the butter into the dry ingredients until it resembles coarse crumbs.
- **Press It Good.** Press the shortbread mixture evenly into a 9-inch pie plate. You can use your fingers or the bottom of a flat-bottomed glass. Make sure it’s snug up the sides. **Chill it for 15-20 minutes** in the fridge while your oven preheats.
- **Preheat & Blind Bake.** Preheat your oven to 375°F (190°C). Once chilled, poke holes all over the bottom of the crust with a fork. This helps prevent puffing. Bake for 12-15 minutes, or until lightly golden. Take it out and let it cool slightly while you make the filling.
- **Filling Frenzy!** In another large bowl, whisk together the pumpkin puree, eggs, sweetened condensed milk, brown sugar, pumpkin pie spice, and vanilla extract until completely smooth and well combined. No lumpy bits allowed!
- **Combine & Conquer.** Pour the pumpkin filling into your partially baked shortbread crust. Don’t overfill it.
- **Bake Away!** Reduce your oven temperature to 350°F (175°C). Carefully place the pie in the oven and bake for 50-60 minutes, or until the edges are set and the center has a slight jiggle (like a firm jello) when gently shaken.
- **The Hard Part: Cooling.** Remove the pie from the oven and place it on a wire rack to cool completely. This is the absolute hardest part, FYI, but it’s crucial for a perfectly set pie. Let it cool for at least 2-3 hours, or even better, chill it in the fridge for a few hours (or overnight!) before slicing.
Common Mistakes to Avoid
We all make ’em, so let’s laugh about them now and dodge ’em later!
- **Using Pumpkin Pie Filling Instead of Puree:** This is the #1 rookie mistake. Pumpkin pie filling already has spices and sweeteners, and it’ll throw off the whole recipe. Read the can!
- **Overmixing the Shortbread Dough:** You want a tender, crumbly crust, not a tough cookie. Mix just until combined.
- **Not Blind Baking the Crust:** You might think you can skip this, but trust me, it helps prevent a soggy bottom and ensures your shortbread is perfectly cooked.
- **Not Letting the Pie Cool Completely:** I know, I know, it smells heavenly. But cutting into a warm pumpkin pie will result in a messy, gooey slice. **Patience, grasshopper!**
- **Forgetting to Preheat the Oven:** Your oven isn’t a mind reader. Always preheat. It helps ensure even baking.
Alternatives & Substitutions
Feeling adventurous or missing an ingredient? Here are a few tweaks, but remember, the original is a classic for a reason!
- **Butter:** For the shortbread, **butter is king.** You *could* try a plant-based butter alternative for a vegan crust, but the flavor and texture might be slightly different.
- **Pumpkin Pie Spice:** No mix? No problem! Whisk together 1 tsp cinnamon, 1/2 tsp ginger, 1/4 tsp nutmeg, and 1/8 tsp cloves. Boom, DIY spice.
- **Brown Sugar:** You can use granulated sugar, but brown sugar adds a deeper, more molasses-like flavor that pairs beautifully with pumpkin.
- **Sweetened Condensed Milk:** This ingredient is pretty unique. If you absolutely *have* to substitute, you *could* try heavy cream with more sugar, but the richness and texture won’t be quite the same. Honestly, **don’t bother, the condensed milk is the MVP here.**
- **Gluten-Free Crust:** Use a good quality 1:1 gluten-free flour blend for the shortbread crust. The baking time might vary slightly, so keep an eye on it.
FAQ (Frequently Asked Questions)
Got questions? I’ve got answers! (Mostly.)
Q: Can I use margarine instead of butter for the crust?
A: Well, technically yes, but why hurt your soul like that? Butter provides the best flavor and texture. Margarine just doesn’t deliver the same *oomph*.
Q: Do I really need to blind bake the crust?
A: Absolutely! This step is your secret weapon against a soggy bottom. A partially baked crust holds its shape better and keeps that delicious shortbread from getting gummy when the wet filling goes in.
Q: My pie cracked on top, what happened?
A: Don’t panic! This usually happens if it’s slightly overbaked or cooled too quickly. It’s totally fine and still tastes amazing. Just cover it with a generous dollop of whipped cream, and no one will ever know!
Q: Can I make this pie ahead of time?
A: Heck yes! Pumpkin pie often tastes even better the next day after the flavors have had a chance to meld. Just cover and refrigerate.
Q: How long does this pumpkin pie last?
A: If you’re strong-willed enough, it’ll last 3-4 days in the fridge. Good luck making it last that long, though! Mine usually disappears within 24 hours.
Q: Can I use fresh pumpkin instead of canned puree?
A: You *can*, but it’s a bit more work. You’ll need to roast, puree, and then thoroughly drain the excess liquid from the fresh pumpkin. Canned puree is super convenient and gives consistent results for this recipe, which is why it’s my go-to.
Final Thoughts
So there you have it, your ticket to pumpkin pie glory with a shortbread twist! This isn’t just a dessert; it’s a statement. It says, “I love classic comfort, but I’m also bold enough to upgrade it.” Go forth and bake, my friend. Your taste buds (and probably your ego) will thank you for this delightful creation. Now go impress someone—or yourself—with your new culinary skills. You’ve earned it!


