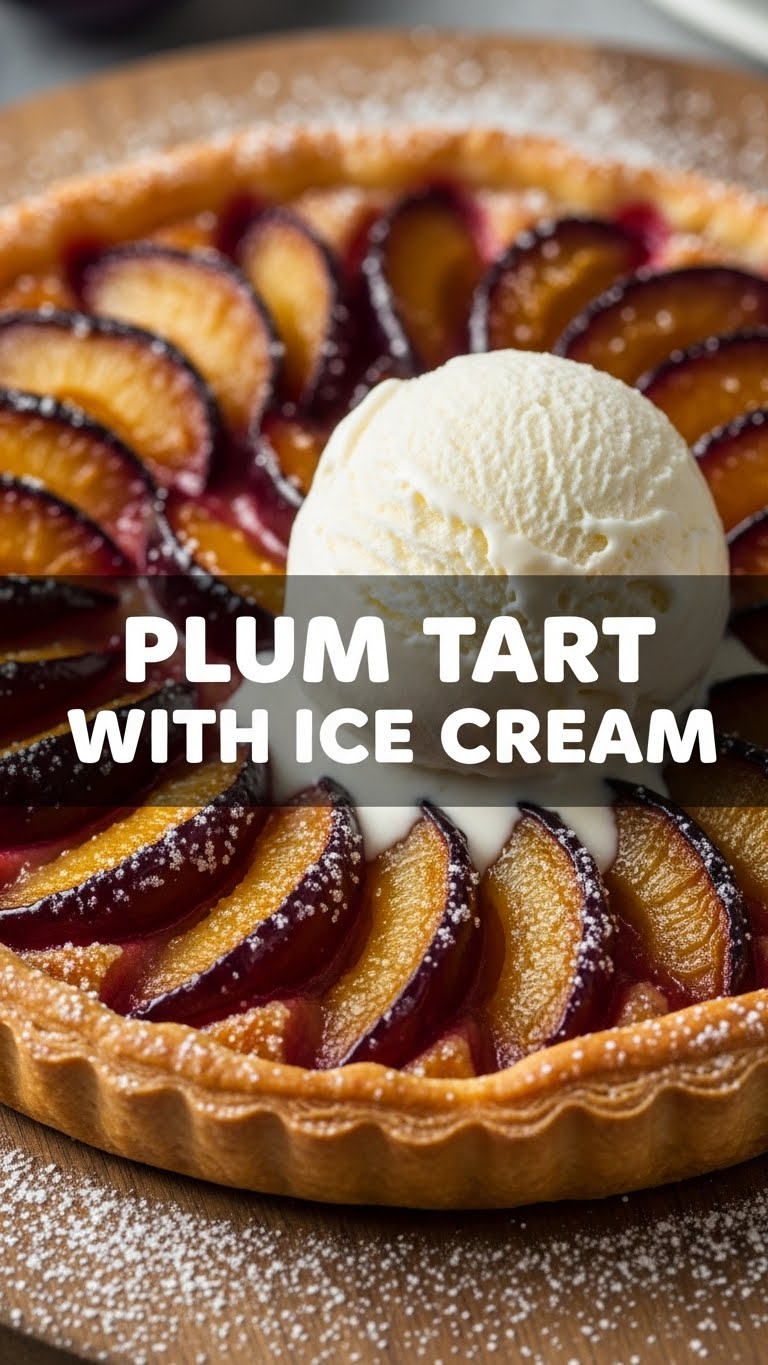
So you’re craving something that screams “I’m a domestic goddess/god” but your energy levels are screaming “Netflix and sweatpants,” huh? Same. High five! If you’re anything like me, you want deliciousness without the fuss, and certainly without needing a culinary degree. Enter: the Plum Tart with Ice Cream, your new best friend for looking impressive with minimal effort. Let’s get baking, shall we?
Why This Recipe is Awesome
Okay, let’s be real. This plum tart isn’t just “good.” It’s that friend who always brings the best snacks to the party. It looks fancy AF but is secretly so easy, your cat could probably supervise (mine definitely does). And **it’s adaptable**, meaning if you’re out of plums, you’re not out of luck. Plus, it pairs with ice cream, which is basically the universal symbol for “everything is going to be okay.” It’s basically idiot-proof, even I didn’t mess it up!
Ingredients You’ll Need
Gather your troops! Here’s what you’ll need for this culinary triumph:
- **For the Crust (aka the lazy person’s best friend):**
- 1 pre-made pie crust (or puff pastry if you’re feeling wild). Don’t judge, we’re going for joy, not martyrdom!
- **For the Plums (the star of the show):**
- About 1 lb ripe plums (any kind, really, but the dark ones look *chef’s kiss*), halved and pitted.
- 1/4 cup granulated sugar (or more if your plums are feeling a bit shy on the sweet side).
- 1 tbsp all-purpose flour (to thicken things up, no one likes a runny tart).
- 1/2 tsp cinnamon (because plums + cinnamon = a match made in heaven).
- A pinch of salt (seriously, it makes everything better).
- **Optional but highly recommended (because why not?):**
- 1 tbsp butter, cut into small pieces (for extra richness, you deserve it).
- A scoop (or three) of vanilla bean ice cream (non-negotiable, IMO).
Step-by-Step Instructions
- **Preheat & Prep:** Crank your oven to 400°F (200°C). Lay out your glorious pre-made pie crust on a baking sheet lined with parchment paper. If using puff pastry, unroll it gently.
- **Plum Party Time:** In a medium bowl, gently toss your halved, pitted plums with the sugar, flour, cinnamon, and that tiny pinch of salt. **Don’t overmix, just coat them nicely.**
- **Arrange the Stars:** Arrange the plum halves cut-side up on your crust, leaving about a 1-inch border all around. You can get fancy with patterns or just pile ’em on. It’s your tart, your rules!
- **Fold It Up:** Carefully fold the edges of the crust over the plums, creating a rustic, charming border. Don’t worry if it’s not perfect; “rustic” is just a fancy word for “perfectly imperfect.”
- **Butter Up (Optional):** Dot the top of the plums with those small pieces of butter. Trust me, it adds a lovely sheen and flavor.
- **Bake It Baby!** Pop that baking sheet into your preheated oven. Bake for 30-40 minutes, or until the crust is golden brown and the plum juices are bubbling seductively.
- **Cool Down:** Let it cool on the baking sheet for a bit before transferring to a wire rack. **Resist the urge to devour it immediately.** Warm is good, but molten fruit lava is bad.
- **Serve & Devour:** Slice it up, grab a generous scoop (or two) of vanilla ice cream, and prepare for immediate bliss.
Common Mistakes to Avoid
- **Forgetting to Preheat the Oven:** Rookie mistake! Your tart will bake unevenly and probably just get sad. **Always preheat!**
- **Overworking the Crust:** If you’re making your own from scratch, don’t play with it too much. Tough crust = sad dessert.
- **Not Pitting the Plums:** Unless you enjoy a trip to the dentist in every bite, please pit those plums!
- **Eating it Immediately Out of the Oven:** We know it smells amazing, but seriously, those plum juices are hotter than the sun. Give it 10-15 minutes to chill.
- **Skipping the Ice Cream:** Why even live? Just kidding… mostly. But seriously, it completes the experience.
Alternatives & Substitutions
- **No Plums? No Problem!** This recipe is super versatile. Peaches, nectarines, apples (sliced thinly), or even berries work beautifully. Adjust sugar based on fruit sweetness.
- **Crusty Options:** If you’re feeling ambitious, a homemade shortcrust pastry is divine. But hey, no shame in store-bought. **Your kitchen, your rules!**
- **Spice It Up:** Cardamom, ginger, or a hint of star anise can add a fun twist instead of cinnamon. Experiment, you culinary rebel!
- **Ice Cream Rebels:** Vanilla is classic, but try honey-lavender, pistachio, or even a good quality sorbet for a lighter touch.
FAQ (Frequently Asked Questions)
- **Can I use frozen plums?** You betcha! Just thaw them first and drain any excess liquid so your tart doesn’t get soggy. You might need a little extra flour to absorb moisture.
- **Do I have to use pre-made crust? Isn’t that cheating?** Cheating implies rules, and we’re rebels here! It’s about enjoying the process and the result. Use what makes you happy!
- **My tart looks… rustic. Is that okay?** Honey, “rustic” is the new “perfectly symmetrical.” It means it’s homemade and full of love. Rock that rustic charm!
- **Can I make this ahead of time?** Absolutely! Bake it, let it cool completely, then cover it loosely. It’s still great the next day, maybe even better as the flavors meld. Just warm it slightly before serving.
- **What if I don’t have parchment paper?** Aluminum foil will work in a pinch, but spray it with non-stick spray or butter it well. Nothing worse than a stuck tart!
- **My plums are really tart. What do I do?** Add a little more sugar to the plum mixture. Taste a small piece of raw plum if you dare! You can also drizzle a bit of honey or maple syrup over the baked tart.
Final Thoughts
See? That wasn’t so scary, was it? You just whipped up a gorgeous, delicious plum tart that will make you feel like a kitchen wizard without actually requiring any actual wizardry. Now go impress someone—or yourself—with your new culinary skills. You’ve earned it! And remember, life’s too short for boring desserts. Keep baking, keep smiling, and don’t forget the ice cream!


