So you’re craving something tasty but too lazy to spend forever in the kitchen, huh? Same. Good news, my friend! We’re about to whip up the easiest, most decadent ice cream milkshake that requires minimal brain power and maximum enjoyment. No fancy skills needed, just a blender and a dream. Get ready to have your taste buds do a happy dance!
Why This Recipe is Awesome
Because it’s practically magic. Seriously, two main ingredients, a quick whiz in the blender, and boom – instant happiness. This isn’t gourmet cooking; this is instant gratification in a glass. It’s so foolproof, I’m pretty sure my dog could make it (if she had opposable thumbs and an inexplicable desire for dairy, bless her heart). Plus, cleanup is minimal, which, let’s be honest, is often half the battle when you’re just trying to enjoy a treat. This recipe is your express ticket to dessert heaven. You’re welcome.
Ingredients You’ll Need
- Your Favorite Ice Cream: About 2-3 generous scoops per serving. This is where you don’t skimp, folks. Got a secret stash of Ben & Jerry’s? Now’s the time! (Seriously, no judgment if it’s the one you hid from your roommates.)
- Milk: Roughly ½ cup per serving. Full-fat milk is usually the MVP here for that creamy richness, but hey, you do you. Almond, oat, soy – whatever floats your boat and blends well.
- Optional Flavor Enhancers (but highly recommended): A splash of vanilla extract, a drizzle of chocolate syrup, or a spoonful of peanut butter if you’re feeling wild.
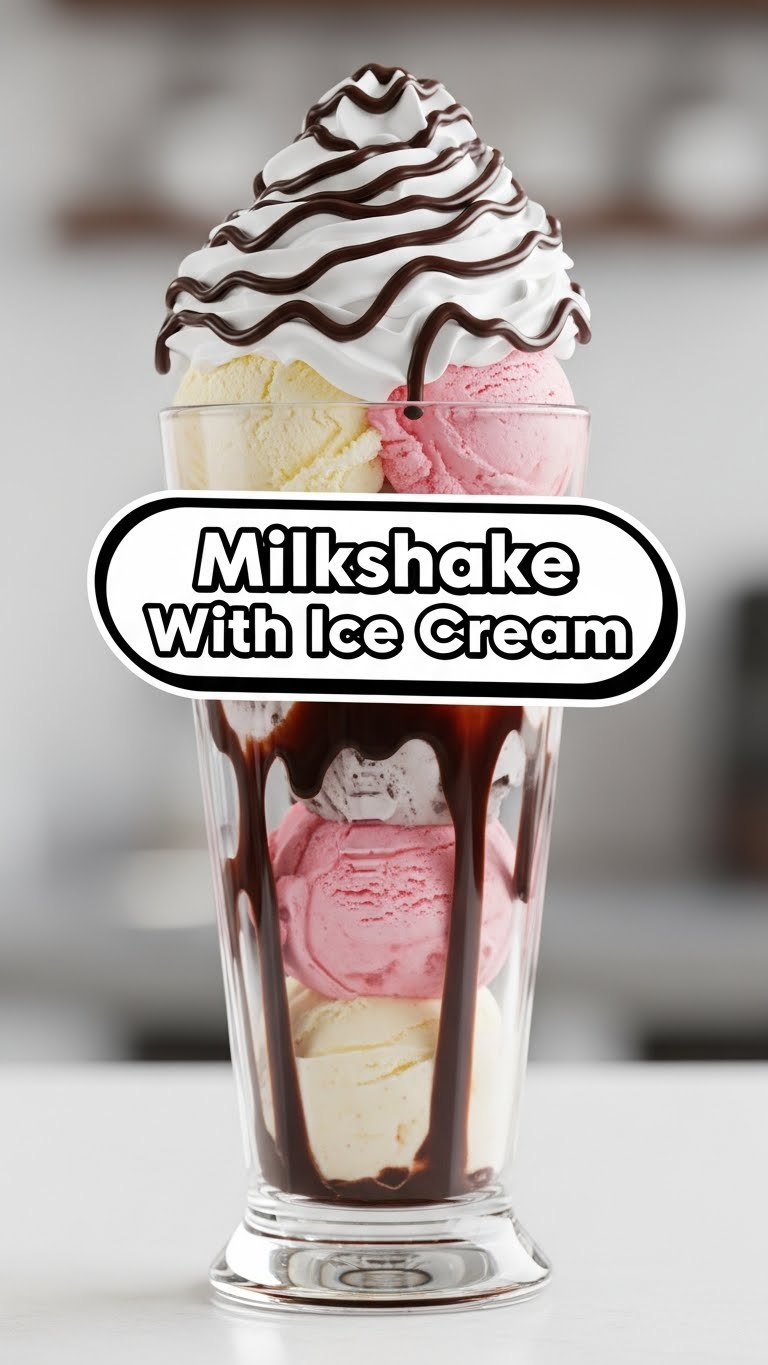
- Toppings (because life’s too short for boring milkshakes): Whipped cream, sprinkles, a cherry, chocolate shavings… dream big!
Step-by-Step Instructions
- Grab Your Blender: Make sure it’s clean and ready for action. No one wants last night’s smoothie bits in their milkshake, IMO.
- Scoop in the Ice Cream: Toss those glorious scoops of ice cream directly into the blender. Don’t be shy.
- Pour in the Milk: Add your milk. Start with about ½ cup. You can always add more if it’s too thick, but you can’t exactly take it away once it’s soupy. Pro tip: Less is more to start!
- Add Your Extras (If Desired): A tiny splash of vanilla, a good squirt of chocolate sauce, whatever makes your heart sing.
- Blend it Up: Secure the lid and blend until smooth and creamy. Start on a low setting and increase as needed. Watch it transform into that beautiful, sippable consistency.
- Pour and Adorn: Pour your masterpiece into a tall glass. Now, get creative with those toppings! Whipped cream mountain? Go for it!
- Sip and Enjoy: Find your happy place (aka the couch) and enjoy your perfectly crafted, easy-peasy milkshake. You earned it!
Common Mistakes to Avoid
- Too Much Milk Syndrome: The number one culprit for a sad, watery milkshake. Remember, you’re making a shake, not a diluted juice. Start small, add slowly.
- Not Enough Milk Rage: On the flip side, if you don’t add enough, your blender will just churn a chunky, frustrated ice cream mess. Your blender is not a chisel.
- Using Ice Cubes: Unless you want a slushie that pretends to be a milkshake, just don’t. The ice cream itself provides the chill.
- Over-blending: Blending for too long generates heat, turning your delightful frosty treat into a lukewarm, frothy disappointment. Blend just until smooth.
Alternatives & Substitutions
This recipe is a canvas, my friend! Here are some ideas to get your creative juices flowing:
- Milk Swap: Almond, oat, soy, coconut milk (the carton kind, not the can) all work wonderfully. Each brings its own subtle flavor.
- Ice Cream Flavor Adventure: Vanilla is a classic, but don’t limit yourself! Strawberry, chocolate, mint chip, coffee – the possibilities are endless. Feeling extra? Swirl in some caramel ice cream!
- Protein Power-Up: Add a scoop of your favorite protein powder for a post-workout (or just because) treat. (Fair warning: it might taste a little less sinful.)
- Fruity Fun: Throw in a handful of fresh or frozen berries, a sliced banana, or even some mango for a tropical twist.
- Adulting at its Finest: For the 21+ crowd, a splash of liqueur (think Kahlua, Bailey’s, or even a good bourbon) can elevate your shake to sophisticated levels. Just a splash, unless you’re really going for it.
FAQ (Frequently Asked Questions)
Got questions? I’ve got answers (and probably some witty remarks).
Do I really need a fancy, high-powered blender? Nah, not really. While a Vitamix is cool, any standard kitchen blender will get the job done for this recipe. Just be patient and scrape down the sides if it struggles.
Can I use low-fat ice cream? Technically, yes. But why hurt your soul (and your milkshake’s deliciousness) like that? For a truly indulgent experience, go for the good stuff. You deserve it.
What if my milkshake is too thick? Easy peasy! Add another splash of milk, blend for a few more seconds, and repeat until you hit that perfect consistency. Remember, start small!
What if it’s too thin? Uh oh, sounds like you got a little happy with the milk. The best fix is to add another scoop (or half-scoop) of ice cream and re-blend. Or just drink it with a spoon, no judgment here.
Can I make it ahead of time? You can, but it’s really best enjoyed fresh. If you make it ahead and stash it in the freezer, it’ll turn into a solid block of ice cream, not a ready-to-drink shake. Fresh is always best for optimal texture.
What’s the best way to clean my blender after this? Fill it halfway with warm water and a drop of dish soap. Blend for 10-20 seconds. Rinse. Voila! Almost magically clean. You’re welcome, again.
Final Thoughts
There you have it! Your ultimate guide to making an ice cream milkshake that’s so good, you’ll wonder why you ever bothered with those expensive drive-thru versions. It’s simple, it’s delicious, and it’s practically a hug in a glass. So go forth, my culinary friend, and create some frosty magic. Now go impress someone—or just yourself—with your new milkshake-making prowess. You’ve earned it!


