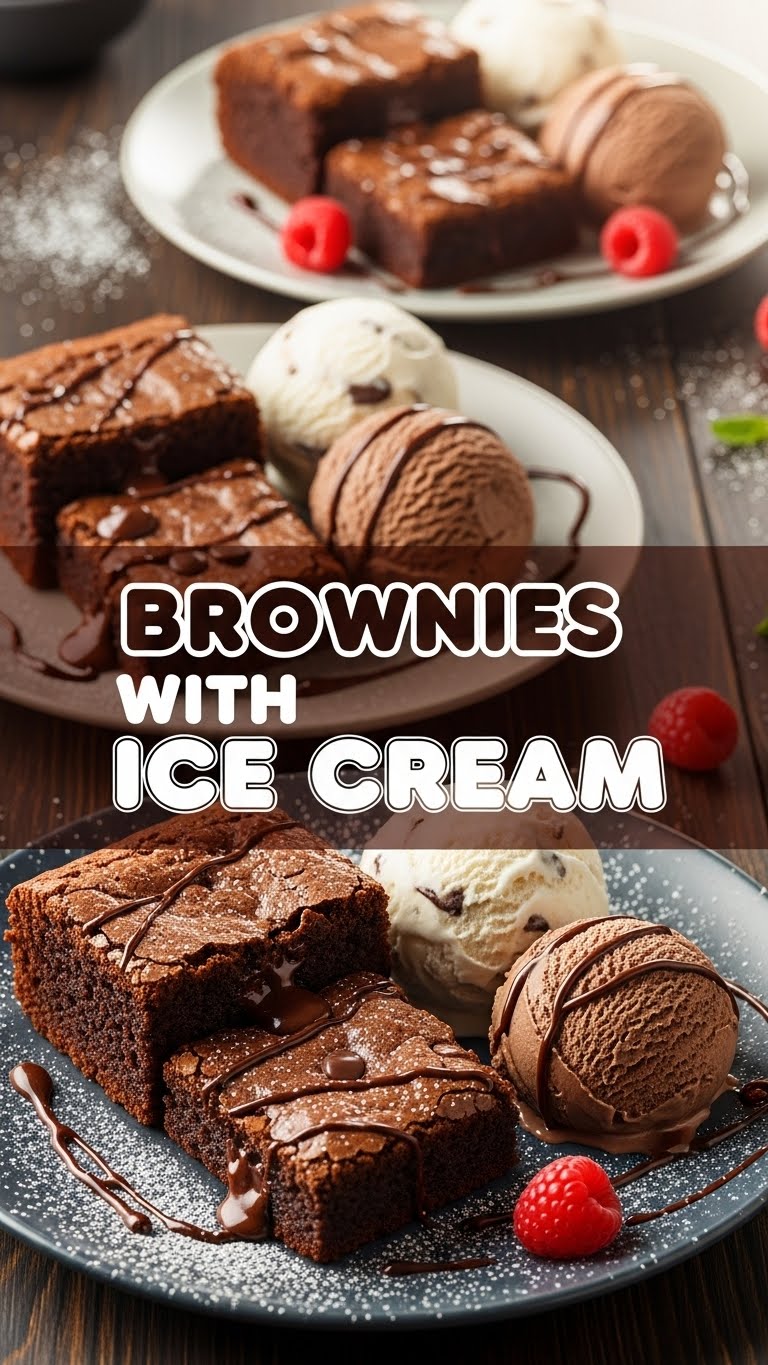
Feeling that deep, primal urge for something chocolatey and utterly decadent, but also that equally strong urge to, well, *not* do much work? My friend, you’ve come to the right place. We’re about to dive into the glorious world of brownies paired with ice cream – a combination so good, it should probably be illegal. Get ready to impress yourself (and anyone lucky enough to be nearby) with minimal effort and maximum deliciousness.
Why This Recipe is Awesome
Because it’s practically a magic trick. You throw a few things together, stick it in an oven, and boom! Instant hero status. Seriously, it’s so easy even your cat could probably supervise it. This recipe is **idiot-proof** (even I didn’t mess it up, and that’s saying something), fast enough for a weeknight craving, and delivers that perfect fudgy-chewy brownie experience. Plus, it pairs with ice cream, which is basically the meaning of life, right? It’ll make you look like a baking wizard without actually needing to know any spells beyond “preheat oven.”
Ingredients You’ll Need
Gather your troops, future baking legend! Here’s what you need for brownie bliss:
- Unsalted Butter: 1/2 cup (113g), melted. Because control is everything, even with butter.
- Granulated Sugar: 1 cup (200g). Don’t skimp, this is a brownie, not a health food store.
- Large Eggs: 2. Think of them as the glue that holds your chocolatey dreams together.
- Vanilla Extract: 1 teaspoon. The secret handshake of deliciousness.
- All-Purpose Flour: 1/2 cup (60g). Unless you’re feeling fancy and want to experiment, but let’s not get *too* wild.
- Unsweetened Cocoa Powder: 1/2 cup (45g). This is the heart of your brownie! Go for good quality; you won’t regret it.
- Salt: 1/4 teaspoon. Yeah, salt in a dessert. Trust me, it makes the chocolate sing!
- Chocolate Chips (Optional, but highly recommended): 1/2 cup. Because more chocolate is always the answer.
- Your Favorite Ice Cream: A generous scoop (or three) per serving. Vanilla is classic, but salted caramel or mint chip? YOLO!
Step-by-Step Instructions
- Prep Your Stage: Preheat your oven to 350°F (175°C). Line an 8×8 inch (20×20 cm) baking pan with parchment paper, leaving an overhang on the sides. This makes lifting them out super easy.
- Melt the Butter: In a microwave-safe bowl or small saucepan, melt your unsalted butter. Let it cool slightly, just so it’s not piping hot.
- Wet Ingredients Whirlwind: In a large mixing bowl, whisk together the granulated sugar, eggs, and vanilla extract until light and frothy, about 1 minute. Now, pour in that slightly cooled melted butter and whisk until just combined.
- Dry Goods Duo: In a separate, medium bowl, whisk together the flour, cocoa powder, and salt. Make sure there are no lumps of cocoa – nobody wants a powdery surprise!
- Combine & Conquer: Gradually add the dry ingredients to the wet ingredients. Fold them gently with a spatula until **just combined**. Resist the urge to overmix, unless you’re aiming for sad, cakey brownies. If using, fold in your chocolate chips now.
- Pan It Up: Pour the luscious brownie batter into your prepared 8×8 inch pan. Spread it evenly with your spatula. Give the pan a gentle tap on the counter to remove any air bubbles.
- Bake to Perfection: Pop it into the preheated oven and bake for 20-25 minutes. How do you know they’re done? A toothpick inserted into the center should come out with moist crumbs, not wet batter. The edges should look set, but the center can still be a little fudgy.
- Cool Down: This is the hardest part: let them cool completely in the pan on a wire rack before cutting. Seriously, **patience is key here** if you want clean, beautiful squares.
- Serve & Devour: Once cool, lift the brownies out using the parchment paper overhang. Cut into squares. Serve warm or at room temperature, topped with a generous scoop (or two!) of your favorite ice cream. Prepare for pure bliss!
Common Mistakes to Avoid
- Overmixing the Batter: This is a brownie, not a soufflé! Overmixing develops gluten, which leads to cakey, tough brownies. We want fudgy, gooey goodness. Stop stirring once everything is just incorporated.
- Overbaking: The cardinal sin of brownie making! A slightly gooey center is the dream. If you bake them until a toothpick comes out completely clean, you’ve gone too far. When in doubt, take them out a minute early.
- Cutting Hot Brownies: I know, I know, the smell is intoxicating. But trust me, cutting hot brownies is a messy affair. You’ll end up with crumbles instead of neat squares. Let them cool, at least to warm, if not completely.
- Skipping the Salt: Thinking salt doesn’t belong in dessert? Rookie mistake! That tiny pinch of salt in this recipe does wonders to enhance the chocolate flavor and balance the sweetness. Don’t skip it!
Alternatives & Substitutions
Feel like getting a little adventurous? Or maybe you’re just out of one thing. No worries, I’ve got you covered!
- Chocolate Chips: We suggested them, but if you don’t have them, no biggie. If you do, try dark chocolate chips for a richer flavor, or even white chocolate for a nice contrast. Or, dice up a chocolate bar!
- Nuts: Love a bit of crunch? Stir in 1/2 cup of chopped walnuts or pecans with the chocolate chips. It adds a lovely texture and that classic brownie feel.
- Coffee Boost: Want to deepen that chocolate flavor even more? Add 1/2 teaspoon of instant espresso powder (or instant coffee) with the dry ingredients. You won’t taste coffee, but your chocolate will taste *more* chocolatey. Trust me on this one.
- Oil Instead of Butter: You *can* use an equal amount of neutral oil (like vegetable or canola) instead of butter for a slightly different texture – often a bit chewier. But **IMO**, butter just brings that extra richness and flavor that can’t be beat.
- Different Pan Size: Using a 9×9 inch pan? Your brownies will be thinner and might bake a few minutes faster. A 7×7 inch pan? Thicker brownies, might need an extra 5-10 minutes. Adjust accordingly!
FAQ (Frequently Asked Questions)
You’ve got questions, I’ve got (casual) answers!
- Can I skip the parchment paper? You *can*, but good luck getting them out in one piece without a fight! Seriously, parchment paper makes life so much easier and prevents sticky situations. Don’t skip it if you value your sanity (and intact brownies).
- How do I know when my brownies are done? Look for slightly fudgy edges that are set, and a center that might still jiggle a tiny bit. A toothpick inserted into the center should come out with moist crumbs attached, not wet batter. If it’s totally clean, they’re probably overbaked.
- Can I double the recipe? Absolutely! Just use a 9×13 inch (23×33 cm) baking pan and increase the baking time. Start checking around 30-35 minutes, but it might take up to 40-45.
- What’s the best ice cream flavor to pair with these? Vanilla is the classic, foolproof choice. But don’t be afraid to experiment! Salted caramel, coffee, mint chip, or even a good quality strawberry ice cream can be surprisingly delicious. What’s your vibe?
- My brownies aren’t fudgy, they’re cakey. What went wrong? Most likely culprits: too much flour, overmixing the batter, or overbaking. Remember, less mixing and watch that baking time!
- How long do these glorious brownies last? Hah! What a question. In my house? About 30 minutes. Realistically, stored in an airtight container at room temperature, they’ll be good for 3-4 days. But let’s be honest, they won’t last that long.
Final Thoughts
There you have it, your ticket to brownie bliss! Go forth and conquer your cravings with these easy, utterly delicious brownies and a scoop of your favorite ice cream. It’s the ultimate comfort food and a fantastic way to treat yourself (or someone else, if you’re feeling generous). And hey, if you “accidentally” eat the whole batch yourself, I won’t tell. We’re friends, right? Now go impress someone—or yourself—with your new culinary skills. You’ve earned it! Enjoy every single, glorious bite!


