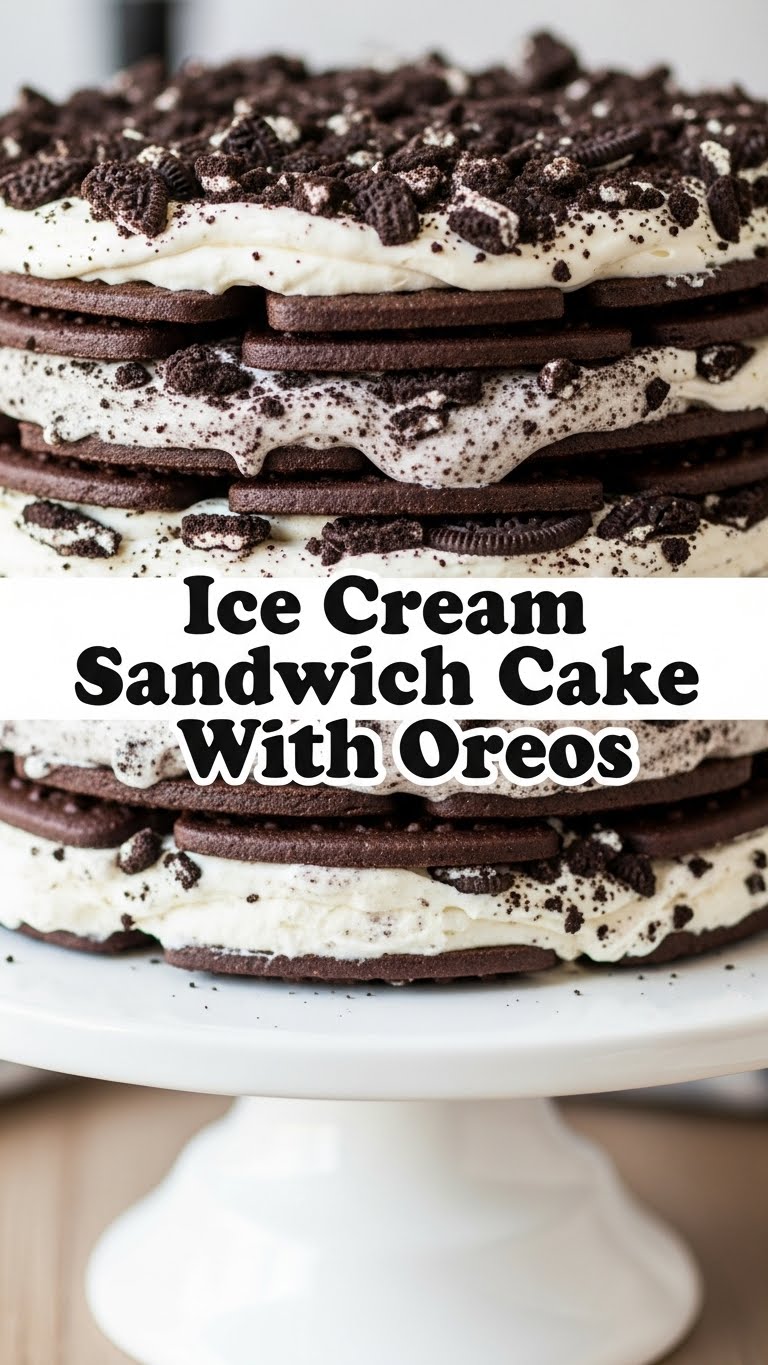
So you’ve just binged your favorite show, you’re wearing PJs, and suddenly, a craving for something ridiculously good (and ridiculously easy) hits you? Yeah, I know the feeling. Today, my friend, we’re making a masterpiece that requires zero baking skills and maximum enjoyment: the legendary Ice Cream Sandwich Cake with Oreos!
Why This Recipe is Awesome
Okay, let’s be real. This isn’t just a recipe; it’s a life hack. Why? Because it’s:
- **Stupidly simple:** Seriously, if you can stack things, you can make this.
- **No-bake heaven:** Turn off that oven! Your kitchen will thank you.
- **Impressive AF:** People will think you’re a culinary genius, and you’ll just smirk knowingly.
- **Oreo-licious:** I mean, it has Oreos. Enough said, right?
It’s practically idiot-proof, and trust me, if I can make it without a single catastrophic meltdown, so can you. It’s the ultimate dessert for when you want to look fancy but feel lazy. Winner!
Ingredients You’ll Need
Gather your loot, future dessert hero! Here’s what you’ll need to assemble this magnificent beast:
- 12-16 Ice Cream Sandwiches: The rectangular kind, not those fancy round ones. Regular vanilla or chocolate is usually best, but hey, it’s your party!
- 1 large (16 oz) tub of Whipped Topping: Like Cool Whip. Let it thaw in the fridge for a bit—nobody likes rock-hard topping.
- 1 package (approx. 14.3 oz) Oreo Cookies: The classic ones. We’re going to crush these bad boys.
- Optional: Chocolate Syrup or Hot Fudge: For extra drizzle drama, if you’re feeling extra.
See? Barely any real “ingredients.” It’s more like “components.”
Step-by-Step Instructions
Alright, let’s get this party started! Follow these ridiculously easy steps:
- Prep Your Pan: Grab a 9×13 inch baking dish. Don’t worry, we’re not baking. It’s just a sturdy container for your delicious layers.
- First Layer of Awesomeness: Unwrap about 6-8 of your ice cream sandwiches. Arrange them in a single layer at the bottom of the dish, cutting any to fit snugly if needed. No gaps allowed!
- Whipped Topping Time: Spread about half of your thawed whipped topping evenly over the ice cream sandwich layer. Be gentle so you don’t squish the sandwiches too much.
- Crush Those Oreos: Place about half of your Oreo cookies in a Ziploc bag and **bash them to bits** with a rolling pin or even a sturdy mug. Get out some aggression! Sprinkle these crushed Oreos over the whipped topping.
- Repeat the Magic: Lay down another layer of ice cream sandwiches, just like you did for the first. Use the remaining sandwiches.
- Final Topping Extravaganza: Spread the rest of the whipped topping over this second layer of sandwiches.
- More Oreo Goodness: Crush the remaining Oreos and sprinkle them generously over the top. If you’re using chocolate syrup, now’s the time for that artistic drizzle.
- Chill Out: Cover the dish with plastic wrap and pop it into the freezer for at least 4 hours. **Overnight is even better** for ultimate solidarity.
- Serve and Shine: When ready to serve, pull it out, let it sit for a few minutes to soften just slightly, then slice and enjoy your masterpiece!
Common Mistakes to Avoid
Even a simple recipe can go sideways if you’re not careful. Learn from my past (lazy) errors:
- Not thawing your whipped topping: Trying to spread frozen Cool Whip is a battle you will lose, and your ice cream sandwiches will suffer.
- Impatience is not a virtue: Pulling it out of the freezer after only an hour? Rookie mistake! It’ll be a sad, slushy mess. **Give it the full chill time!**
- Skimping on the Oreos: Are you really making an Ice Cream Sandwich Cake with Oreos if you barely put any Oreos on it? Don’t be that person.
- Over-handling the sandwiches: Treat them gently when layering. They’re delicate frozen beauties, not bricks.
Alternatives & Substitutions
Feeling a little rebellious? Here are some ways to jazz things up or just use what you’ve got:
- Ice Cream Sandwich Flavors: Chocolate ice cream sandwiches? Mint chip? Strawberry? Go wild! Just make sure they’re the standard rectangular size. Vanilla is classic for a reason, but variety is the spice of life, right?
- Whipped Topping: You could whip up your own heavy cream, but honestly, Cool Whip is specifically designed for this kind of stable, frozen dessert. **IMO, stick with the tub.**
- Cookie Crumbles: Not an Oreo fan (gasp!)? You could try crushed graham crackers, Nilla wafers, or even other chocolate cookies. The texture might be a bit different, but still tasty!
- Extra Toppings: Caramel drizzle, sprinkles, chopped nuts, mini chocolate chips—the world is your oyster!
FAQ (Frequently Asked Questions)
- Can I make this ahead of time? Um, yes! That’s half the beauty of it. Make it the day before, pop it in the freezer, and forget about it until dessert time. **Super convenient for parties!**
- What if I don’t have a 9×13 inch dish? You can use a slightly smaller square dish (like 8×8 or 9×9) but you might need fewer ice cream sandwiches and potentially have thicker layers. Adjust as needed, chef!
- How long does it last in the freezer? If covered tightly, it’s good for up to a week. But honestly, it rarely lasts that long in my house.
- Can I use fresh whipped cream instead of whipped topping? You can, but keep in mind that fresh whipped cream doesn’t freeze quite as well or hold its structure like the pre-made whipped topping. It might get a bit icier. So, **for best results, stick with the tub!**
- My ice cream sandwiches are too hard to cut. Help! Let them sit out for literally 1-2 minutes before trying to cut them. They’ll soften just enough to be manageable. Don’t leave them too long though, unless you like a melted mess.
- Is this healthy? (Rhetorical question, obviously) Oh, sweet summer child. Let’s just say this is “soul-healthy.” Everything in moderation, including moderation. Enjoy the moment!
Final Thoughts
So there you have it, folks! Your new favorite dessert that looks like you spent hours slaving away but actually took about 15 minutes of effort. It’s perfect for summer BBQs, movie nights, or just a Tuesday when you feel like treating yourself (which should be every Tuesday, FYI). Now go forth and create this glorious, no-bake wonder. You’ve totally earned those bragging rights!


