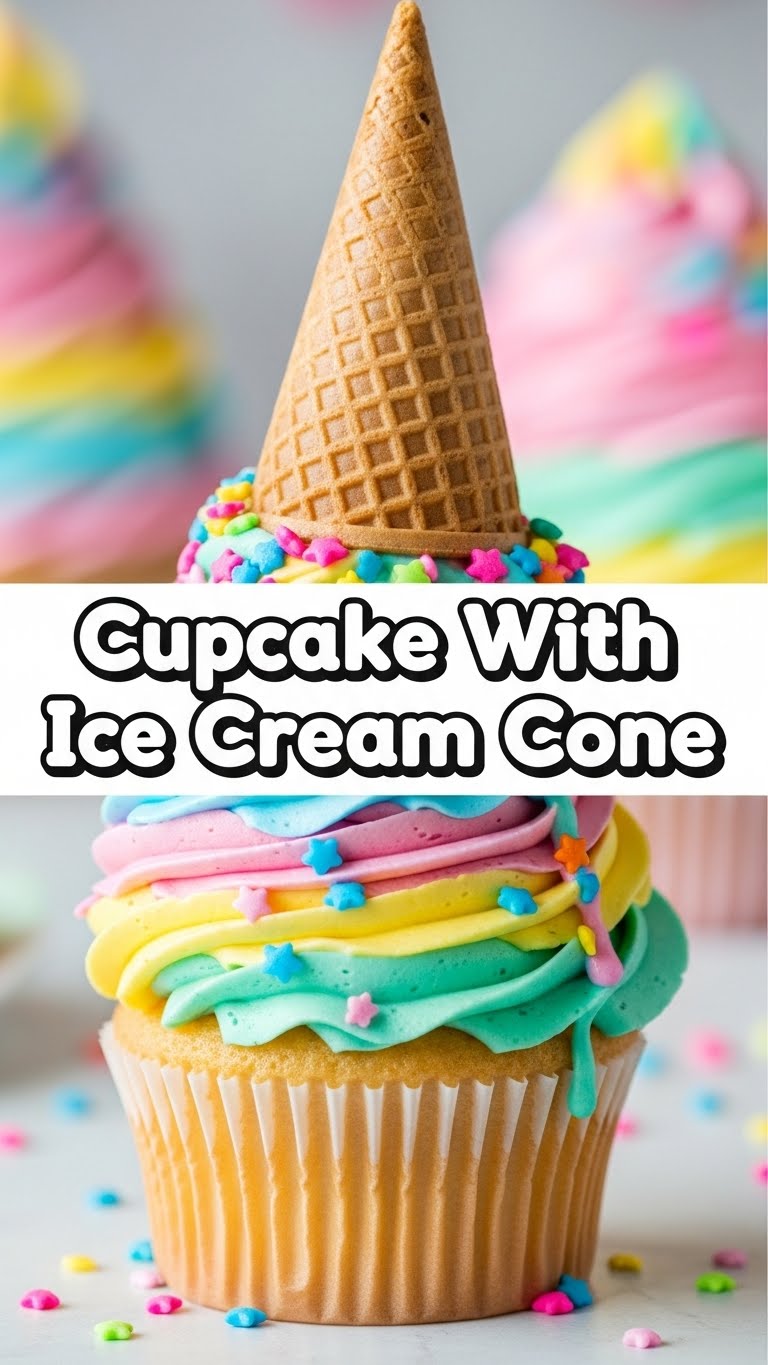
Ever looked at a cupcake and thought, “You know what this needs? More… *structure*?” Or maybe you just love the idea of eating cake without a plate, like some kind of civilized barbarian? Either way, you’re in the right place, friend. Because today, we’re smashing two dessert titans together into one glorious, edible cone of happiness: the Cupcake Ice Cream Cone! No plates, no forks, just pure, unadulterated, handheld joy.
Why This Recipe is Awesome
Look, life’s short. Why spend it washing extra dishes when you can just eat the container? This recipe is basically a genius hack for people who love dessert but hate adulting. It’s super simple, incredibly fun to make (especially if you have tiny human helpers you want to distract), and it looks way more impressive than the actual effort involved. Seriously, **it’s practically idiot-proof.** Even I, a self-proclaimed culinary chaos agent, managed not to burn down the kitchen with this one. Plus, it’s portable! Hello, picnic MVP!
Ingredients You’ll Need
- Boxed cake mix (your fave flavor, no judgment here!) – Because who has time to make cake from scratch *and* shove it into a cone?
- Eggs (usually 3, check your box, my friend!) – For binding your dreams together.
- Vegetable oil (or whatever oil your mix demands) – To keep things moist and happy.
- Water (the magical liquid of life) – Straight from the tap, don’t get fancy.
- Ice cream cones (the flat-bottom kind, **this is crucial!** Sugar cones get soggy, waffle cones are too wide. Trust me.) – The edible architecture!
- A can of frosting (any flavor, go wild!) – The crown jewel, or make your own if you’re feeling ambitious (but why, really?).
- Sprinkles (because life’s too short for boring desserts) – **Mandatory fun.**
Step-by-Step Instructions
- **Preheat Your Oven & Prep Your Cones:** First things first, get that oven nice and toasty to the temperature specified on your cake mix box. While it’s heating, grab a muffin tin. Place one flat-bottom ice cream cone in each muffin cup. This is their little support system, FYI.
- **Mix That Cake Batter:** In a large bowl, combine your cake mix, eggs, oil, and water exactly as directed on the box. Whisk it up until it’s smooth and there are no lumpy surprises. Don’t overmix, though, or you’ll get tough cupcakes – and nobody wants a tough cupcake!
- **Fill ‘Em Up:** Carefully spoon the cake batter into each ice cream cone. **Fill them about two-thirds full.** Remember, cake rises! You don’t want an overflow situation turning your cones into lava volcanoes.
- **Bake ‘Em Baby!** Pop the muffin tin (with the cones) into your preheated oven. Bake for the time recommended for cupcakes on your cake mix box, usually around 18-22 minutes. Keep an eye on them – they’re done when a toothpick inserted into the center comes out clean.
- **Cool Down:** Once baked, carefully remove the cones from the muffin tin and place them on a wire rack to cool completely. **Patience is a virtue here!** Trying to frost a warm cupcake cone is a one-way ticket to a melted, gooey mess.
- **Frost & Decorate:** Once they’re completely cool (and I mean *completely*), it’s frosting time! You can spoon it on, spread it with a knife, or get fancy with a piping bag if you’re feeling extra. Finish with a generous shower of sprinkles because, honestly, what’s a party without confetti?
Common Mistakes to Avoid
- **Using pointy sugar cones:** Rookie mistake! They’ll tip over, and your batter will go everywhere. Stick to the flat-bottomed kind, seriously.
- **Overfilling the cones:** We talked about this! Unless you want cake batter exploding out the top like a delicious, sugary geyser, fill only 2/3 full.
- **Frosting while warm:** Impatience is not your friend here. You’ll end up with frosting soup, and your beautiful creation will look like it had a rough night out. Let them cool!
- **Forgetting the sprinkles:** This isn’t a mistake, it’s a tragedy. **Sprinkles are non-negotiable.**
Alternatives & Substitutions
- **Cake Mix Flavor:** Literally any flavor works! Chocolate, vanilla, funfetti, red velvet – go with your heart! IMO, funfetti always brings the most joy.
- **Frosting:** Canned is easy, but if you’re feeling Martha Stewart-ish, make your own buttercream! Cream cheese frosting on a red velvet cone? Divine.
- **Toppings:** Beyond sprinkles, think mini chocolate chips, chopped nuts, a drizzle of caramel or hot fudge, or even a mini candy bar perched on top. Get creative!
- **Gluten-Free/Vegan:** Many cake mixes now come in GF or vegan options. Just check the box and ensure your cones are compatible too. Easy peasy!
FAQ (Frequently Asked Questions)
- “Can I use regular ice cream cones?” Nope! **Flat-bottomed is the way to go.** The pointy ones will just fall over and cause a delicious disaster in your oven.
- “My cones are getting soft, what gives?” This can happen if they sit too long after baking, especially in humid conditions. They’re best enjoyed the day they’re made! **Store them in an airtight container at room temp** for a day or two max.
- “Can I bake them without a muffin tin?” You *could* try, but they’d likely tip over and spill. The muffin tin is like their little safety net. Don’t skip it!
- “What if I don’t have a wire rack?” A plate or cutting board will do in a pinch, but a wire rack allows air to circulate, cooling them faster and preventing sogginess.
- “Can I make the batter ahead of time?” You *can*, but it’s generally best to bake cake batter soon after mixing for the best rise and texture. Better to mix and bake!
- “Is it okay to eat two… or three?” Is the sky blue? Is water wet? Of course it is! You made them, you get to enjoy them. 😉
Final Thoughts
See? Told you it was easy! Now you’ve got these ridiculously adorable, perfectly portable cupcake ice cream cones that are guaranteed to make anyone smile. Take ’em to a party, pack ’em for a picnic, or just hoard them all for yourself (no judgment, we’ve all been there). You’ve successfully merged two dessert legends, and frankly, that’s a culinary achievement worthy of a medal. Now go impress someone—or yourself—with your new culinary skills. You’ve earned it!


