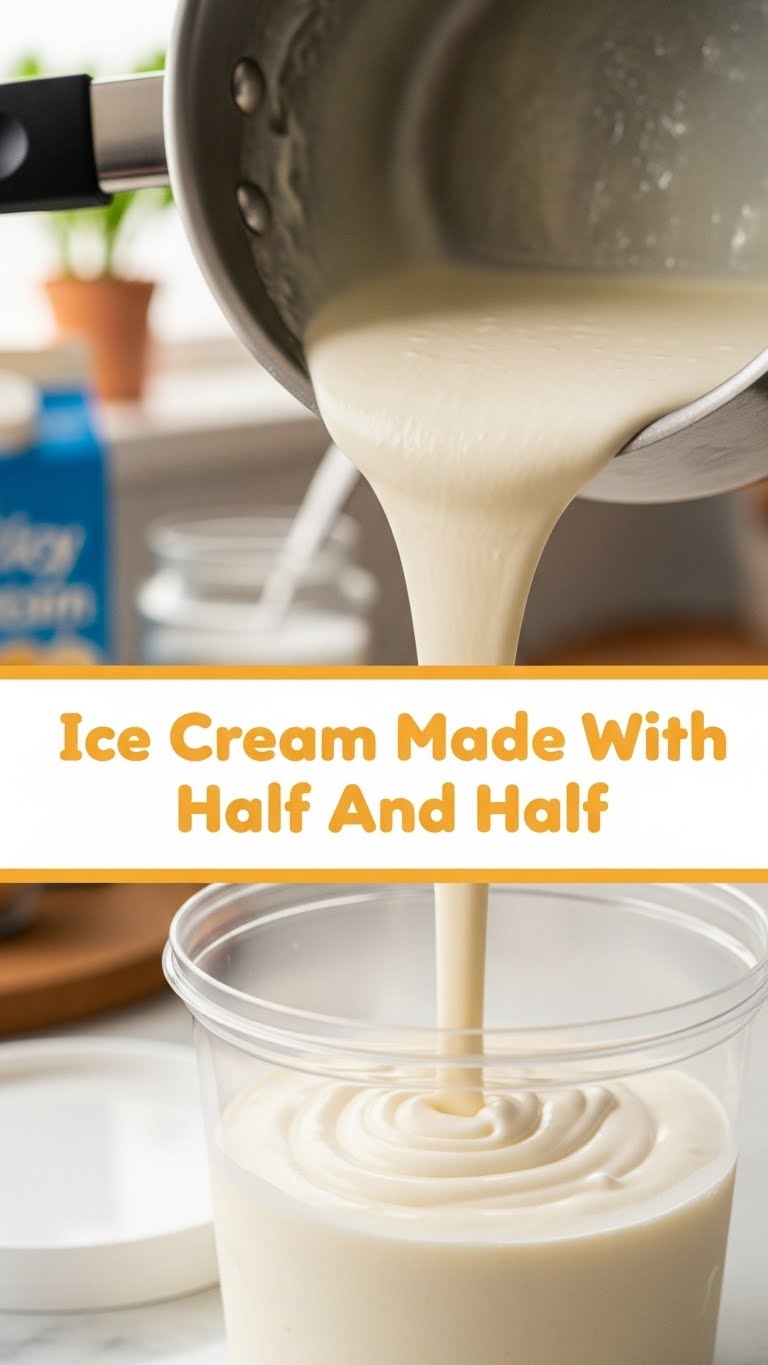
So you’re craving something creamy, cold, and utterly delicious but the thought of wrestling with heavy cream and an hour-long churn cycle has you ready to just eat cereal for dinner? Same, friend. Same. Let’s make some ice cream that’s shockingly easy, uses a pantry staple you probably already have, and will make you feel like a culinary genius without actually breaking a sweat. We’re talking about Half and Half Ice Cream, baby! Get ready for some frosty fun.
Why This Recipe is Awesome
Okay, let’s be real. This recipe is awesome because it’s pretty much **idiot-proof**. Seriously, if I can make it without setting off the smoke detector (a common occurrence in my kitchen, NGL), you’re golden. It’s got fewer ingredients than your average grocery list, takes minimal prep time, and best of all? It delivers a delightfully smooth, not-too-rich ice cream that totally hits the spot. Plus, using half and half means it’s a little lighter on the fat scale than traditional ice cream, so you can tell yourself it’s practically health food. Don’t worry, I won’t judge.
Ingredients You’ll Need
- 2 cups Half and Half: The star of our show! That perfect creamy-yet-light combo.
- ½ cup Granulated Sugar: For sweetness, obviously. Don’t skimp, unless you like sad, unsweetened ice cream.
- 1 teaspoon Vanilla Extract: The MVP of flavor. Use the good stuff if you have it; it really makes a difference.
- Pinch of Salt: Sounds weird, but trust me. It really **amps up the flavor** and balances the sweetness. Just a tiny pinch!
Step-by-Step Instructions
- Grab a medium-sized bowl. Combine your half and half, granulated sugar, vanilla extract, and that tiny pinch of salt. Give it a good whisk until the sugar is completely dissolved. You don’t want grainy ice cream, do you?
- Pour your mixture into your ice cream maker’s pre-chilled bowl. Now, let your trusty ice cream maker do its thing! Follow your specific machine’s instructions, but generally, it’ll churn for about 20-30 minutes until it looks like soft-serve.
- Once it’s soft and creamy, transfer the ice cream to an airtight container. A loaf pan works great if you don’t have a specific ice cream tub.
- Pop that container into the freezer for at least 2-4 hours to let it firm up properly. This is the hardest part: waiting!
- Scoop it up and enjoy your homemade masterpiece!
Common Mistakes to Avoid
- Not fully dissolving the sugar: You’ll end up with gritty ice cream, and no one wants that. Whisk, whisk, whisk!
- Overfilling your ice cream maker: The mixture expands as it freezes, so leave some room. Otherwise, you’ll have an ice cream overflow situation, and trust me, it’s not as fun as it sounds.
- Skipping the chilling time: Seriously, don’t just eat it straight from the machine unless you want a very soupy “ice cream” experience. Patience is a virtue, especially in ice cream making!
- Using super old vanilla: If your vanilla extract has been sitting in the back of your pantry since the dinosaurs roamed, it might not pack the punch you need. Fresh is best!
Alternatives & Substitutions
Feeling adventurous? Here are a few ways to jazz up your basic half and half ice cream:
- Chocolate Lover’s Dream: Add 2 tablespoons of unsweetened cocoa powder to your mixture along with the sugar. Or, stir in some chocolate chips during the last few minutes of churning.
- Minty Fresh: Swap out half of the vanilla extract for ½ teaspoon of peppermint extract. A drop or two of green food coloring makes it extra fun!
- Fruity Fun: Swirl in some fruit preserves (like strawberry or raspberry) after churning, or blend in some pureed fruit (like mashed bananas or berries) before churning.
- Boozy Bliss: A tablespoon of your favorite liqueur (like Kahlúa or Bailey’s) can add a nice grown-up twist. Just add it with the vanilla! (FYI, alcohol lowers the freezing point, so it might be a tad softer.)
FAQ (Frequently Asked Questions)
Got questions? I’ve got answers (mostly humorous ones).
- Can I make this without an ice cream maker? Technically, yes, but it involves a lot of whisking every 30 minutes in the freezer. Do you really want arm day to be ice cream day? IMO, just use a machine.
- Why half and half and not heavy cream? Because we’re rebels! Plus, half and half makes a slightly less rich, lighter ice cream that’s still wonderfully creamy. It’s a nice change of pace, and let’s face it, most of us have half and half on hand for coffee anyway.
- My ice cream is too hard. What gives? You probably froze it for too long, or your freezer is set to “arctic blast.” Take it out a few minutes before serving to soften slightly.
- Can I add toppings? Is that even a question?! Of course! Sprinkles, hot fudge, caramel, crushed cookies – go wild! This is your ice cream journey.
- How long does homemade ice cream last? Ideally, eat it within a week for the best texture and flavor. After that, it might start getting a bit icy, but it’s still edible. Unless you leave it out on the counter. Don’t do that.
Final Thoughts
See? That wasn’t so scary, was it? You just whipped up some delicious homemade ice cream with minimal fuss and maximum flavor. Now go impress someone—or yourself—with your new culinary skills. You’ve earned those scoops! And remember, calories don’t count when you make it yourself. That’s just science (probably).


