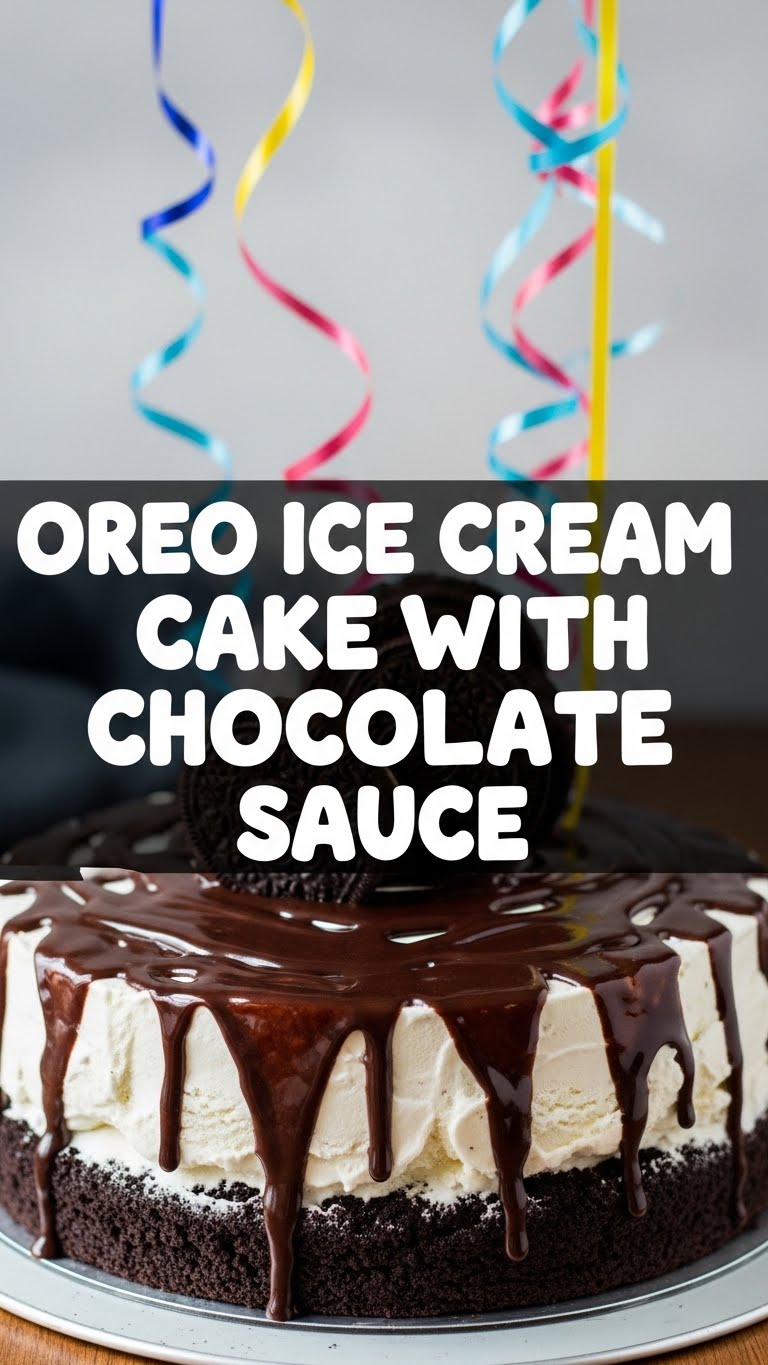
So you’re craving something ridiculously good but also want to avoid, you know, actual *baking*? My friend, you’ve come to the right place. We’re about to embark on a journey to create an Oreo Ice Cream Cake that’s so easy, it practically makes itself. And then we’re drowning it in chocolate sauce because, frankly, why wouldn’t we? Get ready to unleash your inner dessert wizard without even breaking a sweat (unless you’re just *really* excited, which is fair).
Why This Recipe is Awesome
First off, let’s be real: this cake is basically a cheat code for dessert greatness. The number one reason it’s awesome? **No oven required!** You heard me. No sweating in front of a hot box of doom, no preheating anxiety. Just good old freezer magic. Secondly, it’s pretty much **idiot-proof**. If I can whip this up without setting off the smoke detector (a common occurrence in my kitchen, FYI), you totally can too. It’s perfect for impressing people without actually trying too hard, which is basically my life motto. Plus, it involves Oreos AND ice cream. What’s not to love? It’s basically happiness in a springform pan, ready to solve all your life’s problems. (Disclaimer: May not solve *all* problems, but definitely helps with dessert cravings.)
Ingredients You’ll Need
Gather your edible weapons, warrior! Here’s what you’ll need to conquer this delicious beast:
- Oreos: One family-sized package. Because “just enough” is a myth when it comes to Oreos, and we need some for the crust, the layers, AND the topping.
- Unsalted Butter: ½ cup (that’s one stick), melted. Real butter, please. Don’t be shy. Margarine is for toast, not for crafting dreams.
- Vanilla Ice Cream: 1.5 quarts (about 6 cups), softened. The good stuff! Softened just enough to stir, but not a full puddle. We’re aiming for spreadable, not soupy.
- Whipped Topping: One 8-ounce container (like Cool Whip), thawed. Or, if you’re feeling fancy and want to whip it yourself, go for it! No judgment either way.
- Chocolate Syrup or Hot Fudge Sauce: For drizzling. Store-bought is totally fine, or make your own if you’re feeling extra. We’re going for maximum chocolatey goodness here.
- Optional Toppings: Sprinkles, extra crushed Oreos (told you!), a cherry on top if you’re feeling retro. Live your best life.
Step-by-Step Instructions
- **Crush the Oreos:** Grab about 30-35 Oreos (reserving the rest for later layers and topping). Put them in a large Ziploc bag and unleash your inner Hulk with a rolling pin. Or, if you’re civilized, use a food processor until they’re fine crumbs. Mix these crumbs with your ½ cup of melted butter.
- **Press the Crust:** Press the buttery Oreo crumbs evenly into the bottom of a 9-inch springform pan. Use the back of a spoon or your clean hands. **Pop it in the freezer for about 15-20 minutes** while you prepare the next step. This makes it super firm.
- **Layer the Ice Cream (Part 1):** Take half of your softened vanilla ice cream and spread it over the chilled Oreo crust. Grab about 10 more Oreos, crush them roughly (chunks are good here!), and sprinkle half of them over this ice cream layer.
- **Layer the Ice Cream (Part 2):** Now, spread the remaining half of your softened vanilla ice cream over the previous layer. Sprinkle the rest of your roughly crushed Oreos on top.
- **Top it Off:** Gently spread the thawed whipped topping over the final ice cream layer. Crush about 5-10 more Oreos (fine crumbs this time!) and sprinkle them prettily over the whipped topping. See? I told you “just enough” was a myth!
- **Freeze, Baby, Freeze!** Cover your masterpiece with plastic wrap or aluminum foil. Place it back in the freezer for at least 4-6 hours. Honestly, overnight is even better for solid, sliceable deliciousness. Patience is a virtue, especially when it comes to ice cream cake.
- **Sauce it Up & Serve!** When you’re ready to serve, remove the sides of the springform pan. Drizzle that glorious chocolate sauce (or hot fudge, or caramel, or both!) all over the top. Slice, serve, and bask in the glory of your non-baking culinary prowess. You deserve it!
Common Mistakes to Avoid
Even though this is “idiot-proof,” there are still a few pitfalls that can turn your dream cake into a meh cake. Don’t be *that* person:
- **Not chilling the crust long enough:** This is a big one. If your crust isn’t super firm, it’ll be crumbly chaos when you cut it, not a firm foundation. Rookie mistake!
- **Ice cream too hard or too melted:** Too hard, and you’ll break your spoon trying to spread it. Too melted, and it’s a soupy mess that will refreeze with weird ice crystals. Aim for spreadable, like soft-serve.
- **Forgetting to line your springform pan with parchment paper (on the bottom):** While not strictly *required*, trust me, a circle of parchment on the bottom makes transferring and cutting SO much easier. Otherwise, you might fight with your cake.
- **Eating all the crushed Oreos before they make it into the cake:** A classic, I know, but you *need* them for the layers, pal! Exercise some self-control. Or buy extra. (I recommend buying extra.)
Alternatives & Substitutions
Feeling adventurous? Or just missing an ingredient? Here are some ways to shake things up:
- **Ice Cream Flavors:** Vanilla is a classic for a reason, but why stop there? Mint chip? Chocolate? Strawberry? Go wild! Cookie dough ice cream would be absolutely epic, IMO. Just make sure it complements the Oreos.
- **Whipped Topping:** If Cool Whip isn’t your jam, whip up some heavy cream with a touch of powdered sugar and vanilla extract until stiff peaks form. Tastes fancier, honestly.
- **Crust Variations:** Graham cracker crust is a thing, but… why stray from Oreos? Just sayin’. If you absolutely must, you can swap for 2 cups of graham cracker crumbs mixed with 1/2 cup melted butter.
- **Sauce Swaps:** Caramel sauce instead of chocolate? Or both? Now we’re talking! A raspberry drizzle for a tangy kick could also be a fun contrast. Don’t be afraid to experiment!
FAQ (Frequently Asked Questions)
- **Can I make this ahead of time?** Absolutely! It’s actually better made a day or two in advance. Less stress for you on party day, and the flavors get to hang out and get happy.
- **What if I don’t have a springform pan?** You can use a regular 9×13 baking dish, but slicing might be a bit messier. A deep pie plate or an 8×8 square pan could also work for a smaller, thicker version.
- **How long does it last in the freezer?** Covered tightly with plastic wrap and then foil, it’ll last up to 2 weeks. But let’s be real, it won’t last that long in your house.
- **Can I use other cookies for the crust?** Technically, yes. But… why? Are you trying to hurt my feelings? Oreos are supreme, but if you’re feeling rebellious, chocolate chip cookies or Nilla Wafers could work.
- **My ice cream melted too much during assembly, help!** No worries! Just pop the whole thing back into the freezer for 15-30 minutes between layers if needed to firm things up. Patience, young grasshopper, is key.
- **Should I thaw it before serving?** A little! Let it sit at room temperature for 5-10 minutes (or in the fridge for 15-20 minutes) to make slicing easier. But don’t let it become a puddle! We’re making cake, not soup.
Final Thoughts
And there you have it, folks! An Oreo Ice Cream Cake with Chocolate Sauce that’s ridiculously easy, ridiculously delicious, and guaranteed to make you the hero of any gathering (or just your couch on a Tuesday night). You’ve successfully conquered dessert without even turning on your oven. Now go impress someone—or yourself—with your new culinary skills. You’ve earned it, you glorious non-baker, you!


