Okay, spill the beans. You’re scrolling, you’re hungry, and you just remembered that adulting means you *can* eat dessert first. Right? Good. Because today, my friend, we’re diving headfirst into the glorious world of fudgy chocolate brownies, perfectly paired with a scoop (or three) of vanilla ice cream. No fancy chef skills required, I promise. This isn’t rocket science; it’s just pure, unadulterated comfort food therapy. So, apron on (or don’t, I won’t tell), let’s get baking!
Why This Recipe is Awesome
Let’s be real, you’re not trying to win MasterChef. You just want something delicious without turning your kitchen into a disaster zone. This recipe? It’s your secret weapon. It’s **idiot-proof**, I swear, even *my* cat could probably supervise this one. It’s fast enough for a weeknight craving but fancy enough to trick guests into thinking you’re a culinary genius. Plus, it brings together two of the best things on earth: warm, gooey chocolate and cold, creamy vanilla. A match made in heaven, or at least, in your mouth. You’re welcome.
Ingredients You’ll Need
Gather ’round, fellow snack enthusiast! Here’s your treasure list. Keep it simple, keep it real.
- 1 cup (2 sticks) Unsalted Butter: The good stuff. Don’t even *think* about margarine. Your soul will cry, and your brownies will too.
- 2 cups Granulated Sugar: Sweetness! You know the drill.
- 4 Large Eggs: Binder extraordinaire. And no, you don’t need to ask if they’re happy, just crack ’em.
- 1 teaspoon Vanilla Extract: A splash of magic. Don’t skip it; vanilla is the unsung hero that makes chocolate sing.
- 1 cup All-Purpose Flour: Just plain old flour. No need for anything fancy or gluten-free unless you *really* have to.
- ¾ cup Unsweetened Cocoa Powder: The darker, the better for that deep, chocolatey goodness. Hershey’s is totally fine here.
- ½ teaspoon Salt: Trust me, it makes the chocolate taste *more* chocolatey. It’s science (and delicious).
- 1 cup Chocolate Chips (optional, but highly recommended): Because more chocolate is always a good idea, right? Dark, semi-sweet, milk – your call!
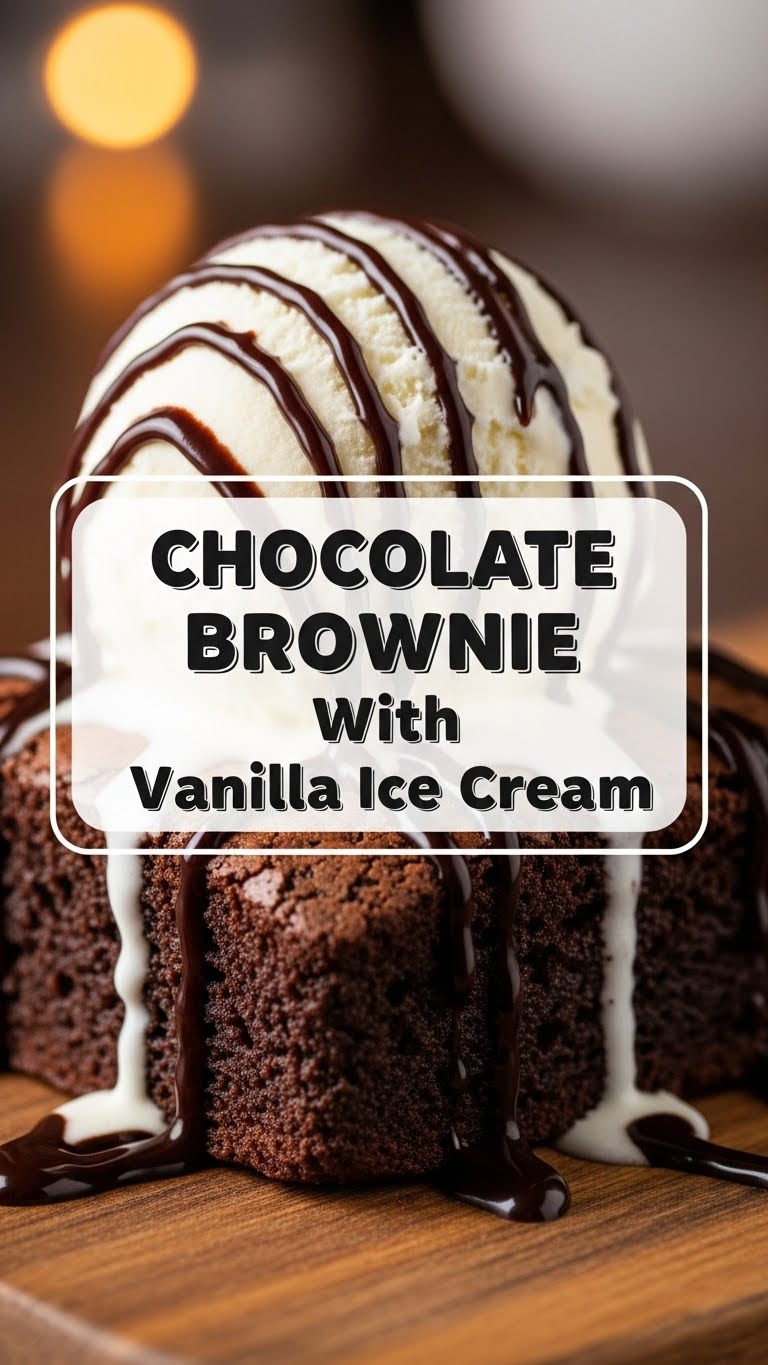
- Lots of Vanilla Ice Cream: The perfect sidekick. Don’t settle for less, this is non-negotiable!
Step-by-Step Instructions
Alright, let’s turn these glorious ingredients into edible happiness. Follow these simple steps and try not to lick the bowl *too* much.
Preheat & Prep: First things first, crank your oven to 350°F (175°C). Then, grab an 8×8 or 9×9 inch baking pan. Line it with parchment paper, leaving an overhang on two sides (this makes lifting them out later a breeze). Give it a quick spray with cooking non-stick spray, just for good measure.
Melt the Goodness: In a medium microwave-safe bowl or a saucepan over low heat, melt the butter. Once it’s liquid gold, stir in the granulated sugar. Mix until it’s combined and looks a bit glossy. No need to boil it, just get it warm and happy.
Wet Ingredients Whisk: Remove the butter-sugar mix from the heat (if using a saucepan) and let it cool for just a minute. Then, one by one, whisk in the eggs until they’re fully incorporated. Stir in that glorious vanilla extract. You should have a smooth, shiny mixture.
Dry Mix Time: In a separate bowl, whisk together the flour, cocoa powder, and salt. Make sure there are no lumps of cocoa, because nobody wants a powdery surprise in their brownie.
Combine with Care: Gradually add the dry ingredients to the wet ingredients. Mix gently until *just* combined. And I mean *just*. **Do not overmix!** A few streaks of flour are totally fine; you’ll mix them out with the chips. If you’re adding chocolate chips, fold them in now. Extra chocolatey goodness, *FYI*!
Bake It Off: Pour your beautiful brownie batter into the prepared pan and spread it evenly. Pop it into your preheated oven and bake for 25-30 minutes. You’re looking for a crackly top and when a toothpick inserted into the center comes out with moist crumbs, not wet batter.
Cool Down & Serve: Once baked, let those beauties cool in the pan on a wire rack for at least 15-20 minutes. I know it’s hard, but **patience is a virtue** for clean cuts! Once slightly cooled, use the parchment paper overhang to lift the entire slab out. Slice ’em up, grab a warm piece, and crown it with a generous scoop (or two!) of cold vanilla ice cream. Instant bliss!
Common Mistakes to Avoid
Listen up, buttercup! Even easy recipes have pitfalls. Steer clear of these rookie blunders for maximum brownie glory.
- Overmixing the Batter: This is the cardinal sin of brownie making! You’re making brownies, not bread. Overmixing develops gluten, leading to cakey, not fudgy, brownies. No one wants a dry brownie, c’mon.
- Overbaking: This is a close second for cardinal sins! Brownies continue to cook slightly after they come out. Pull them when a toothpick still has moist crumbs, not liquid batter, but definitely not dry. A little underdone is better than overdone for fudgy perfection.
- Not Preheating the Oven: Seriously? That’s like trying to run a marathon without tying your shoes. It throws off baking times and can lead to uneven cooking. Just do it, it takes 15 minutes.
- Cutting Them Hot: I know, I know, the temptation is real. But wait! Let them cool a bit, otherwise, you’ll have a delicious, crumbly mess. If you want neat squares, let them chill completely. If you just want a spoonful, go for it, I won’t judge.
Alternatives & Substitutions
Feeling a little adventurous? Or just realized you’re out of one tiny thing? Here are some simple swaps and additions.
- Butter Swaps: While butter is king, if you absolutely must, you can use a good quality vegan butter alternative or even coconut oil (it will impart a subtle coconut flavour, which isn’t bad, IMO!).
- Chocolate Chip Remix: Don’t have chocolate chips? Chop up your favorite chocolate bar! Or mix it up with white chocolate chips, butterscotch chips, chopped nuts (walnuts, pecans), or even a swirl of peanut butter (swirl it in before baking for a marbled effect).
- Ice Cream Extravaganza: Vanilla is classic, but if you’re feeling wild, try mint chocolate chip, coffee, strawberry, or even a salted caramel ice cream. Go nuts!
- Cocoa Powder Blues: If you only have Dutch-processed cocoa, it’ll still work, but regular unsweetened cocoa typically gives a more intense “brownie” flavor here. No biggie, either way, it’s chocolate.
FAQ (Frequently Asked Questions)
Got questions? I’ve got answers. And probably more sarcasm.
- “Can I use margarine instead of butter?” Well, technically yes, but why hurt your soul like that? Butter is flavor, fudginess, and pure joy. Margarine is… less so. But if it’s all you have, proceed with caution and manage expectations.
- “My brownies are cakey, what went wrong?” Oh dear. You probably overmixed or overbaked them, my friend. See ‘Common Mistakes to Avoid’ for the full debrief. Less mixing, less baking time for that coveted fudgy texture!
- “How do I know when they’re done?” A toothpick inserted in the center should come out with moist crumbs, but not wet batter. If it’s totally clean, you’ve gone too far!
- “Can I add nuts?” Absolutely! A handful of walnuts or pecans (about ½ to ¾ cup) will add a lovely crunch. Just fold them in with the chocolate chips.
- “How long do they last?” If you can make them last, they’ll be good for 3-4 days at room temp in an airtight container. But let’s be honest, they won’t last that long.
- “Can I freeze them?” Yup! Once completely cooled, wrap individual brownies tightly in plastic wrap and then again in foil. They’ll last a couple of months. Just thaw at room temp or pop in the microwave for a quick treat.
- “What if I don’t have an 8×8 or 9×9 pan?” A slightly larger pan (like 9×13) will give you thinner brownies that bake faster (adjust time down!). A smaller pan will give you thicker brownies that need more baking time. Just keep an eye on ’em!
Final Thoughts
And there you have it, folks! Your very own batch of sinfully delicious chocolate brownies, ready to mingle with some chilly vanilla ice cream. You’ve conquered the oven, tamed the chocolate, and now you deserve all the applause (and the dessert). Go on, treat yourself, you’ve earned it! And maybe make an extra batch for your ‘friends’ – or just for future you. No judgment here. Now go impress someone—or yourself—with your new culinary skills. You’ve earned it!


