So, you’ve scrolled past one too many gorgeous apple pie photos on Instagram and thought, “Ugh, I wish I could make that without spending my entire weekend in the kitchen!” Right? Same, friend, same. But what if I told you there’s a way to make a show-stopping apple pie – one with those fancy, swirly, spiral apple slices – that’s actually, like, surprisingly chill to pull off? Welcome to your new favorite recipe. You’re about to become a pie wizard without even breaking a sweat. Mostly.
Why This Recipe is Awesome
Listen, I get it. Pie can be intimidating. But this isn’t just any apple pie; it’s the “I-look-like-a-culinary-genius-but-I-basically-just-sliced-some-apples-really-thin” pie. The spiral slices aren’t just for looks (though, seriously, *chef’s kiss*), they also cook more evenly and give you that perfect apple-to-crust ratio in every bite. Plus, it’s pretty darn **idiot-proof**. Even I, someone who once accidentally used salt instead of sugar in a cake (don’t ask), managed to nail this one. It’s warm, comforting, and basically a hug in pie form. What’s not to love?
Ingredients You’ll Need
Gather your troops! Here’s what you’ll need to make this glorious creation. Don’t worry, nothing too wild.
- **For the Crust (or just grab a store-bought one, no judgment here!):**
- 2 ½ cups all-purpose flour (the standard stuff, not fancy artisanal oat flour, unless you’re feeling extra)
- 1 teaspoon salt (because even pie needs a little seasoning)
- 1 cup (2 sticks) **unsalted butter**, super cold and cut into ½-inch cubes (the colder, the flakier, trust me!)
- ½ cup ice water (literally, water with some ice in it. Helps keep that butter happy and cold)
- **For the Filling (the star of the show!):**
- 6-8 medium-sized apples (Granny Smith, Honeycrisp, Fuji – a mix is great for complexity!)
- ½ cup granulated sugar (adjust to your apple’s sweetness)
- ¼ cup packed light brown sugar (adds that molasses-y depth)
- 2 tablespoons all-purpose flour or cornstarch (our thickening agents, nobody wants a watery pie!)
- 1 teaspoon ground cinnamon (the MVP of apple pie spices)
- ¼ teaspoon ground nutmeg (a little warmth, goes a long way)
- Pinch of ground cloves or allspice (optional, but adds a nice “hmm, what’s that flavor?” touch)
- 1 tablespoon lemon juice (brightens everything up and keeps apples from browning)
- 2 tablespoons unsalted butter, cut into small pieces (to dot over the filling for extra richness)
- **For that Golden Finish:**
- 1 egg, whisked with 1 tablespoon water (egg wash for shine!)
- 1 tablespoon coarse sugar (adds sparkle and a little crunch)
Step-by-Step Instructions
Alright, apron on, good vibes only! Let’s get this pie party started.
- **Make Your Dough (or Unroll Your Store-Bought Glory):** If making from scratch, combine flour and salt in a large bowl. Cut in the super-cold butter using a pastry blender or your fingertips until it resembles coarse meal with some pea-sized butter chunks. Gradually add ice water, one tablespoon at a time, mixing until just combined. Don’t overmix! Divide dough in half, flatten into discs, wrap in plastic, and **chill in the fridge for at least 30 minutes**. This is crucial for flakiness, FYI.
- **Prep Those Apples:** Peel, core, and then the fun part: slice your apples super thin, about 1/8 inch thick. A mandoline makes this a breeze and ensures even slices; just be careful with your fingers! If you’re knife-wielding, aim for consistency. Toss the thin apple slices with lemon juice in a large bowl to prevent browning.
- **Whip Up the Filling:** In a separate small bowl, mix granulated sugar, brown sugar, flour/cornstarch, cinnamon, nutmeg, and any other spices you’re using. Sprinkle this mixture over your lemon-coated apple slices and toss gently until all the apples are coated.
- **Roll Out the Crust:** On a lightly floured surface, roll out one disc of chilled dough into a 12-inch circle. Carefully transfer it to a 9-inch pie plate. Trim the edges, leaving about a ½-inch overhang. Pop this back in the fridge while you roll out the other dough disc for your top crust or lattice.
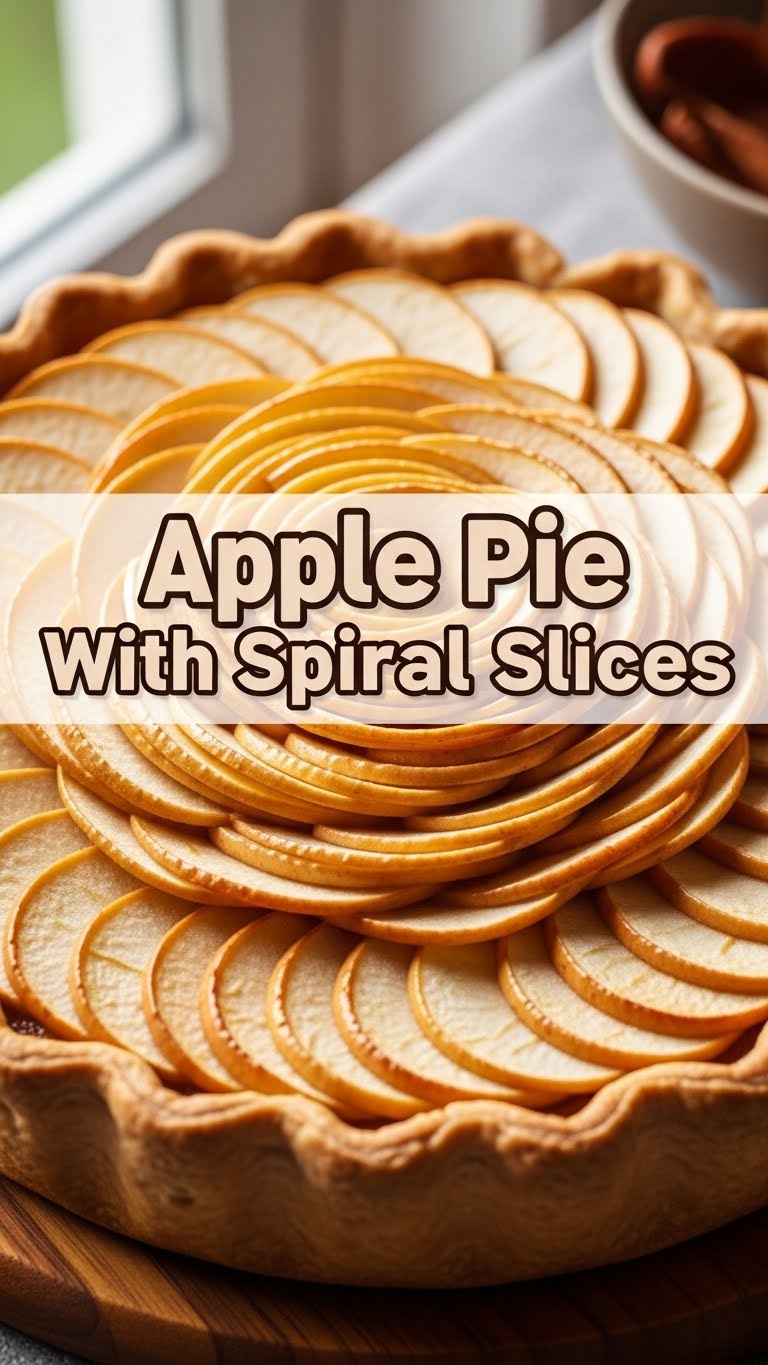
- **The Spiral Magic Begins!** Now for the showstopper. Starting from the outside edge of your pie plate, arrange the thin apple slices in concentric circles, slightly overlapping them. Work your way inwards, building up a beautiful, tight spiral. You want them pretty packed in there, as they’ll shrink a bit during baking.
- **Dot and Top:** Dot the top of your apple spiral with the small pieces of butter. Place your second rolled-out crust (or lattice top) over the apples. Trim, crimp, or flute the edges to seal. If using a solid top crust, cut a few slits in the top for steam to escape.
- **Chill (Again!) & Preheat:** Stick your assembled pie back in the fridge for about 15-20 minutes. This helps prevent shrinkage. While it’s chilling, preheat your oven to **425°F (220°C)**.
- **Bake It Up:** Brush the top crust with the egg wash and sprinkle with coarse sugar. Place the pie on a baking sheet (to catch any potential drips) and bake for 15 minutes at 425°F.
- **Reduce & Finish Baking:** Reduce the oven temperature to **375°F (190°C)** and continue baking for another 45-55 minutes, or until the crust is golden brown and the filling is bubbling thickly. If the crust starts browning too quickly, tent it loosely with foil.
- **Cool Down, Buttercup:** This is the hardest part, IMO. Let the pie cool on a wire rack for at least 2-3 hours before slicing. This allows the filling to set properly. Seriously, resist the urge to cut it hot – it’ll be a soupy mess!
Common Mistakes to Avoid
We’ve all been there. Learn from my past (many) pie-tastrophes!
- **Overworking the Dough:** This is the arch-nemesis of flaky crusts. Handle the dough as little as possible. The more you work it, the tougher it gets. Think gentle, swift movements.
- **Not Chilling Your Dough (Enough):** Seriously, those chill times aren’t just suggestions. Cold butter = flaky crust. Warm butter = sad, greasy crust. Don’t skip it!
- **Under-Baking the Filling:** Nobody wants crunchy apples in their pie. Make sure the filling is bubbling in the center, not just around the edges. A good indicator is if a thin knife goes into an apple slice with little resistance.
- **Skipping the Lemon Juice:** “Eh, it’ll be fine,” you think. No, it won’t. Lemon juice is your friend for both preventing brown apples and adding a crucial bright counterpoint to the sweetness.
- **Cutting it Too Soon:** Patience, grasshopper! Cutting into a hot pie before the filling has set is a surefire way to get a disappointing, runny slice. Give it time to cool and firm up.
Alternatives & Substitutions
Feeling adventurous? Or just working with what you’ve got? Here are some ideas!
- **Apple Varieties:** Don’t have the exact apples? No biggie! Use what’s available. Just adjust sugar if your apples are super sweet or super tart. Granny Smith (tart and firm), Honeycrisp (sweet, crisp), Fuji (sweet, firm), Gala (mild, sweet) are all great. A mix always adds depth.
- **Spice It Up:** Beyond cinnamon and nutmeg, feel free to add a little cardamom, ginger, or even a tiny pinch of white pepper for an unexpected kick. Pumpkin pie spice mix works in a pinch!
- **Crust Shortcuts:** Store-bought pie crusts are totally fine! No shame in saving time. You can even try puff pastry for a super flaky, slightly different top crust.
- **Thickening Agents:** If you’re out of flour, cornstarch or tapioca starch work wonderfully to thicken the filling. Use half the amount of cornstarch compared to flour.
- **Gluten-Free Option:** Swap out regular flour for a good quality 1:1 gluten-free baking blend in both the crust and the filling. Just follow the package directions for the crust.
FAQ (Frequently Asked Questions)
Got questions? I’ve got (mostly sarcastic) answers!
- **Can I use margarine instead of butter?** Well, technically yes, but why hurt your soul (and your pie’s flavor) like that? For a truly flaky, delicious crust, butter is king.
- **My crust is getting too dark! Help!** Rookie mistake to not have foil ready! Just gently tent the edges or the whole pie with aluminum foil to shield it from direct heat.
- **What if I don’t have a mandoline for the slices?** Fear not! A very sharp knife and some patience will get you there. Just aim for consistently thin slices. It’s more about the effort than the fancy tool.
- **How do I know when the apples are cooked through?** Stick a thin knife through one of the steam vents or a lattice opening. If it slides in easily without much resistance, they’re done.
- **Can I make this pie ahead of time?** Absolutely! You can assemble the whole pie (unbaked) and freeze it for up to a month. Bake from frozen, adding about 20-30 minutes to the baking time. Or bake it, let it cool completely, and store at room temp for a day or two.
- **Why do you recommend a mix of apples?** Using different apples gives you a more complex flavor profile – some tartness, some sweetness, and different textures. It’s like a party in your mouth!
Final Thoughts
You made it! Seriously, give yourself a pat on the back. You’ve just unlocked the secret to a stunning, delicious apple pie that will have everyone thinking you’re some kind of pastry wizard. This pie is perfect for holidays, Sunday dinners, or just because it’s Tuesday and you deserve something awesome. Now go impress someone – or, more importantly, yourself – with your new culinary skills. You’ve earned it!


