So you’re craving something warm, comforting, and utterly delicious but also want to feel like a gourmet chef without, you know, actually *being* a gourmet chef? And let’s be honest, you want those Instagram-worthy vibes. Same, friend, same! Forget those complicated recipes that require a culinary degree. We’re about to dive into making an apple pie that looks fancy pants but is actually, dare I say, **idiot-proof**. Yes, even you can do this. And yes, it will taste like a hug from your grandma, but look like it came from a Michelin-star bakery. Win-win!
Why This Recipe is Awesome
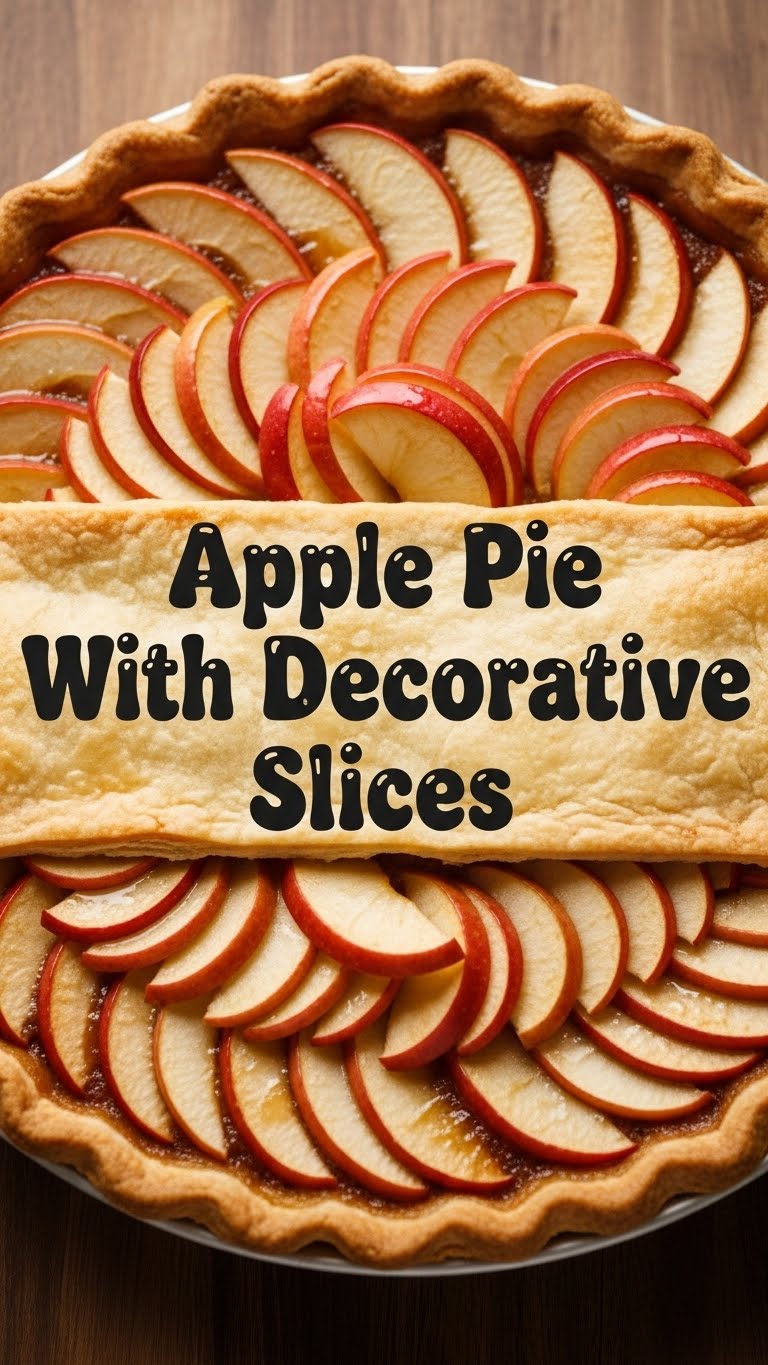
Okay, let’s get real. Why bother with *this* apple pie recipe when the internet is overflowing with them? Because this one hits different. First, it’s designed for minimal fuss. We’re talking about using a shortcut or two (no judgment here, only efficiency!). Second, it focuses on those glorious **decorative slices** that make people go, “OMG, you *made* that?!” without actually requiring an art degree or a steady surgeon’s hand. It’s the kind of pie that screams, “I put effort into this!” even if that effort mostly involved choosing a good pre-made crust. Plus, the filling is a classic, perfectly spiced, and won’t disappoint. It’s truly a showstopper that doesn’t demand your entire weekend. Trust me, if I didn’t mess it up, you won’t either.
Ingredients You’ll Need
Gather ’round, my culinary adventurers! Here’s what you’ll need to transform into a pie wizard. Don’t worry, no unicorn tears required.
- **For the Crust (the easy way out):**
- **2 pre-made pie crusts**, refrigerated. Seriously, don’t overthink this unless you *love* making dough from scratch (in which case, more power to ya!).
- **For the Apple Filling (the heart of the operation):**
- **6-8 medium apples**, a mix of sweet (like Fuji, Honeycrisp) and tart (like Granny Smith) is *chef’s kiss*. Peel ’em, core ’em, and slice ’em up.
- **1/2 cup granulated sugar** (or more/less depending on your sweet tooth and apple tartness).
- **1/4 cup packed light brown sugar** because it adds that lovely caramel-y depth.
- **2 tablespoons all-purpose flour** (or cornstarch) – our little secret for a thick, non-soupy filling.
- **1 teaspoon ground cinnamon** – mandatory, obviously.
- **1/4 teaspoon ground nutmeg** – brings the warmth.
- **Pinch of ground cloves or allspice** (optional, but a nice little kick).
- **1 tablespoon lemon juice** – brightens everything up and keeps apples from browning.
- **2 tablespoons unsalted butter**, cut into small pieces.
- **For the Decorative Touch & Glaze:**
- **1 large egg**, whisked with 1 tablespoon water (this is your shiny secret weapon – egg wash!).
Step-by-Step Instructions
Alright, let’s get this pie party started! Follow these simple steps, and you’ll be channelling your inner pie artist in no time.
- **Apple Prep Power-Up:** First things first, peel, core, and thinly slice all your apples. For the decorative top, you’ll want about 1/3 of your slices to be super thin and uniform. Think potato chip thin, but apple-y. The rest can be a *little* chunkier for the filling. Toss all the apple slices in a large bowl.
- **Mix the Magic Filling:** To that bowl of apples, add both sugars, flour (or cornstarch), cinnamon, nutmeg, cloves (if using), and lemon juice. Give it all a good toss until the apples are nicely coated. This ensures every bite is bursting with flavor.
- **Crust Deployment:** Grab one of your pre-made crusts. Carefully unroll it and fit it into a 9-inch pie dish. Press it gently against the bottom and sides. If you’re feeling fancy, crimp the edges now or wait until the top crust is on.
- **Fill ‘Er Up!:** Pour your glorious apple mixture into the crust. Dot the top of the filling with those small pieces of butter. These little butter pockets will melt into gooey deliciousness.
- **The Decorative Slice Show:** Now for the fun part! Take your thinly sliced apples and start arranging them on top of the pie filling. You can do a simple fanned-out pattern, concentric circles, or even a floral design. Don’t stress too much; even a slightly messy arrangement will look impressive once baked. **The key here is overlapping the slices** for that beautiful texture.
- **Seal the Deal & Glaze:** Carefully lay your second pie crust over the decorative apple slices. Trim any excess dough around the edges, leaving about an inch overhang. Now, crimp the top and bottom crusts together using your fingers or a fork. This not only seals the pie but also makes it look professionally finished.
- **Egg Wash for the Win:** Whisk that egg and water together. Using a pastry brush, gently brush the entire top crust and decorative slices with the egg wash. This is what gives your pie that gorgeous golden-brown, shiny finish. You can also sprinkle a little extra sugar on top for some sparkle and crunch.
- **Bake It Till You Make It:** Preheat your oven to **425°F (220°C)**. Place the pie on a baking sheet (to catch any potential drips, because nobody likes cleaning a burnt oven bottom). Bake for 15 minutes at 425°F, then reduce the temperature to **375°F (190°C)** and continue baking for another 35-45 minutes, or until the crust is golden brown and the filling is bubbly. If the crust starts browning too quickly, loosely cover the edges with aluminum foil.
- **Patience, Grasshopper:** This is arguably the hardest step. Once baked, let your masterpiece cool completely on a wire rack for at least 2-3 hours (or, ideally, even longer!). This allows the filling to set properly, preventing a watery, slumpy mess when you slice into it. Seriously, **don’t cut into it hot!**
Common Mistakes to Avoid
We’ve all been there. Burnt crusts, soggy bottoms, fillings that run away. Let’s learn from my past culinary misadventures so you don’t have to!
- **Thinking you don’t need to preheat the oven:** Rookie mistake! A cold oven means a sad, greasy crust. **Always preheat your oven fully.**
- **Not chilling your pie crust:** If you’re using homemade or even a thawed store-bought crust, a quick chill before baking helps prevent shrinkage and keeps it flaky.
- **Under-measuring your thickener:** Skimpy on the flour/cornstarch? Prepare for a soupy pie. Be precise, my friend, **a good thickener is crucial for a perfectly set filling.**
- **Cutting into a hot pie:** I know, I know, the smell is intoxicating. But slicing into a hot pie means the filling hasn’t had time to set, and it will be a runny disaster. **Exercise extreme patience and let it cool!**
- **Ignoring your oven’s personality:** Every oven is different. Keep an eye on your pie, especially towards the end. If the crust is browning too fast, **tent it with foil.**
- **Slicing decorative apples too thick:** The thinner they are, the more elegant and pliable they’ll be for arranging, and they’ll cook more evenly.
Alternatives & Substitutions
Feel like getting a little wild? Or maybe you just ran out of an ingredient. No stress, we can totally adapt this!
- **Crust:** If you’re a purist (or a masochist, just kidding!), feel free to make your own pie crust from scratch. My favorite involves a mix of butter and shortening for flakiness. If you’re gluten-free, use a GF pie crust.
- **Apples:** Don’t have a mix? All Granny Smith works for a tarter pie, or all Honeycrisp for a sweeter one. You can also totally swap in pears, peaches (peeled, please!), or even a mix of berries for a different vibe. Just adjust sugar and thickener accordingly.
- **Spices:** Not a nutmeg fan? Leave it out! Want more ginger? Go for it! Cardamom is also a surprisingly delish addition. **Experiment, it’s your pie!**
- **Sweeteners:** Swap some granulated sugar for maple syrup or honey for a different flavor profile, but be mindful of adding extra liquid. Brown sugar is pretty essential for that classic apple pie taste, IMO.
- **Decorative Top:** If the fancy slices intimidate you, you can always do a classic lattice top with strips of pie dough, or even a full top crust with a few vent holes cut into it. It’ll still be delicious!
FAQ (Frequently Asked Questions)
Got questions? I’ve got answers! (Mostly.)
- **What are the best apples for apple pie?**
Oh, the age-old debate! Honestly, a mix is best. Granny Smiths for tartness and structure (they don’t get mushy!), and something sweeter like Honeycrisp, Fuji, or Braeburn for flavor complexity. Don’t be afraid to mix and match! - **Can I make this pie ahead of time?**
You betcha! Apple pie actually tastes even better the next day. You can bake it, let it cool completely, and then store it at room temperature for up to 2 days, or in the fridge for up to 4. Just warm it slightly before serving for that “freshly baked” feel. - **How do I prevent a soggy bottom crust?**
Ah, the nemesis of pie bakers! A few tricks: **preheat your oven really well**, use a metal or ceramic pie dish (not glass, as it conducts heat slower), and ensure your filling isn’t too watery (hence the flour/cornstarch!). Some even swear by brushing the bottom crust with a little egg white before adding the filling. - **My decorative slices look messy. Is that okay?**
Totally okay! Art is subjective, right? The beauty of the decorative top is that even if it’s not perfectly uniform, the overlapping layers and golden-brown finish will still look incredibly impressive. Embrace the rustic charm! - **Can I use margarine instead of butter?**
Well, technically yes, but why hurt your soul like that? Butter just tastes better and gives a richer flavor. If you *have* to, go for it, but butter is truly king for pie. - **How do I know when the pie is truly done?**
Look for a deeply golden-brown crust and a filling that’s visibly bubbling through the decorative slices or vent holes. If you’re feeling brave, stick a thin knife or skewer through a vent hole into the center – it should feel tender, indicating the apples are soft.
Final Thoughts
And there you have it, my friend! You’re now equipped with the knowledge (and hopefully the enthusiasm!) to bake an apple pie that looks like a million bucks but wasn’t a nightmare to make. Seriously, once you pull this beauty out of the oven, take a moment. Breathe in that amazing aroma. Pat yourself on the back. You’ve earned it! Now go impress someone—or yourself—with your new culinary skills. Maybe pair it with some vanilla ice cream? Just a thought. Happy baking, you rockstar!


