Ever had one of those days where your brain screams “DESSERT!” but your body just sighs, “But… effort?” Yeah, me too, like, every Tuesday. Well, my friend, put down that pity-party pint of ice cream (unless it’s for *this* recipe, then keep it close). We’re about to make something so ridiculously easy, so utterly delicious, and so Instagrammable, you’ll wonder if you secretly became a chef overnight. Spoiler: you didn’t. But you’ll look like one!
Why This Recipe is Awesome
Okay, let’s be real. This isn’t just a recipe; it’s a life hack disguised as dessert. Why is it awesome? Let me count the ways:
- No oven required! Seriously, keep your oven off. You’re welcome. This means no sweating, no burnt edges, and no preheating wait times. Your AC will thank you.
- It’s idiot-proof. If you can scoop and sprinkle, you can master this. Even I, a person who once set off a smoke detector boiling water, can make this look professional.
- Fully customizable. Feeling fancy? Go gourmet. Feeling like a kid in a candy shop? Go wild! It’s your dessert, your rules.
- Impressive AF. Stick it in a clear glass, and suddenly you’re a culinary genius. People will ooh and aah. You’ll just wink, knowing it took you about 10 minutes of actual “work.”
Ingredients You’ll Need
Gather ’round, pantry pirates! Here’s your treasure map of deliciousness. Don’t worry, nothing exotic here!
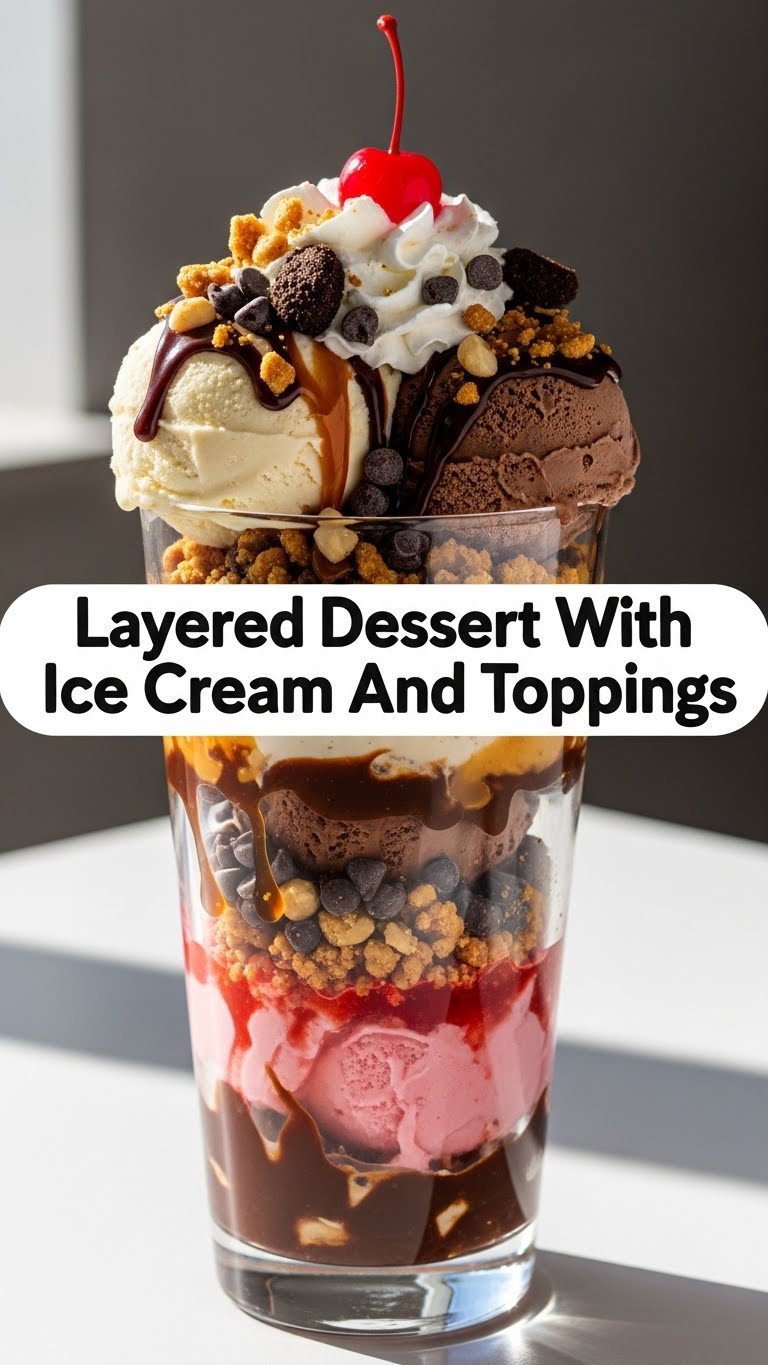
- Your Favorite Ice Cream: At least two different flavors if you’re feeling adventurous. Vanilla is a solid base, but don’t be afraid to go wild with mint chip, cookie dough, or even salted caramel. We’re talking quality stuff here, folks.
- Crunchy Layer: Think crushed cookies (Oreos, graham crackers, shortbread, Biscoff — the world is your oyster!), brownie bits, or even sturdy cake pieces. About 1-2 cups, depending on your serving size.
- Sauce/Syrup: Chocolate fudge, caramel, berry compote, dulce de leche. Something drippy and delicious.
- Toppings Galore: Sprinkles (duh), chopped nuts, fresh berries, mini marshmallows, chocolate chips, whipped cream, coconut flakes… the sky’s the limit! Pick 2-3 faves.
- A Clear Glass or Jar: This isn’t strictly an ingredient, but it’s crucial for the aesthetic. Go for a fancy parfait glass, a mason jar, or even a wine glass if you’re feeling extra.
Step-by-Step Instructions
Ready to build your masterpiece? Let’s get stacking!
Prep Your Crunch: If you’re using whole cookies, smash ’em up! Put them in a Ziploc bag and unleash your inner Hulk with a rolling pin (or the bottom of a heavy mug). You want a mix of fine crumbs and some chunkier bits for texture.
First Layer Fun: Grab your chosen glass. Spoon a generous layer of your crushed crunchy bits into the bottom. This is the foundation of your delicious dreams. Make it about 1/2 to 1 inch thick.
Ice Cream Dive: Next, scoop in your first flavor of ice cream. Don’t be shy! Spread it gently over the crunchy layer. You can do a single scoop or spread it out to match the crunch layer’s thickness.
Sauce It Up: Drizzle some of your chosen sauce over the ice cream layer. Get creative with swirls or just a good old-fashioned dollop. This adds moisture and a burst of flavor.
Repeat the Magic: Now, go for another layer of your crunchy bits, then your second ice cream flavor (or more of the first!), and another round of sauce. Keep going until you’re about an inch from the top of your glass. **Pro tip:** Try to vary the layers so you get different colors and textures peeking through the glass.
Top It Off: This is where it gets really fun! Pile on those toppings. Whipped cream? Yes! Sprinkles? Absolutely! A lone cherry? Why not?! Make it look like a party in a glass.
Chill Out (Briefly): If your ice cream is getting a bit too melty, pop your creation into the freezer for 10-15 minutes to firm up slightly before serving. Otherwise, dig in immediately!
Common Mistakes to Avoid
Even though this is super easy, a few rookie errors can happen. Don’t be that person!
- Too Many Layers: Resist the urge to make a skyscraper. While tempting, an overly tall dessert just ends up being a messy avalanche. Stick to 3-4 distinct layers, max.
- Forgetting to Chill: If your ice cream is super soft, your layers will just blend into a sad, soupy mess. Ensure your ice cream is firm enough to scoop but not rock-hard before you start layering.
- Not Varying Textures: A good layered dessert is all about the textural contrast. Don’t just do soft on soft. Make sure you have crunchy bits, creamy ice cream, and gooey sauce for the ultimate bite.
- Eating it All in One Go: Okay, this isn’t a *mistake* per se, but it might lead to a brain freeze and a sugar rush. Pace yourself… or don’t. I’m not your boss.
Alternatives & Substitutions
This recipe is a blank canvas, my friend! Here are some ideas to shake things up:
- Ice Cream Flavors: Not feeling the classics? Try pistachio, coffee, or even a dairy-free option like coconut milk ice cream. **FYI:** sorbets work too for a lighter, fruitier vibe!
- Crunchy Bits: Instead of cookies, how about crushed pretzels for a sweet and salty kick? Or chopped up candy bars? Leftover cake crumbs? Donut holes? Get creative!
- Sauce Swaps: Peanut butter sauce, Nutella warmed slightly, lemon curd, or even just some good quality maple syrup can elevate your dessert.
- Fruit Power: Instead of just candy toppings, load up on fresh berries, sliced bananas, kiwi, or mango for a burst of freshness and a touch of “health” (we won’t tell anyone).
- Boozy Bliss: For an adult version, a tiny splash of liqueur (think Kahlua, Bailey’s, or a fruit liqueur) drizzled between layers can be a game-changer. Just a whisper, though!
FAQ (Frequently Asked Questions)
Got questions? I’ve got answers (mostly humorous ones).
- Can I make this ahead of time? Oh, absolutely! It’s practically begging to be prepped. Assemble it, cover tightly with plastic wrap to prevent freezer burn, and pop it in the freezer. Just pull it out about 10-15 minutes before serving so it’s scoopable, not rock-hard.
- What kind of glass is best? Any clear glass will do, honestly. Mason jars are super trendy and cute, but a regular drinking glass or a fancy martini glass works too. The clear part is important so everyone can admire your layering skills!
- My ice cream is too hard to scoop! Help! Patience, young padawan. Leave it out on the counter for 5-10 minutes. Or, if you’re really impatient, microwave it for about 10-15 seconds (seriously, watch it like a hawk!).
- Can I make this dairy-free or vegan? You betcha! There are so many amazing dairy-free ice creams out there now. Use vegan cookies or brownies, and ensure your sauces are dairy-free. Easy peasy lemon squeezy.
- Is it okay to eat this for breakfast? Well, “okay” is a subjective term, isn’t it? If you consider it a deconstructed yogurt parfait with extra happiness, then sure! We won’t judge.
- What if I only have one type of ice cream? No problem! Just use more of it. Mix up the crunchy layers and sauces to still get that variety in texture and flavor. It’ll still be delish, I promise.
Final Thoughts
So there you have it, folks! Your new go-to, no-fuss, utterly delightful dessert. It’s perfect for impressing guests (who won’t know how little effort it took), for a cozy night in, or frankly, for a Tuesday when you just need a win. Now go forth and create! And maybe share a photo? My DMs are open for dessert inspo. You’ve earned this sugar-filled victory!


