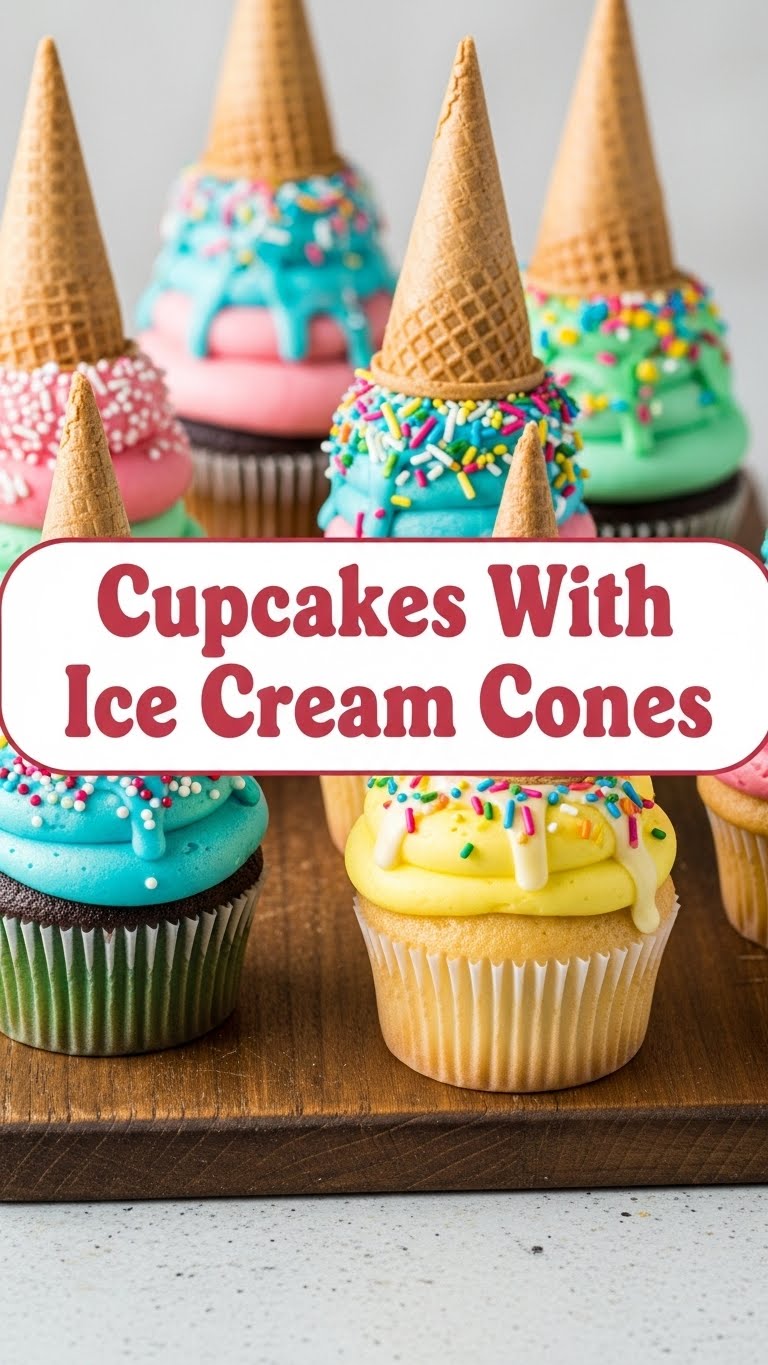
So, you’re looking for a dessert that screams “I’m fun!” but doesn’t also scream “I spent three days making this!”? Welcome, friend, you’re in the right place. We’re diving into the wonderful world of Cupcakes With Ice Cream Cones. It’s basically a party in your mouth, no plates required. And honestly, who needs plates?
Why This Recipe is Awesome
Let’s be real, most recipes promise the moon and deliver… a slightly bruised apple. But this one? This one delivers pure joy and zero stress. Why is it awesome, you ask? Well:
- It’s practically **idiot-proof**. Seriously, if I can do it without setting off the smoke alarm, so can you.
- It looks fancy AF, but requires minimal effort. **Max impressive-ness, min sweat equity.**
- It combines two of life’s greatest pleasures: cupcakes and ice cream cones. It’s like they were always meant to be together, but no one had the guts to make it happen. Until now.
- Portion control? Nope! Just grab a cone and go. It’s perfect for parties, Tuesday evenings, or any moment you just need a tiny bit of extra happiness.
Ingredients You’ll Need
Gather ’round, my aspiring bakers! Here’s your loot list. Nothing too wild, I promise. Most of this stuff probably lives in your pantry already, judging by the looks of mine.
- For the Cupcakes (your favorite vanilla recipe or a box mix, no judgment!):
- 1 ½ cups all-purpose flour (the basic white stuff, not the fancy organic kind you bought once and never touched again)
- 1 ½ teaspoons baking powder (the stuff that makes things fluffy, not flat)
- ½ teaspoon salt (because even sweet things need a little zing)
- ½ cup (1 stick) unsalted butter, softened (leave it out on the counter, don’t microwave it into oblivion)
- 1 cup granulated sugar (the sweet stuff, obviously)
- 2 large eggs (straight from the fridge, or your neighbor’s chicken, whatever)
- 1 teaspoon vanilla extract (the good stuff, makes all the difference)
- ½ cup milk (any kind works, oat milk if you’re feeling fancy, whole milk if you’re living your best life)
- For the “Cone” Part:
- 12-15 flat-bottom ice cream cones (mini ones work best for actual cupcake size, but regular ones are fine if you want a giant treat!)
- 1 batch of your favorite buttercream frosting (store-bought tub? We’re friends, it’s cool)
- Sprinkles, glorious sprinkles! (because life’s too short for boring desserts)
- Cherries (optional, but they really seal the “ice cream” deal)
Step-by-Step Instructions
Alright, let’s get down to business. Follow these simple steps and you’ll be a cone-cupcake wizard in no time. **Don’t skip steps, it’s not a suggestion!**
- Preheat & Prep: Crank that oven to 350°F (175°C). Line a muffin tin with foil or actual cupcake liners, then place your ice cream cones inside. This helps them stay upright. Trust me on this one, nobody wants a fallen cone.
- Mix Dry Stuff: In a medium bowl, whisk together the flour, baking powder, and salt. Set it aside. Don’t eat it yet.
- Cream the Wet Stuff: In a larger bowl, beat the softened butter and sugar together until it’s light and fluffy. Like a cloud, but tastier. Add the eggs one at a time, mixing well after each. Stir in that glorious vanilla extract.
- Combine & Conquer: Gradually add the dry ingredients to the wet ingredients, alternating with the milk. Start and end with the dry. **Mix until just combined; don’t overmix!** Overmixing leads to tough cupcakes, and we’re aiming for tender joy.
- Fill ‘Em Up: Carefully spoon your batter into each ice cream cone, filling them about two-thirds full. Remember, they’ll rise! Don’t be greedy or you’ll have overflowing batter, and that’s just sad.
- Bake Time! Pop the muffin tin with the cones into your preheated oven. Bake for 18-22 minutes, or until a toothpick inserted into the center of a cupcake comes out clean.
- Cool Down: Once baked, carefully remove the cones from the muffin tin and place them on a wire rack to cool completely. **Patience is a virtue here!** Trying to frost warm cupcakes is a mess waiting to happen.
- Decorate Like a Boss: Once completely cool, pipe or spread your favorite frosting onto the tops of the cupcakes. Make it look like a swirly ice cream scoop! Then, go wild with sprinkles and a cherry on top if you’re feeling extra.
Common Mistakes to Avoid
Look, we all make mistakes. It’s part of the human experience. But let’s try to avoid *these* specific mistakes, shall we? Learn from my past kitchen mishaps!
- Not preheating the oven: Rookie mistake! Your baked goods need a consistently hot oven from the start. Otherwise, they won’t rise properly and you’ll get sad, dense little hockey pucks.
- Overfilling the cones: I know, I know, it’s tempting. But resist! Too much batter means overflow, a sticky mess, and a less-than-perfect dome.
- Opening the oven door too soon: “Are they done yet?!” No, probably not. Every time you open that door, you let out heat and risk your cupcakes collapsing. Let them be.
- Not letting them cool completely: This is crucial! Trying to frost a warm cupcake is like trying to ice skate uphill in flip-flops. It just doesn’t work and ends up a melty disaster.
- Using stale baking powder: If your baking powder is older than your last pet, it’s time for a new one. Flat cupcakes are a surefire sign.
Alternatives & Substitutions
Feeling adventurous or missing an ingredient? No stress! This recipe is pretty forgiving. Here are some thoughts:
- Box Mix Power: Don’t have time for a scratch recipe? A good old box cake mix works absolutely fine! Just follow the box instructions up until filling the cones. Nobody will judge, I promise. (And if they do, send ’em my way.)
- Flavor Frenzy: Swap vanilla extract for almond extract, or add lemon zest for a zippy flavor. Chocolate cake mix? Absolutely! Go wild, it’s your party.
- Frosting Fantasies: Cream cheese frosting? Lemon frosting? Ganache? All valid and delicious choices. Use what you love! IMO, a good vanilla buttercream is classic, but variety is the spice of life.
- No Mini Cones? No Problem: If you only have regular-sized ice cream cones, use those! You’ll just have bigger, more glorious cone-cakes. You might need to adjust baking time slightly.
- Topping Tactics: Instead of sprinkles, try crushed cookies, mini chocolate chips, toasted coconut, or a drizzle of chocolate syrup. Get creative!
FAQ (Frequently Asked Questions)
Got questions? I’ve got (mostly sarcastic) answers!
- Can I use margarine instead of butter? Well, technically yes, but why hurt your soul like that? Butter just tastes better, let’s be honest.
- How do I keep the cones from toppling over in the oven? Did you read step 1? Seriously though, using a muffin tin and maybe even wadding up some foil around the base of the cones if they’re particularly wobbly works wonders.
- Can I make these ahead of time? Absolutely! Bake the cupcakes, let them cool, and then store them unfrosted in an airtight container for up to 2 days. Frost right before serving for peak freshness and aesthetic appeal.
- My cupcakes are dry! What went wrong? Probably overmixing the batter or overbaking. Remember, **mix until just combined** and check for doneness with a toothpick.
- What if I don’t have a piping bag for the frosting? A Ziploc bag with a corner snipped off works perfectly! Or just use a spoon and make it look rustic. We’re not aiming for perfection, we’re aiming for deliciousness.
- Are these safe for travel? They’re actually pretty sturdy! Just make sure the frosting is set before you transport them, maybe in a box with some dividers.
Final Thoughts
And there you have it! Your very own, absolutely adorable, and ridiculously tasty Cupcakes With Ice Cream Cones. You’ve just created a masterpiece that’s guaranteed to bring smiles and maybe even a few “OMG, you made these?!” reactions. Now go impress someone—or yourself—with your new culinary skills. You’ve earned it!


