So, you’ve got that specific, insatiable craving for something sweet, chilly, and undeniably impressive, but also, let’s be real, you’re eyeing that couch like it’s a long-lost best friend? Same. You want cake. You want ice cream. You want them together, in a glorious, no-fuss embrace. My friend, you’ve come to the right place. We’re about to make magic, with minimal effort and maximum deliciousness.
Why This Recipe is Awesome
Okay, so why this particular masterpiece? First off, it’s basically a hug in dessert form. Second, it’s ridiculously easy. Seriously, if I, a person who once set off the smoke detector making toast, can nail this, so can you. It looks fancy, tastes divine, and requires actual minimal baking skill. Plus, it’s perfect for when you need to impress guests but forgot about dessert until 30 minutes before they arrive. It’s the culinary equivalent of putting on a clean shirt over your pajamas – nobody knows the struggle, they just see the fabulous result.
Ingredients You’ll Need
- A pre-baked cake layer or two (8 or 9-inch): Store-bought is 100% acceptable. Don’t judge yourself. Box mix? Even better. Freshly baked from scratch? You’re a hero, but seriously, don’t overthink it.
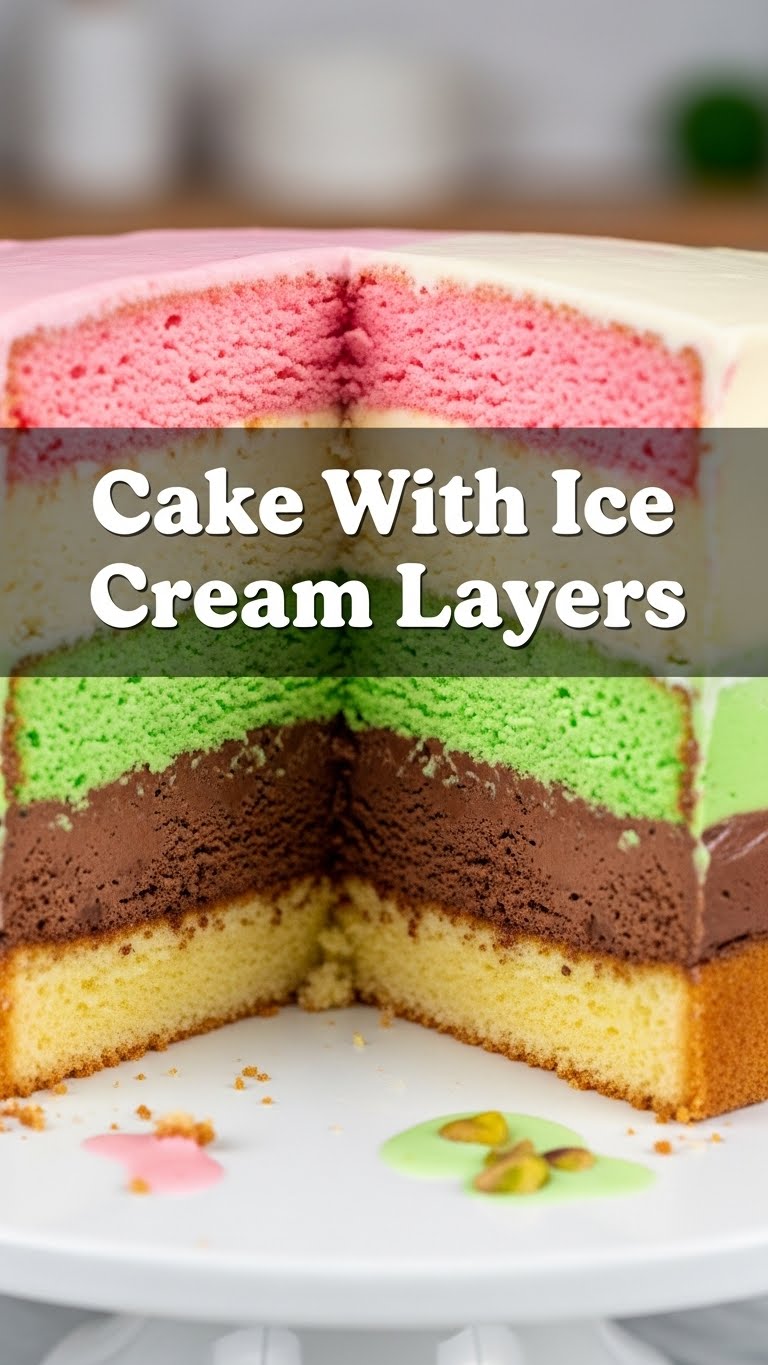
- 2-3 pints of your favorite ice cream: Softened just enough to spread. Think “spreadable, not melted soup.” Chocolate, vanilla, mint chip, cookie dough… go wild!
- 1 cup whipped cream or frosting: For the glorious top layer. Again, store-bought is your friend.
- Optional toppings: Sprinkles, chocolate syrup, chopped nuts, fruit, mini chocolate chips. Because why be basic when you can be extra?
- Plastic wrap: Crucial for success, trust me.
- A springform pan (8 or 9-inch): Or a regular cake pan lined with parchment paper – gotta be able to get this bad boy out!
Step-by-Step Instructions
- Prep Your Pan: Line your springform pan with plastic wrap, leaving plenty of overhang. This is your future self’s thank you note. Don’t skip this step!
- First Ice Cream Layer: Spoon about half of your first ice cream flavor into the bottom of the pan. Spread it evenly. Pop it in the freezer for about 15-20 minutes to firm up slightly.
- Cake Layer One: Gently place one of your cake layers on top of the first ice cream layer. Press down ever-so-slightly to make sure it’s snug.
- Second Ice Cream Layer (Optional): If you’re doing a two-flavor ice cream cake, now’s the time for your second flavor! Repeat step 2. If not, use the remaining first flavor. Freeze again for 15-20 minutes.
- Final Cake Layer (If applicable): If you have a second cake layer, place it on top. If not, you can just finish with the final ice cream.
- The Grand Freeze: Cover the whole pan with the overhanging plastic wrap. Freeze for at least 4-6 hours, or ideally, overnight. Patience is a virtue here.
- Unleash the Beast: When ready to serve, pull it out of the freezer. Let it sit for 5-10 minutes (this makes slicing easier). Unwrap the plastic, unlatch the springform, and gently lift. Peel off any remaining plastic.
- Decorate & Devour: Spread your whipped cream or frosting on top. Go wild with sprinkles, drizzles, or whatever makes your heart sing. Slice, serve, and accept all the compliments!
Common Mistakes to Avoid
- Impatience, my dear Watson: Trying to spread rock-hard ice cream is a recipe for broken spoons and frustration. Let it soften a bit. Conversely, using soup-level melted ice cream will make a sloppy mess. Find that sweet spot!
- Forgetting the plastic wrap: You’ll regret it. Seriously. This is your best friend for an easy release. Never underestimate the power of good prep.
- Not freezing long enough: You want solid layers, not a sloshing disaster. Give it the time it needs.
- Over-complicating it: This recipe is about ease and deliciousness. You don’t need a pastry degree. Keep it simple, silly!
Alternatives & Substitutions
- Cake base: No pre-baked cake? No problem! Use a layer of crushed cookies (Oreos, graham crackers, etc.) mixed with a bit of melted butter for a delicious crust. Or, hey, even brownies work!
- Ice cream flavors: The world is your oyster! Mix and match. Caramel, coffee, strawberry… whatever your heart desires. Just make sure the flavors play nice together, IMO.
- Toppings: Get creative! Hot fudge, peanut butter sauce, fresh berries, toasted coconut, crumbled candy bars. This is where you really make it yours.
- No springform pan? A regular round cake pan lined very well with plastic wrap or parchment paper (leaving plenty of overhang) will work in a pinch. Just know that getting it out will require a bit more finesse.
FAQ (Frequently Asked Questions)
- Can I use homemade cake and ice cream? Absolutely! If you’ve got the time and ambition, go for it! Just make sure your homemade ice cream isn’t too soft.
- How far in advance can I make this? Oh, you can make this beauty a week or two in advance. Just keep it well-wrapped in the freezer. It’s a fantastic make-ahead dessert!
- My ice cream melted too much while I was spreading it. What do I do? Don’t panic! Just pop the pan (with whatever you’ve managed to spread) back into the freezer for 15-20 minutes to firm up before adding the next layer. Lesson learned for next time!
- Can I add fruit between layers? You bet! Thinly sliced bananas or berries would be delicious. Just be mindful that some fruits can get a bit icy when frozen for a long time.
- What if I don’t have a specific type of pan? As mentioned, a well-lined regular cake pan will work. Or, get truly wild and make individual mini cakes in muffin tins using cupcake liners! So cute!
- Is it okay to use store-bought frosting instead of whipped cream? Totally fine! Use whatever you prefer. Just remember that frosting tends to be much sweeter. Whipped cream is a lighter option.
- My cake layers keep sticking to the pan when I try to put them in. Help! Make sure your ice cream layer is firm enough (from that initial freeze) before you place the cake. Also, if your cake layers are super fresh, they might be a bit delicate. Freezing them for 10-15 minutes beforehand can help them firm up and be easier to handle.
Final Thoughts
So there you have it, folks! Your new go-to dessert for when you want to impress without breaking a sweat (or the bank). This cake with ice cream layers isn’t just a recipe; it’s a declaration that deliciousness doesn’t need to be complicated. Now, go forth and conquer your kitchen! Whip up this masterpiece, bask in the glory, and maybe, just maybe, save a slice for yourself before it all disappears. You’ve earned it!


