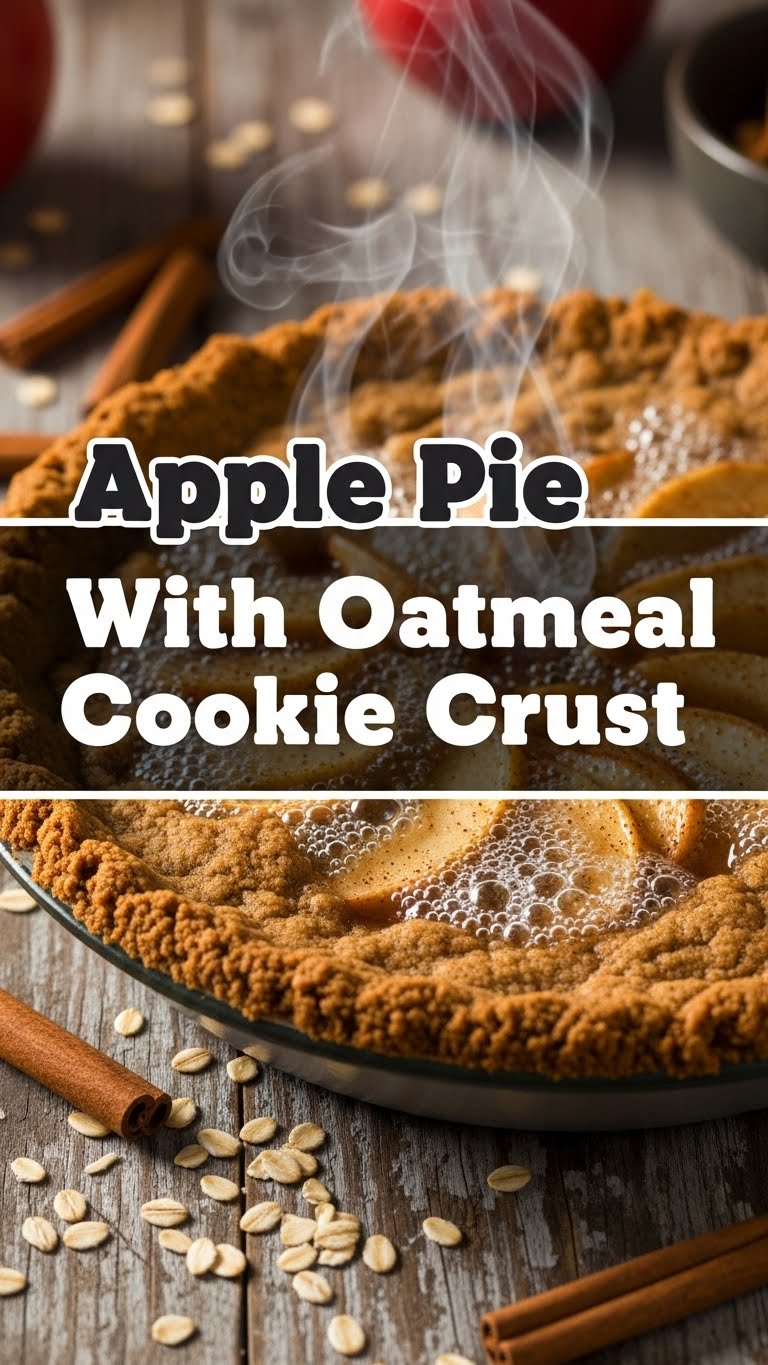
Ever stared into the fridge, then at your oven, and wished dessert could just… make itself? Yeah, me too. But since we haven’t quite mastered self-baking pies, I’ve got the next best thing: an Apple Pie with an Oatmeal Cookie Crust that basically bakes itself (almost). It’s got all the warm, cozy vibes of classic apple pie, but with a shortcut crust that’s so good, you’ll wonder why you ever bothered with traditional pastry. Get ready to impress yourself (and anyone lucky enough to be around) without breaking a sweat.
Why This Recipe is Awesome
Okay, let’s be real. Making a traditional pie crust can be a pain. All that chilling, rolling, hoping it doesn’t crack… Ugh. This recipe? It’s your superhero cape in the kitchen. We’re talking no-fuss, no-stress, maximum-deliciousness.
First off, it’s ridiculously easy. Seriously, if you can crush cookies and melt butter, you’re practically a pastry chef in training. Secondly, the oatmeal cookie crust brings this amazing chewy, sweet, cinnamony goodness that perfectly complements the tart apples. It’s like your favorite apple pie went on a very successful date with an oatmeal cookie and decided to make a beautiful, delicious baby. Thirdly, it’s almost idiot-proof; even I didn’t mess it up, and I once set off a smoke detector boiling water. Just saying.
Ingredients You’ll Need
Gather ’round, my fellow lazy gourmands! Here’s what you’ll need to whip up this masterpiece. Most of these are probably already lurking in your pantry, waiting for their moment to shine.
For the Oatmeal Cookie Crust:
- 2 ½ cups (about 250g) store-bought oatmeal cookies, crushed: Go for the chewy kind, not the super crisp ones. Or, if you’re feeling ambitious, bake your own and then crush them, you overachiever!
- ½ cup (1 stick or 113g) unsalted butter, melted: Because butter makes everything better, duh.
- 2 tablespoons granulated sugar (optional, but a nice touch): Just a little extra sweetness never hurt anyone, right?
For the Apple Filling:
- 6-7 medium-sized apples, peeled, cored, and sliced: A mix of sweet and tart is best (think Granny Smith, Honeycrisp, Fuji). Don’t be shy, pick your faves!
- ½ cup granulated sugar: Adjust to your apples’ sweetness, you’re the boss.
- ¼ cup all-purpose flour: This is our secret weapon for a thick, luscious filling, not a watery mess.
- 1 teaspoon ground cinnamon: Essential for that cozy, autumnal vibe.
- ¼ teaspoon ground nutmeg: Cinnamon’s best friend.
- 1 tablespoon fresh lemon juice: Brightens everything up and keeps those apples from browning while you work.
Step-by-Step Instructions
Alright, apron on, good tunes playing (or an audiobook, no judgment), let’s do this!
Preheat & Prep: Crank that oven to 375°F (190°C). Lightly grease a 9-inch pie plate. You don’t want your beautiful creation sticking, trust me.
Crush Those Cookies: Place your oatmeal cookies in a large Ziploc bag and get out some aggression with a rolling pin. Or, if you’re fancy, pulse them in a food processor until you have fine crumbs. Aim for about 2 ½ cups of crumbs.
Make the Crust: In a medium bowl, combine the cookie crumbs, melted butter, and optional sugar. Stir it all together until it looks like wet sand. Now, press this mixture firmly and evenly into the bottom and up the sides of your prepared pie plate. Use the bottom of a glass or your knuckles to really pack it in. This is key for a sturdy crust!
Chill Out: Pop that crust into the fridge for at least 15-20 minutes. This helps it firm up before baking.
Apple Prep Time: While the crust chills, get those apples ready. Peel ’em, core ’em, and slice ’em thinly (about ¼-inch thick is perfect). A mandoline can be your best friend here, but a sharp knife works too.
Mix the Filling: In a large bowl, toss the sliced apples with the granulated sugar, flour, cinnamon, nutmeg, and lemon juice. Mix until the apples are nicely coated. It might seem like a lot of apples, but they’ll cook down, promise.
Assemble Your Masterpiece: Pour the apple mixture into your chilled cookie crust. Pile them high in the middle; it’ll settle. You can even do a little artistic swirl if you’re feeling extra.
Bake Away: Place the pie on a baking sheet (to catch any potential drips – better safe than sorry!) and bake for 45-55 minutes, or until the apples are tender and the crust is golden brown. If the crust starts browning too fast, loosely tent it with foil.
Cool Down (The Hard Part): Let the pie cool completely on a wire rack for at least 2-3 hours before slicing. I know, I know, it’s torture. But this allows the filling to set properly. Patience, grasshopper!
Common Mistakes to Avoid
Nobody’s perfect, but we can at least try to avoid these rookie errors, right?
- Not Chilling the Crust: You think you can skip this step, huh? Don’t. A warm crust just falls apart. Chill that crust for a solid 15-20 minutes! It helps it hold its shape like a champ.
- Cutting Too Early: Your pie comes out of the oven, smelling divine, and you want to dive in immediately. STOP! If you cut it too soon, the filling will be runny, and it’ll look like a delicious (but messy) apple crumble. Let it cool; it’s worth the wait.
- Using the Wrong Apples: All apples are not created equal for pie. Avoid super soft, mushy apples that turn into applesauce. A good mix of firm, flavorful apples is key.
- Forgetting the Flour (or Cornstarch): This is what thickens your filling. Without it, you’ll have a watery apple soup instead of a glorious, gooey pie filling.
Alternatives & Substitutions
Feeling adventurous? Or just missing an ingredient? No worries, we got options!
- Crust Swaps: Not an oatmeal cookie fan (gasp!)? You can totally use graham cracker crumbs or even crushed shortbread cookies for the crust. Adjust sugar as needed, but the butter ratio generally stays the same.
- Apple Varieties: Experiment with different apple combos! Braeburn, Gala, and Fuji are all great choices. You can even throw in a pear or two for a fun twist.
- Spice It Up: Don’t have nutmeg? A pinch of allspice or ground ginger can add a lovely warmth. Feel free to amp up the cinnamon if you’re a fanatic like me!
- Thickener Options: Out of flour? You can swap the ¼ cup all-purpose flour for 2 tablespoons of cornstarch. Just make sure to dissolve it in a little bit of the lemon juice first to avoid lumps.
FAQ (Frequently Asked Questions)
Got questions? I’ve got (casual and hopefully helpful) answers!
- Can I use margarine instead of butter for the crust? Well, technically yes, but why hurt your soul (and taste buds) like that? Butter just tastes better, IMO.
- What are the best apples for apple pie? A mix is best! Granny Smiths for tartness and structure, combined with Honeycrisp or Fuji for sweetness and flavor. Avoid Red Delicious; they get super mushy.
- My pie filling is too watery, what did I do wrong? You probably needed a bit more flour (or cornstarch) to thicken it, or maybe your apples were extra juicy. Make sure to let it cool completely; it thickens as it chills.
- Can I make this pie ahead of time? Absolutely! It’s fantastic made a day in advance. Store it loosely covered at room temperature or in the fridge. Reheat gently if you want that fresh-out-of-the-oven feel.
- How do I store leftovers? Cover it with plastic wrap or foil and keep it at room temperature for up to 2 days, or in the fridge for up to 4-5 days.
- Can I make this gluten-free? Yep! Just use gluten-free oatmeal cookies for the crust and ensure your flour is a gluten-free all-purpose blend. Easy peasy.
Final Thoughts
So there you have it, folks! A ridiculously simple, incredibly delicious apple pie that’ll make you feel like a culinary wizard without actually having to cast any spells. This recipe is perfect for when you want comfort food, a crowd-pleaser for a potluck, or just a Tuesday night treat. It’s warm, it’s cozy, and it’s got cookies in the crust! What’s not to love?
Now go impress someone—or yourself—with your new culinary skills. You’ve earned it! Seriously, go forth and bake something delicious. And maybe send me a slice. Just kidding (mostly).


