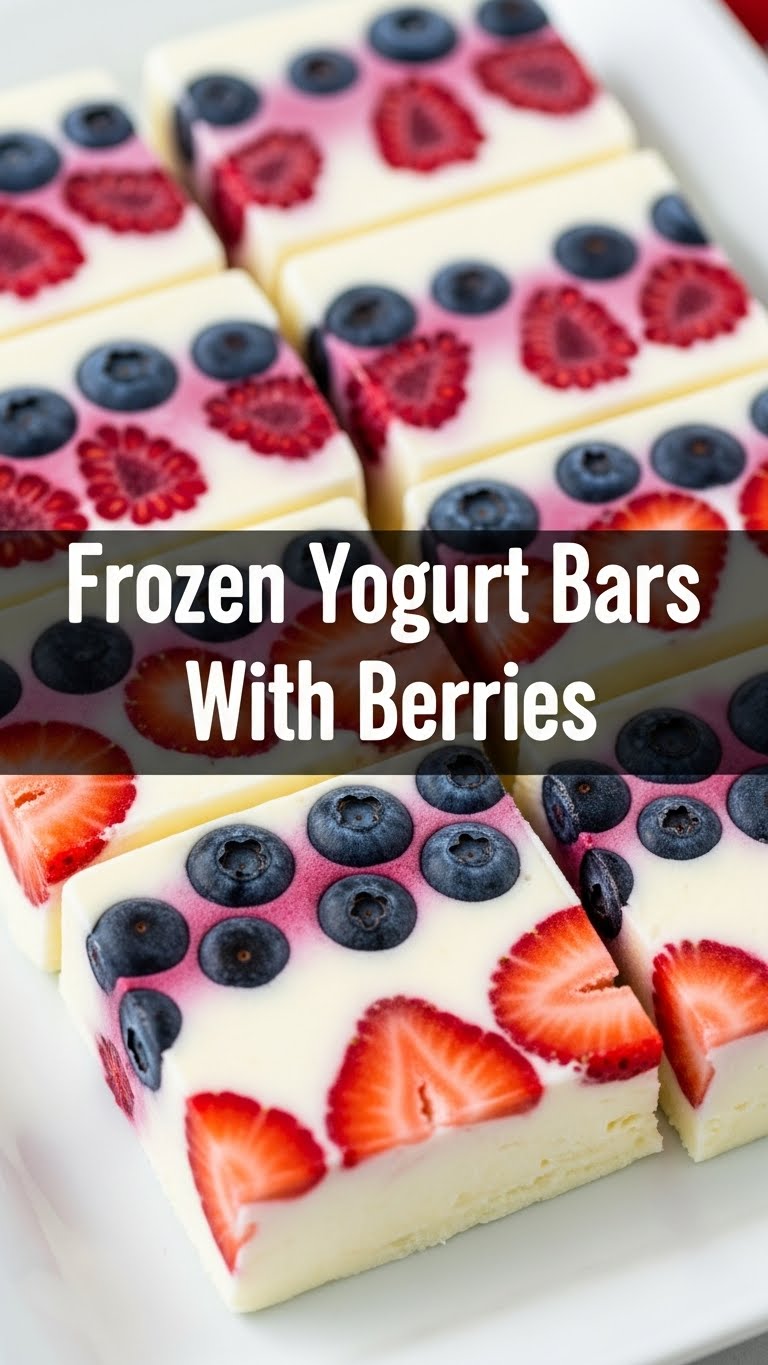
So you’re craving something tasty but too lazy to spend forever in the kitchen, huh? Same. High five! We’ve all been there – that desperate hunt for a sweet treat that doesn’t involve a degree in pastry arts or a mountain of dirty dishes. Well, buckle up, buttercup, because I’m about to drop a recipe so ridiculously easy and delicious, you’ll wonder where it’s been all your life. Say hello to your new best friend: **Frozen Yogurt Bars With Berries!**
Why This Recipe is Awesome
Let’s be real, most recipes these days demand too much from us. Not these bars, my friend. These are the Beyoncé of desserts: flawless, effortless, and universally loved. Here’s why they’ll become your new go-to:
- **It’s idiot-proof.** Seriously, if you can stir, you can make these. Even I didn’t mess it up, and my kitchen skills are usually limited to ordering takeout.
- **No baking required.** That’s right, keep your oven off and your kitchen cool. Perfect for those sweltering days or when you just can’t be bothered.
- **Customizable AF.** Got a berry obsession? Load ’em up! Fancy some granola? Go wild! It’s your edible canvas.
- **Healthy-ish (we can pretend).** It’s yogurt and fruit! It totally counts as a guilt-free snack, especially when compared to, say, an entire pint of ice cream. **Balance, people!**
- **Perfect for meal prepping.** Make a big batch, stash them in the freezer, and you’ve got snacks for days. Future you will thank past you.
Ingredients You’ll Need
Get ready for a ridiculously short shopping list. We’re keeping it simple here, because who needs complexity when you’ve got deliciousness on the horizon?
- **2 cups (about 500g) plain Greek yogurt:** Go for the full-fat stuff if you want maximum creaminess and happiness, but any plain Greek will do. This is our foundation, our delicious, tangy base.
- **2-4 tablespoons honey or maple syrup:** This is to taste, so start with less and add more if your sweet tooth is extra demanding. Don’t go overboard; we want a hint of sweetness, not a sugar coma.
- **1 teaspoon vanilla extract:** Don’t skip this! It’s like the secret handshake of delicious desserts – it just makes everything better.
- **1-1.5 cups mixed berries:** Fresh or frozen, your call! Raspberries, blueberries, sliced strawberries, blackberries – pick your faves. The more colorful, the better, IMO.
- **Optional toppings (because why not?):** A sprinkle of granola, some mini chocolate chips, chopped nuts, or even a dash of shredded coconut. Get creative!
Step-by-Step Instructions
Alright, let’s get this party started! You’re literally minutes away from deliciousness, I promise.
- **Prep Your Pad:** Grab a baking sheet (a regular cookie sheet works perfectly) and line it with parchment paper. This is non-negotiable, unless you enjoy battling frozen yogurt stuck to metal. **Trust me on this.**
- **Mix Master:** In a medium bowl, whisk together the Greek yogurt, honey (or maple syrup), and vanilla extract until it’s super smooth and everything is well combined. Taste it. Does it need more sweetness? Add a tiny bit more. You’re the chef!
- **Spread the Love:** Pour your luscious yogurt mixture onto the parchment-lined baking sheet. Use an offset spatula or the back of a spoon to spread it out evenly into a rectangle or square, about ¼ to ½ inch thick. Don’t make it too thin, or it’ll be brittle. Don’t make it too thick, or it’ll take forever to freeze.
- **Berry Much Adore:** Now, artfully (or haphazardly, no judgment here) sprinkle your mixed berries all over the top of the yogurt. Gently press them down a little so they embed nicely into the yogurt. If you’re using other toppings, now’s the time to add those too!
- **Freeze, Baby, Freeze:** Carefully transfer the baking sheet to your freezer. Let it chill out (literally) for at least 2-4 hours, or until the yogurt is completely solid and firm. **Patience is a virtue here!**
- **Break It Down:** Once fully frozen, take the sheet out of the freezer. Lift the parchment paper with the frozen yogurt off the tray. You can either break it into rustic, jagged pieces (my personal favorite for that “I’m a cool, casual chef” vibe) or use a sharp knife to cut it into neat bars.
- **Enjoy Your Masterpiece:** Serve immediately, or store the bars in an airtight container or freezer bag in the freezer for whenever a craving strikes!
Common Mistakes to Avoid
Even though this recipe is super easy, there are a few rookie errors that can turn your dreamy bars into a bit of a nightmare. Learn from my past culinary misadventures:
- **Forgetting the Parchment Paper:** Thinking you can just peel frozen yogurt off a baking sheet? **Spoiler alert: you can’t, not gracefully anyway.** You’ll end up with a sticky, frustrating mess. Always, always, ALWAYS line that pan.
- **Using Watery Yogurt:** Regular, thin yogurt just won’t cut it. It has too much water content and will turn icy and sad. **Stick to Greek yogurt for that creamy, thick texture.**
- **Impatience:** Trying to cut or break the bars before they’re fully frozen is like trying to comb wet spaghetti – it’s just a mushy disaster. Give it the full 2-4 hours. **Good things come to those who wait!**
- **Over-Sweetening:** It’s easy to get carried away with the honey. Too much sweetener can make the bars too soft and less likely to hold their shape. Taste as you go!
Alternatives & Substitutions
This recipe is your playground! Feel free to swap things out based on what you have or what you’re craving. It’s all about experimentation!
- **Yogurt Power-Ups:** Not a fan of dairy? Use a plain, unsweetened coconut, almond, or soy Greek-style yogurt. The texture will be slightly different, but still delish.
- **Sweetener Switch-Up:** Agave nectar, stevia, or even a little maple extract with less actual syrup can work if you’re watching your sugar intake.
- **Fruit Frenzy:** Don’t limit yourself to just berries! Sliced mango, kiwi, peaches, or even thinly sliced bananas would be fantastic. Just make sure the fruit isn’t *too* juicy, or it can make your bars icy.
- **Topping Extravaganza:** Crushed pretzels for a salty-sweet crunch, different types of granola (chocolate chip cookie granola, anyone?), toasted coconut flakes, a drizzle of melted dark chocolate post-freezing, or even a sprinkle of lemon zest for a bright kick. **The world is your oyster!**
- **Flavor Boosts:** Add a pinch of cinnamon, a dash of almond extract, or a spoonful of cocoa powder to the yogurt mixture for a different twist.
FAQ (Frequently Asked Questions)
Got questions? I’ve got (casual) answers!
- **”Can I use regular, non-Greek yogurt?”** Well, technically yes, but why hurt your bars like that? Regular yogurt has a higher water content, so your bars might turn out more icy and less creamy. **For the best results, stick to Greek!**
- **”How long do these frozen yogurt bars last in the freezer?”** If stored in an airtight container or freezer bag, they’ll happily hang out in your freezer for up to 2-3 weeks. If they last that long, that is!
- **”Can I use frozen berries instead of fresh?”** Absolutely! Just know that they might release a bit more liquid as they thaw, potentially causing a little color bleed. If you want to minimize this, you can give them a quick rinse and pat dry, but honestly, it’s rarely a big deal for this recipe.
- **”What if I don’t have parchment paper?”** While parchment is highly recommended for easy removal, you could try using aluminum foil (greased lightly) or even plastic wrap, though those can be a bit trickier to work with. But seriously, **invest in parchment, it’s a game-changer.**
- **”Are these actually healthy, or am I just kidding myself?”** Compared to most desserts, these are definitely on the healthier side! They’re packed with protein from the yogurt and vitamins from the berries. Of course, “healthy” is relative, so don’t eat the whole tray in one sitting. Unless it’s one of *those* days, then go for it.
- **”Can I make them ahead for a party?”** Um, yes! They are the ultimate make-ahead party treat. Just pull them out of the freezer right before serving, and watch them disappear faster than free samples.
Final Thoughts
So there you have it, folks! The easiest, most delicious, and dare I say, fun frozen yogurt bars you’ll ever whip up. Whether you’re impressing friends, making a quick snack for the kids (or yourself, no judgment), or just need a sweet escape without the hassle, these bars are your answer. Now go forth, grab that yogurt, and unleash your inner kitchen wizard. You’ve earned it! **Don’t forget to tell me how awesome they turn out!**


