You know that feeling when you want to bake something utterly gorgeous, but also want to keep your sanity (and maybe your kitchen clean)? Yeah, me too. Enter the Apple Pie with Leaf Cutouts: it looks fancy-schmancy, but it’s secretly as chill as you are on a Sunday afternoon. We’re talking showstopper vibes with minimal fuss. Ready to become everyone’s favorite baker?
Why This Recipe is Awesome
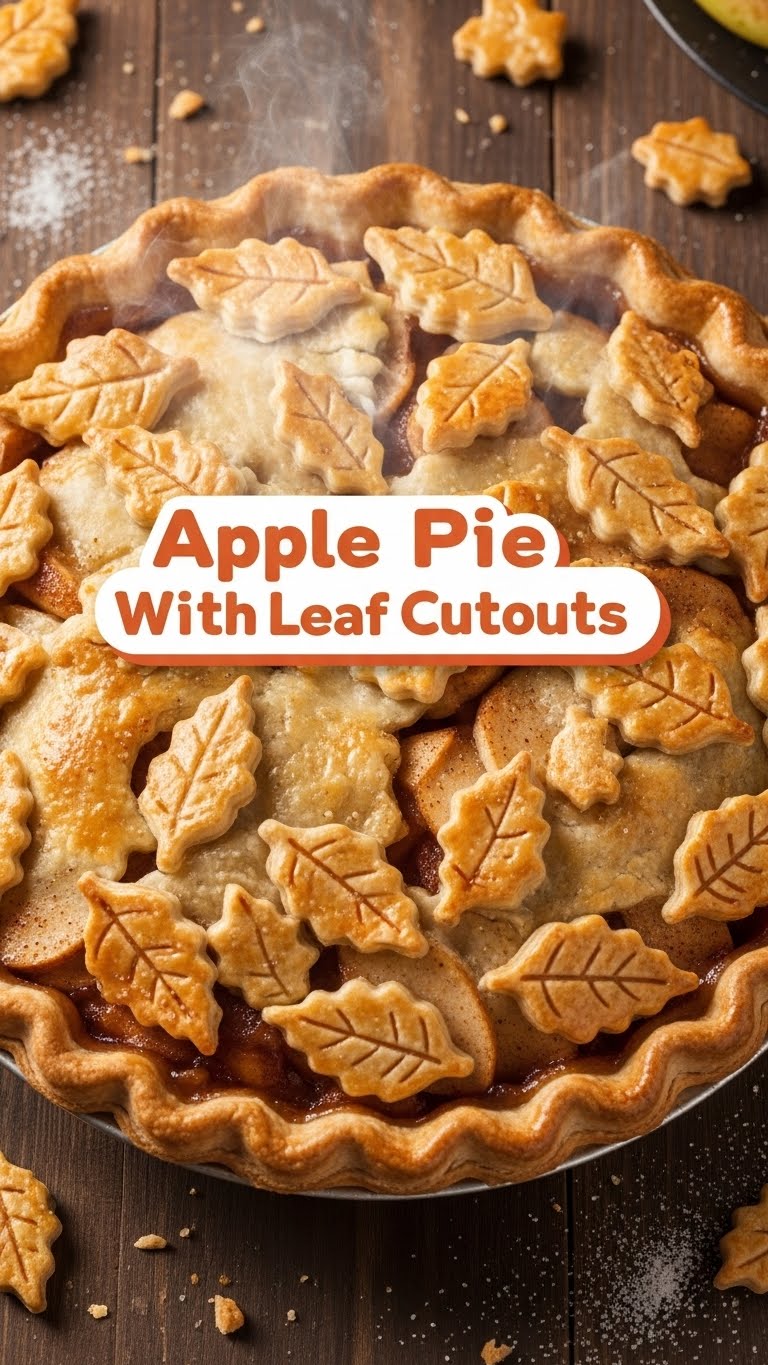
Okay, so why should you bother with *this* apple pie recipe when there are literally a million out there? Simple. This one makes you look like a total culinary genius without actually requiring a culinary degree. The leaf cutouts are a game-changer for presentation – suddenly, your humble apple pie transforms into an autumnal masterpiece. It’s a classic comfort food, sure, but with a chic little upgrade that screams, “I totally have my life together!” Plus, it’s honestly pretty hard to mess up, and **your house will smell like a dream**, which is a bonus, IMO.
Ingredients You’ll Need
Time to gather your edible art supplies! Here’s what we’re rounding up:
For the Flaky Crust (Makes 2 Discs)
- 2 ½ cups all-purpose flour (standard stuff, no need for anything wild)
- 1 teaspoon salt (just a pinch for balance)
- 1 cup (2 sticks) **unsalted butter, super cold and cut into ½-inch cubes** (seriously, make it cold like my ex’s heart)
- ½ cup to ¾ cup ice water (again, **cold, cold, cold!**)
For the Glorious Filling
- 6-8 medium apples (a mix is best! Think Granny Smith for tartness, Honeycrisp or Fuji for sweetness. About 6 cups sliced)
- ½ cup granulated sugar (for that classic sweetness)
- ¼ cup packed light brown sugar (for a little extra caramel-y depth)
- ¼ cup all-purpose flour or cornstarch (to thicken that glorious apple goo)
- 1 teaspoon ground cinnamon (can you even have apple pie without it?)
- ¼ teaspoon ground nutmeg (cinnamon’s best friend)
- Pinch of ground cloves or allspice (optional, but it adds a nice warmth)
- 1 tablespoon fresh lemon juice (brightens everything up, trust me)
- 2 tablespoons unsalted butter, cut into small pieces (for richness, because why not?)
- 1 large egg, beaten with 1 tablespoon milk or water (for an egg wash – gives your pie that gorgeous golden glow!)
Step-by-Step Instructions
Alright, apron on! Let’s get baking!
- **Crust First, Always!** In a large bowl, whisk together the flour and salt. Add the super-cold butter cubes. Using a pastry blender or your fingertips, cut in the butter until the mixture resembles coarse crumbs with some pea-sized butter pieces.
- **Add the Ice Water.** Drizzle in the ice water, 1 tablespoon at a time, mixing gently with a fork or your hands until the dough just starts to come together. **Don’t overmix!** If it’s too dry, add a tiny bit more water.
- **Chill Out.** Divide the dough in half, flatten each half into a disc, wrap tightly in plastic, and chill in the fridge for at least 30 minutes (or up to 2 days!). **Seriously, don’t skip this part.**
- **Apple Prep Time.** While the dough is chilling, peel, core, and slice your apples about ¼-inch thick. Toss them in a large bowl with the granulated sugar, brown sugar, flour/cornstarch, cinnamon, nutmeg, cloves (if using), and lemon juice until they’re all nicely coated.
- **Roll One Out.** On a lightly floured surface, roll out one of your chilled dough discs into a 12-inch circle. Carefully transfer it to a 9-inch pie plate. Trim the edges, leaving about a ½-inch overhang.
- **Fill ‘Er Up.** Pour the apple mixture into the pie crust, mounding it slightly in the center. Dot the top with those small pieces of butter.
- **Leaf Party!** Roll out your second dough disc. Using a leaf-shaped cookie cutter (or a small, sharp knife if you’re feeling artistic!), cut out as many leaves as you like. Arrange them decoratively over the apple filling. Overlap them, make a pattern, go wild – it’s your pie, babe!
- **Egg Wash & Bake.** Fold the overhanging bottom crust edges up and over the leaf cutouts, pressing gently to seal. Brush the top of the leaves and any exposed crust with the egg wash. For extra sparkle, you can sprinkle a little sugar over the top.
- **Into the Oven!** Preheat your oven to **400°F (200°C)**. Bake for 15 minutes, then reduce the temperature to **375°F (190°C)** and continue baking for another 35-45 minutes, or until the crust is golden brown and the filling is bubbly. If the edges start to brown too quickly, loosely tent them with foil.
- **Patience, Grasshopper.** Once baked, let the pie cool completely on a wire rack for at least 2-3 hours before slicing. This lets the filling set properly. **Resist the urge to cut it hot**, unless you like soupy pie.
Common Mistakes to Avoid
Let’s save you some heartache (and some questionable pie) by pointing out a few rookie blunders:
- **Warm Butter in the Crust:** Oh honey, no. This is the fastest way to a tough, sad crust. **Keep that butter super cold!** It creates steam in the oven, giving you those glorious flaky layers.
- **Overworking the Dough:** The more you handle pie dough, the tougher it gets. Mix just until it comes together. Think “gentle caress,” not “wrestling match.”
- **Not Chilling the Dough:** This isn’t just a suggestion; it’s a command! Chilling allows the gluten to relax, which prevents shrinkage and makes it easier to roll.
- **Cutting the Pie Too Soon:** Yes, it smells amazing. Yes, you want to dive in. But if you cut it while it’s still hot, the filling will be runny. Wait for it to set. Your patience will be rewarded, promise.
- **Forgetting the Egg Wash:** Your pie deserves that golden, shiny glow, doesn’t it? The egg wash makes all the difference in presentation!
Alternatives & Substitutions
Feeling a little rebellious? Here are some ways to shake things up:
- **Pie Crust:** No shame in a store-bought crust game! Grab two rolls of your favorite refrigerated pie crust for an even quicker shortcut. Or, if you’re feeling *really* fancy, try a whole wheat crust for a nuttier flavor.
- **Apples:** Not an apple fan? (Gasp!) This recipe works great with pears, peaches, or even a mixed berry filling. Just adjust your sugar levels based on the fruit’s sweetness.
- **Spices:** Out of nutmeg? Just double up on cinnamon! Want more zing? Add a pinch of ground ginger or cardamom for an exotic twist. Your kitchen, your rules!
- **Leaf Cutters:** No fancy cookie cutters? No problem! You can use a small knife to freehand cut some wonky (but charming!) leaf shapes. Or, embrace simplicity with a classic vented top crust or a simple lattice pattern (if you’re feeling ambitious!).
FAQ (Frequently Asked Questions)
Got questions? I’ve got answers (and opinions, naturally).
- **My crust is tough! What went wrong?** Probably overmixed the dough or used warm butter. Next time, be gentle and keep things cold. Like, seriously cold.
- **Do I *really* need to chill the dough?** **Yes, absolutely!** It helps prevent shrinkage, makes it easier to roll, and gives you that flaky texture you crave. It’s not a suggestion, it’s a command.
- **Can I use canned pie filling instead of fresh apples?** Well, technically yes, but why hurt your soul (and your taste buds) like that? Fresh apples make a world of difference in flavor and texture. Do your pie a favor!
- **How do I prevent the edges from burning?** Easy peasy! If the edges start to brown too quickly, just loosely tent them with aluminum foil after about 20-30 minutes of baking.
- **Can I make this ahead of time?** You betcha! You can prep the crust and chill it for up to 2 days, or even freeze it for a few months. You can also assemble the entire pie (unbaked), wrap it tightly, and freeze it. Just add about 20-30 minutes to the bake time if baking from frozen.
- **What if I don’t have a leaf cutter?** Get creative! Use a small, sharp knife to freehand cut leaf shapes, or even just regular small cookie cutters (stars, hearts – why not make a statement?).
Final Thoughts
See? You’re practically a pastry chef now, aren’t you? This apple pie isn’t just a dessert; it’s a work of art (that you can totally eat, which is the best kind of art, if you ask me!). So go on, grab those apples, embrace your inner baker, and whip up this deliciousness. Your kitchen (and your belly) will thank you. Now go impress someone—or yourself—with your new culinary skills. You’ve earned it!


