So, you’re craving something cool, creamy, and ridiculously pretty, but your motivation meter is stuck at “meh”? Don’t worry, I got you. We’re talking about making *colorful frozen yogurt with toppings* that’s so easy, you’ll wonder why you ever paid $8 for a tiny cup of the stuff. This isn’t just a recipe; it’s a life hack for your sweet tooth that lets you feel fancy without lifting more than a spoon (and a blender, okay, maybe a blender).
Why This Recipe is Awesome
Let’s be real, who needs stress in the kitchen? Not you, my friend. This recipe is the culinary equivalent of putting on sweatpants and still looking fabulous. It’s **idiot-proof**, even I didn’t mess it up, and trust me, that’s saying something. Seriously, if you can press a button on a blender, you’re practically a Michelin-star chef with this one. No joke. Plus, it’s totally customizable, pretty much healthy-ish (depending on your topping choices, *ahem*), and perfect for when you want to impress without, you know, *actual* effort. It’s fast, fun, and furiously delicious. What’s not to love?
Ingredients You’ll Need
Gather ’round, my fellow lazy gourmets! Here’s what you’ll need for this masterpiece:
- Plain Greek Yogurt: About 2 cups. This is the unsung hero. Get the full-fat stuff if you’re feeling wild, or non-fat if you’re still pretending to be healthy. Your call!
- Sweetener of Choice: 2-4 tablespoons. Think honey, maple syrup, agave, or even a sugar-free alternative. Pick your poison, sweet tooth.
- Vanilla Extract: 1 teaspoon. A splash of magic. Don’t skip it unless you hate fun.
- Frozen Fruit: 1.5 – 2 cups. This is where the ‘colorful’ comes in, obvs! Mixed berries, mango chunks, pineapple, cherries, or even peaches. Go wild, pick your favs, or whatever’s lurking in your freezer.
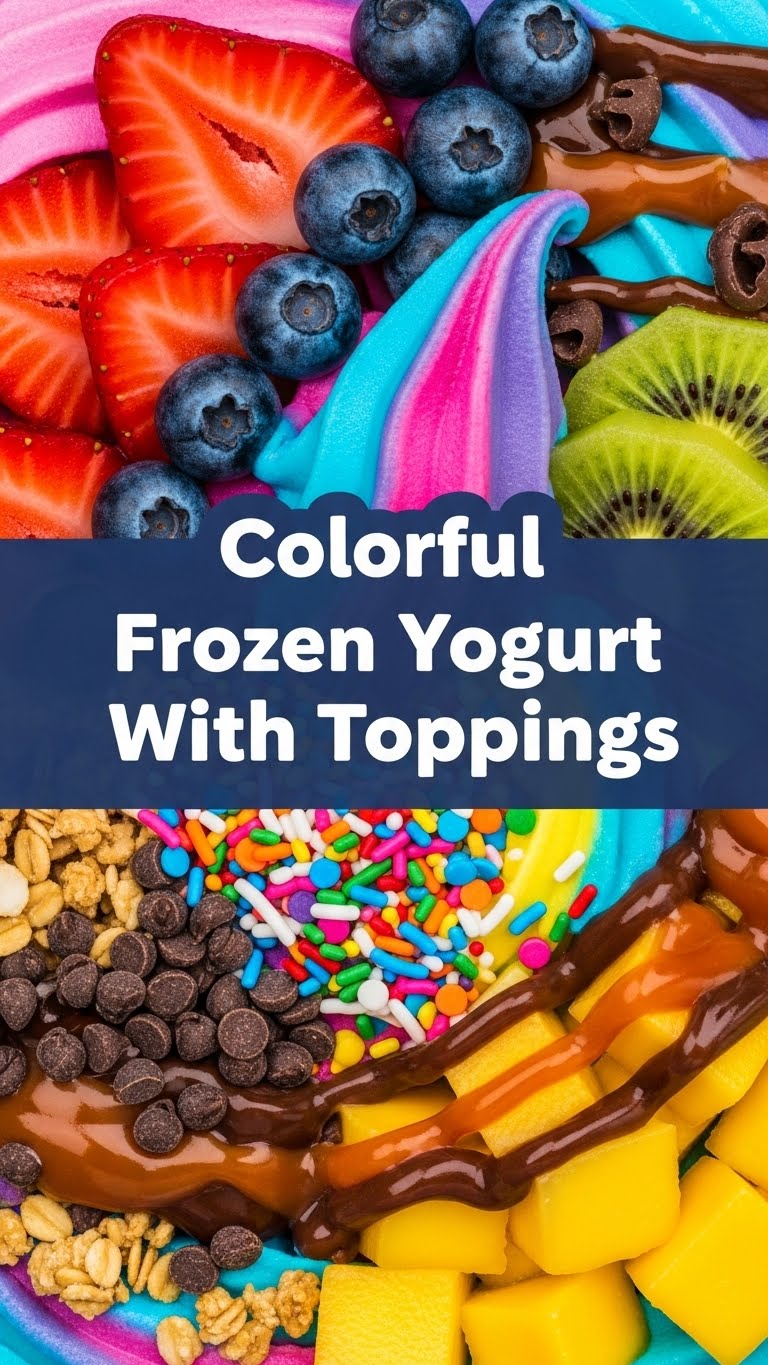
- Toppings Galore: This is the grand finale! Sprinkles (duh), mini chocolate chips, fresh fruit, chopped nuts, granola, a drizzle of chocolate or caramel sauce. The more outrageous, the better. This is not the time for restraint.
Step-by-Step Instructions
Get ready for the easiest “cooking” you’ll do all week!
- Grab your trusty blender. Add the plain Greek yogurt, your chosen sweetener, vanilla extract, and all that beautiful frozen fruit to the blender. Don’t be shy.
- Blend it like you mean it. Start on a low setting, then gradually increase to high. You’re aiming for a thick, smooth, and creamy consistency. You might need to pause and scrape down the sides a few times to make sure everything gets incorporated.
- Taste test like a pro chef. Take a little spoonful. Is it sweet enough for you? Too tart? Adjust the sweetener if needed and give it another quick blend. **Don’t skip this step!** Your taste buds will thank you.
- If it’s too soft… Sometimes, depending on your fruit and blender, it might come out a bit softer than typical fro-yo. No worries! Pop the mixture into a freezer-safe container and freeze for 30-60 minutes. Stir halfway through if you remember.
- Scoop and decorate! Once it’s at your desired fro-yo consistency, scoop it into bowls. This is your canvas, artist!
- Unleash the toppings! Pile on those sprinkles, chocolate chips, fresh berries, or whatever other deliciousness your heart desires. This is the fun part, so go nuts!
Common Mistakes to Avoid
Listen up, buttercup, these are easy to avoid if you pay attention (unlike that time I tried to bake bread without yeast—never again).
- Using unfrozen fruit: Unless you want a sad, soupy mess, please use *frozen* fruit. This isn’t a smoothie, buddy. We want that thick, icy texture!
- Skimping on sweetener (if you like sweet): Don’t be a hero. Taste it! If it’s too tart, add more sweetness. Your taste buds will thank you, and frankly, so will your brain.
- Over-blending: Blend until smooth and creamy, not until it’s a runny liquid. We want “frozen yogurt” texture, not “fruit soup.” Keep an eye on it.
- **Forgetting the toppings:** I mean, is it even fro-yo without a mountain of deliciousness on top? Sacrilege!
Alternatives & Substitutions
Because sometimes you gotta improvise, right? Or you’re just feeling a little extra creative!
- Yogurt Swap: For our plant-based pals or anyone who just can’t do dairy, use plain dairy-free yogurt (almond, coconut, or soy work great!). The texture might vary slightly, but it’ll still be delish.
- Sweetener Switch-up: Watching your sugar? Use stevia, erythritol, or just rely on the natural sweetness of your fruit. Some fruits, like super ripe mangoes, are sweet enough on their own!
- Flavor Boosters: A squeeze of lemon or lime zest can really brighten things up. A tiny pinch of cardamom with mango, or cinnamon with berries? Chef’s kiss! You could even add a few fresh mint leaves to the blend for a refreshing twist.
- Protein Power-Up: Feeling like you need a little extra something? Add a scoop of your favorite protein powder (vanilla or unflavored work best) to the blender. Turn it into a post-workout treat! Or just a regular treat. Your call.
FAQ (Frequently Asked Questions)
Got questions? I’ve got answers (mostly).
- Can I use fresh fruit? Well, technically yes, but then you’ll just have a smoothie. And we’re going for fro-yo, remember? So, **freeze that fruit first!** Seriously, it makes all the difference.
- My fro-yo is too soft! What did I do wrong? Chill out! (Pun intended.) Either your fruit wasn’t frozen enough to begin with, or you just need to pop the finished mixture back in the freezer for 30-60 minutes to firm up. **Patience, young grasshopper.**
- How long does it last in the freezer? Honestly? It’s best eaten fresh, right after blending. Over time, it gets quite hard. But if you *must*, maybe a day or two in an airtight container, then let it soften a bit on the counter before attempting to scoop. Your arm workout for the day, sorted!
- Can I make a big batch ahead of time? Again, best fresh for optimal texture. But if you do, portion it into small, individual freezer-safe containers. It’ll be harder to scoop from one big block later, so be warned.
- What if I don’t have a fancy high-speed blender? A regular blender will work just fine! You might need to scrape down the sides more often, and it might take a bit longer to get that super smooth consistency. Or just embrace slightly chunkier fro-yo. It builds character!
Final Thoughts
So there you have it, folks! Your new go-to for when you want something delish, but also low-effort and guilt-free (mostly). This colorful frozen yogurt with toppings is a winner every time. It’s perfect for a hot day, a sweet craving, or just because you deserve something pretty and tasty. Now go forth, blend, and conquer those cravings. You’ve totally got this! Seriously, pat yourself on the back. You just made something awesome. Now go impress someone—or yourself—with your new culinary skills. You’ve earned it!


