So, you’re craving something ridiculously tasty, comforting, and maybe a little bit extra, but you also have zero desire to spend your entire afternoon playing chemist in the kitchen, huh? Same, friend, same. Enter our new best buddy: the Pound Cake with Apple Pie Filling. It’s like a warm hug, a sweet kiss, and a high-five all rolled into one perfectly sliceable dessert.
Why This Recipe is Awesome
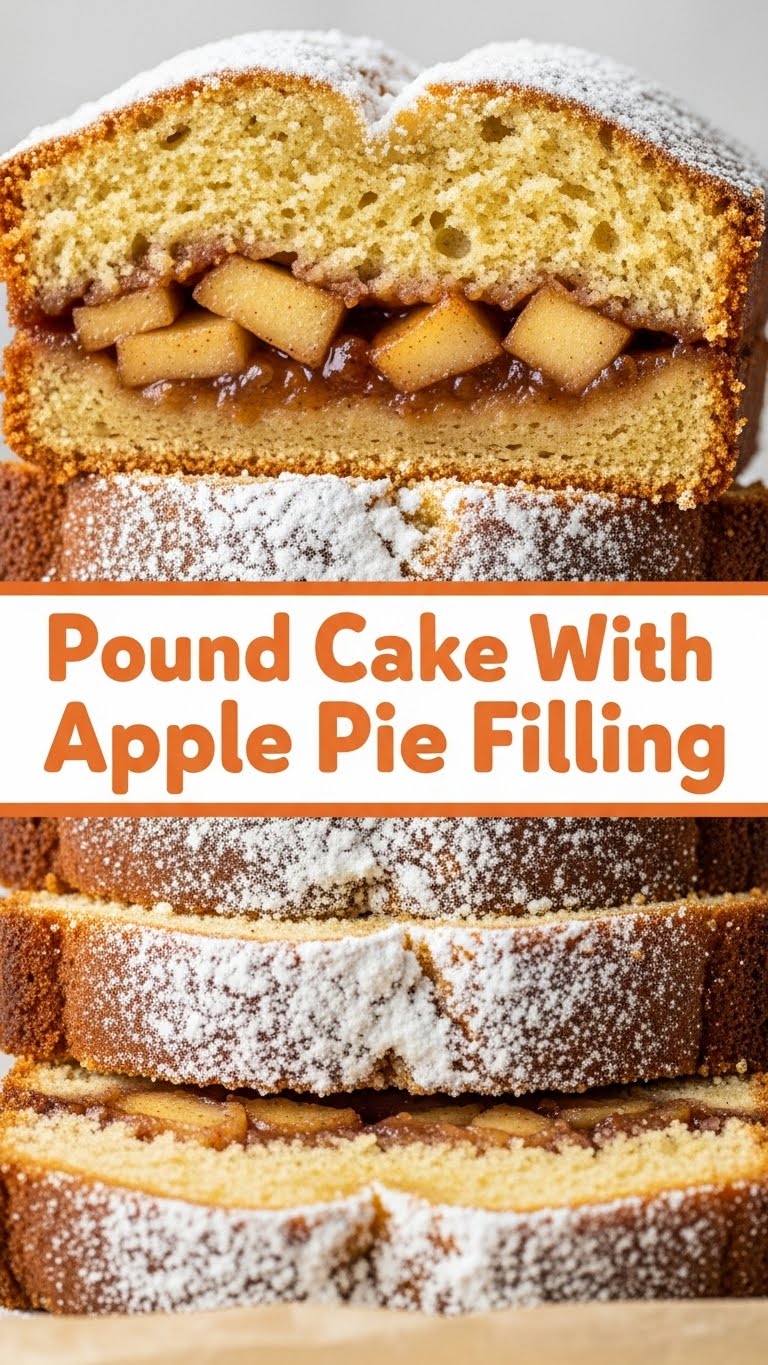
Okay, let’s get real. This isn’t just *a* recipe; it’s *the* recipe for when you want to look like a culinary genius without actually breaking a sweat. It’s got that classic, dense, buttery pound cake vibe, but then BAM! A surprise party of warm, cinnamon-spiced apple pie filling comes crashing in. It’s a two-in-one deal that screams “I tried hard” when in reality, you just followed a few simple steps. Plus, it’s pretty much **idiot-proof** – and trust me, if I didn’t mess it up, you’re golden.
Ingredients You’ll Need
Gather ’round, my sweet-toothed companions! Here’s your shopping list. Keep it simple, keep it real.
- For the Pound Cake:
- 1 cup (2 sticks) unsalted butter, softened: The good stuff. Don’t even think about margarine, unless you want your soul to weep a little.
- 2 cups granulated sugar: For that sweet, sweet goodness.
- 4 large eggs: Room temp is best, FYI, they mix better. Science!
- 1 teaspoon vanilla extract: A little extra oomph.
- 3 cups all-purpose flour: Because who has time for fancy flours?
- 1 teaspoon baking powder: Just enough lift.
- 1/2 teaspoon salt: Balances everything out like a tiny flavor superhero.
- 1 cup whole milk: Gives it that perfect moistness.
- For the Apple Pie Filling:
- 1 (21-ounce) can apple pie filling: Yes, a can! We’re keeping it easy, people. If you’re feeling ambitious, by all means, make your own, but this is the “I’m lazy but fancy” route.
- Optional: 1/2 teaspoon ground cinnamon or apple pie spice: To jazz up that canned filling a bit.
Step-by-Step Instructions
- Get Prepped: Preheat your oven to 325°F (160°C). Grab a 9×5 inch loaf pan, grease it like you’re preparing for a slip-n-slide, and lightly flour it. Or just use baking spray. You do you.
- Cream It Good: In a large bowl, cream together your softened butter and granulated sugar until it’s light, fluffy, and looks like a cloud of deliciousness. This usually takes about 3-5 minutes with an electric mixer.
- Egg-cellent Addition: Add the eggs one at a time, beating well after each addition. Then stir in that lovely vanilla extract.
- Dry Meets Wet: In a separate medium bowl, whisk together your flour, baking powder, and salt. We don’t want any surprises!
- Alternate & Mix: Now, slowly add the dry ingredients to the wet ingredients, alternating with the milk. Start and end with the flour mixture. Mix until just combined – don’t overmix, or you’ll get a tough cake. And nobody wants a tough cake.
- Layer Up: Pour half of your glorious pound cake batter into the prepared loaf pan.
- Apple Attack: If you’re using canned apple pie filling, now’s the time to spoon about half of it over the batter. If you want, sprinkle it with a little extra cinnamon.
- Top It Off: Carefully spoon the remaining pound cake batter over the apple filling. It might not cover completely, and that’s totally fine. You’re building layers of joy!
- Bake Away! Pop that beauty into your preheated oven and bake for 60-75 minutes. **A good rule of thumb: A wooden skewer or toothpick inserted into the center should come out clean.**
- Cool Down: Once baked, let the cake cool in the pan for about 10-15 minutes before inverting it onto a wire rack to cool completely.
- Serve It Up: Once cool, spoon the remaining apple pie filling (warmed up a bit if you’re feeling fancy) over the top of the slices. Or eat it straight off the cooling rack. No judgment here.
Common Mistakes to Avoid
- Thinking you don’t need to preheat the oven: Rookie mistake! Your oven needs to be at temperature to activate those leaveners and get that perfect rise.
- Overmixing the batter: You’re not making cement, people. Gentle hands! Overmixing develops gluten, leading to a tough, dry cake.
- Opening the oven door too often: Curiosity killed the cake! Every time you open that door, you drop the oven temperature, which can cause your cake to sink.
- Not greasing/flouring the pan properly: Want a sticky situation? Because that’s how you get a sticky situation. Ensure that pan is prepped well.
- Cutting into it hot: I know, it smells divine. But give it time to set. Otherwise, it crumbles, and you get sad, messy pieces. Patience, young padawan!
Alternatives & Substitutions
Feeling adventurous or just out of milk? No worries, I got you!
- Fruit Filling Swap: Not an apple fan? Try canned cherry, peach, or blueberry pie filling. Any of ’em will be delicious! IMO, cherry would be a killer combo here.
- Dairy-Free Option: You can swap whole milk for a full-fat dairy-free milk alternative like oat or almond milk. For butter, use a good quality vegan butter stick.
- Spice It Up: Don’t have vanilla? You can omit it, or use almond extract for a slightly different flavor profile.
- Gluten-Free Flour: While I haven’t personally tested it, a 1:1 gluten-free baking flour blend should work just fine here.
FAQ (Frequently Asked Questions)
Got questions? I’ve got (casual) answers!
- Can I use margarine instead of butter? Well, technically yes, but why hurt your soul like that? Butter provides a richer flavor and better texture. Stick with butter for the best results, unless dietary restrictions really force your hand.
- My cake sunk in the middle, what gives? Probably a few things. Did you open the oven door a lot? Is your baking powder fresh? Or maybe it just needed a few more minutes to bake fully. Don’t stress, it still tastes good!
- How long does this cake last? Covered tightly at room temperature, it’s good for 3-4 days. In the fridge, maybe up to a week. If it lasts that long, you’re a stronger person than I am!
- Can I make this ahead of time? Absolutely! Pound cake actually gets better the next day as the flavors meld. Just add the fresh apple topping before serving.
- Do I have to warm the apple pie filling for the topping? Nah, not really. But trust me, a slightly warmed filling over a cool cake? OMG, it’s next level. Just a quick zap in the microwave will do.
- Can I add nuts to the batter? You sure can! A half cup of chopped walnuts or pecans would be a fantastic addition for extra crunch and flavor. Fold them in with the dry ingredients.
Final Thoughts
So there you have it, your new go-to recipe for when you want to impress without the stress. This Pound Cake with Apple Pie Filling is ridiculously easy, incredibly delicious, and basically guaranteed to make you feel like a kitchen wizard. Now go forth, bake this beauty, and then, most importantly, devour it. You’ve earned it!


