So you’re craving something ridiculously tasty but too lazy to spend forever in the kitchen, huh? Same, friend, same. Sometimes you just need that instant gratification, that sweet, creamy hug in a glass, without a culinary degree or an hour-long commitment. And honestly, what’s better than a classic chocolate milkshake? Nothing, that’s what. Let’s make some magic!
Why This Recipe is Awesome
Okay, let’s be real. This isn’t just *a* recipe; it’s *the* recipe for those moments when you need a chocolatey escape. Why is it awesome, you ask? Well, for starters, it’s pretty much **idiot-proof**. Even I, someone who once mistook baking soda for baking powder (don’t ask), can nail this. It takes like, five minutes? Maybe less if you’re really motivated. Plus, it’s infinitely better than anything you’ll get from a drive-thru, because you made it with love (and probably some serious chocolate cravings). It’s the ultimate mood booster, trust me. You deserve this!
Ingredients You’ll Need
Gather your troops, because we’re about to make some creamy, dreamy chocolate heaven. No fancy stuff needed, just the essentials.
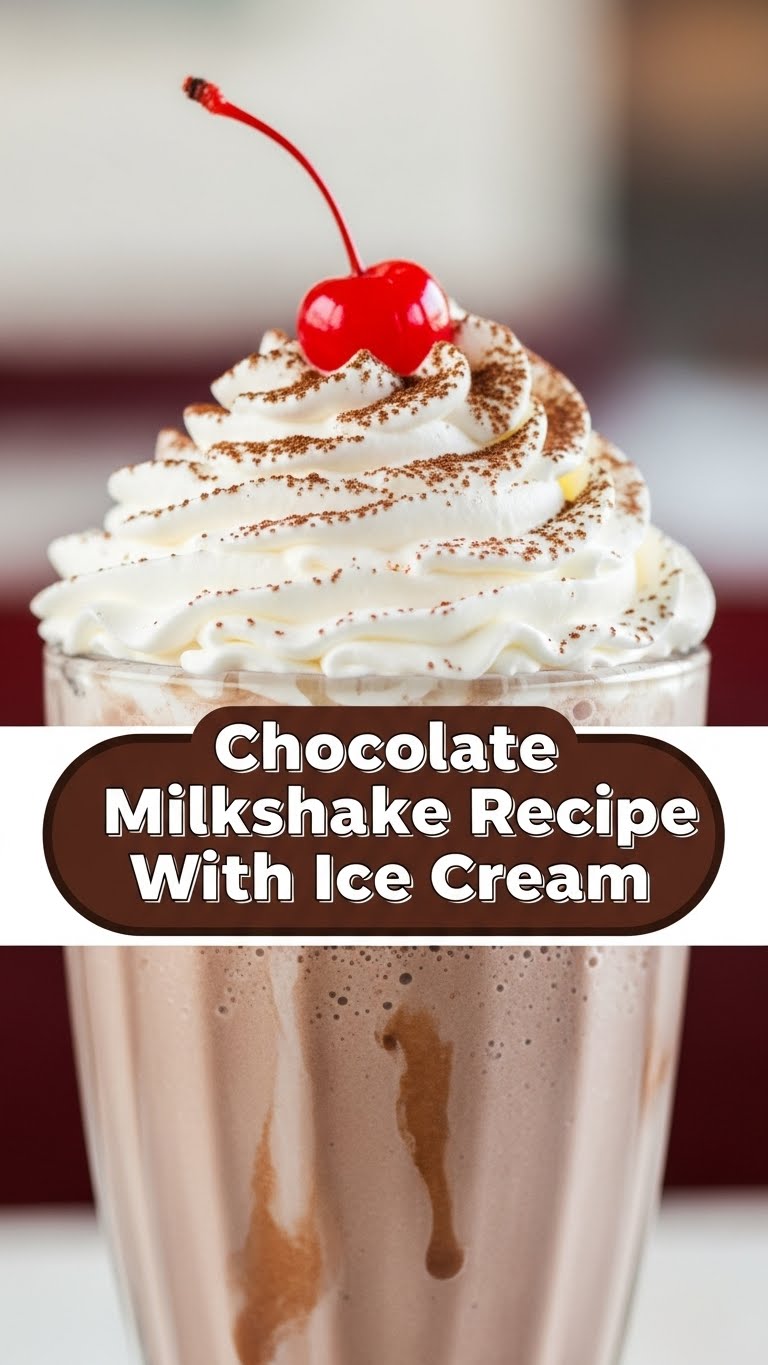
- 1 ½ cups (about 375ml) Milk: Your trusty dairy friend. Whole milk makes it super creamy, but whatever you have on hand will work.
- 2 ½ – 3 scoops Chocolate Ice Cream: The MVP, obviously. Don’t skimp here; this is the soul of your milkshake.
- 2-3 tablespoons Chocolate Syrup: For that extra choco punch, because “too much chocolate” is a myth.
- Optional Toppings (because why not?): Whipped cream (canned is fine, no judgment!), chocolate shavings, sprinkles, a cherry on top if you’re feeling fancy.
Step-by-Step Instructions
Alright, culinary wizard, let’s get blending! This is so easy, you’ll wonder why you ever paid for one.
- Rally Your Troops: Get all your ingredients out. If you’re feeling extra, pop your serving glass in the freezer for a few minutes. A cold glass keeps your shake colder longer, and who doesn’t want that?
- Into the Blender They Go: First, pour the milk into your blender. Then, spoon in those glorious scoops of chocolate ice cream. Finally, drizzle in the chocolate syrup.
- Blend Away!: Secure the lid (very important, unless you want a chocolatey kitchen mural) and start blending on medium speed.
- Check for Creaminess: Blend until it’s perfectly smooth and creamy. If it’s too thick, add a tiny splash more milk. If it’s not thick enough (a common “oops”), throw in another half-scoop of ice cream and give it another whirl. We’re going for that perfect spoon-thick consistency.
- Pour and Garnish: Pour your magnificent creation into your chilled glass. Now, for the grand finale: top with whipped cream, sprinkles, or whatever your heart desires. Seriously, go wild!
Common Mistakes to Avoid
Even though this recipe is super easy, there are a few rookie errors that can turn your dreamy shake into a chocolatey disappointment. Let’s learn from my past mistakes, shall we?
- Over-Blender Blunder: Blending for too long can actually warm up your milkshake and make it thinner. You want smooth, not soup! Blend until just combined and creamy.
- Too Much Milk, Not Enough Ice Cream: This is the ultimate milkshake sin. You’ll end up with chocolate milk, not a milkshake. **The ice cream is key for thickness and richness.**
- Forgetting to Chill Your Glass: It’s a small step, but it makes a huge difference. A warm glass will instantly start melting your hard work.
- Skimping on Chocolate Syrup: While not a mistake per se, if you’re making a *chocolate* milkshake, commit! Add that extra tablespoon if you’re a true chocoholic.
Alternatives & Substitutions
Feeling adventurous or just missing an ingredient? No stress, here are some ideas to tweak your shake!
- Dairy-Free Delight: Swap regular milk for almond milk, oat milk, or soy milk. Just make sure to use a dairy-free chocolate ice cream too!
- Vanilla Base: No chocolate ice cream? No problem! Use vanilla ice cream and add a tablespoon or two of cocoa powder along with the chocolate syrup for that chocolatey goodness.
- Extra Kick: Add a tablespoon of peanut butter for a chocolate peanut butter dream. Or, for the grown-ups, a shot of espresso for a mocha milkshake!
- Flavor Fun: Toss in half a banana for a thicker, fruitier twist, or a pinch of cinnamon for a subtle warmth.
FAQ (Frequently Asked Questions)
Got questions? I’ve got answers! (Mostly.)
- Q: Can I use regular unsweetened cocoa powder instead of chocolate syrup?
A: Absolutely! Just remember cocoa powder is bitter, so you might want to add a teaspoon or two of sugar or a splash more milk to balance it out. Blend well!
- Q: My milkshake is too thin! What went wrong?
A: Rookie mistake, my friend! You likely went too heavy on the milk or too light on the ice cream. **Add another scoop (or two!) of ice cream and re-blend.** Problem solved!
- Q: Can I make this ahead of time?
A: You *can*, but it’s really best enjoyed fresh. Milkshakes tend to separate and lose their glorious texture if left to sit. Think of it as a treat for the present moment!
- Q: What if I don’t have a powerful blender?
A: No worries! Just make sure your ice cream isn’t rock solid. Let it sit out for 5 minutes to soften slightly before blending. And start with a lower speed to avoid splashing.
- Q: Is this considered healthy?
A: Look, let’s be honest. This is a treat for the soul, not for your daily macro count. It’s about joy, not kale. Enjoy it guilt-free, **IMO**!
- Q: Do I really need to chill the glass?
A: You don’t *have* to, but your milkshake will thank you. A cold glass slows down the melting process, keeping your shake perfectly thick and frosty for longer. It’s a small effort for maximum deliciousness.
Final Thoughts
So there you have it, folks! The easiest, most delicious chocolate milkshake recipe you’ll ever need. Seriously, this is a game-changer for those spontaneous cravings. Now go forth and impress someone—or yourself, which is arguably more important—with your new culinary skills. You’ve earned this creamy, chocolatey reward. Happy blending!


