So, you’re craving something warm, comforting, and utterly delicious but the thought of spending hours in the kitchen makes you want to curl up with a bag of chips instead? Same. That’s why we’re making *the* apple pie with a crumble top today. It’s like a warm hug, but in dessert form, and significantly less complicated than parallel parking.
Why This Recipe is Awesome
Listen, I get it. Life’s busy. You want maximum deliciousness for minimum effort. And guess what? This recipe delivers! We’re talking:
- Idiot-proof deliciousness: Seriously, if I can do it without setting off the smoke alarm, you can too.
- No fussy lattice work: Because who has time for intricate woven patterns when there’s pie to be eaten? A crumble top is your bestie.
- Universally loved: Bring this to a potluck, and you’ll be everyone’s favorite human. Or just eat it all yourself. No judgment here.
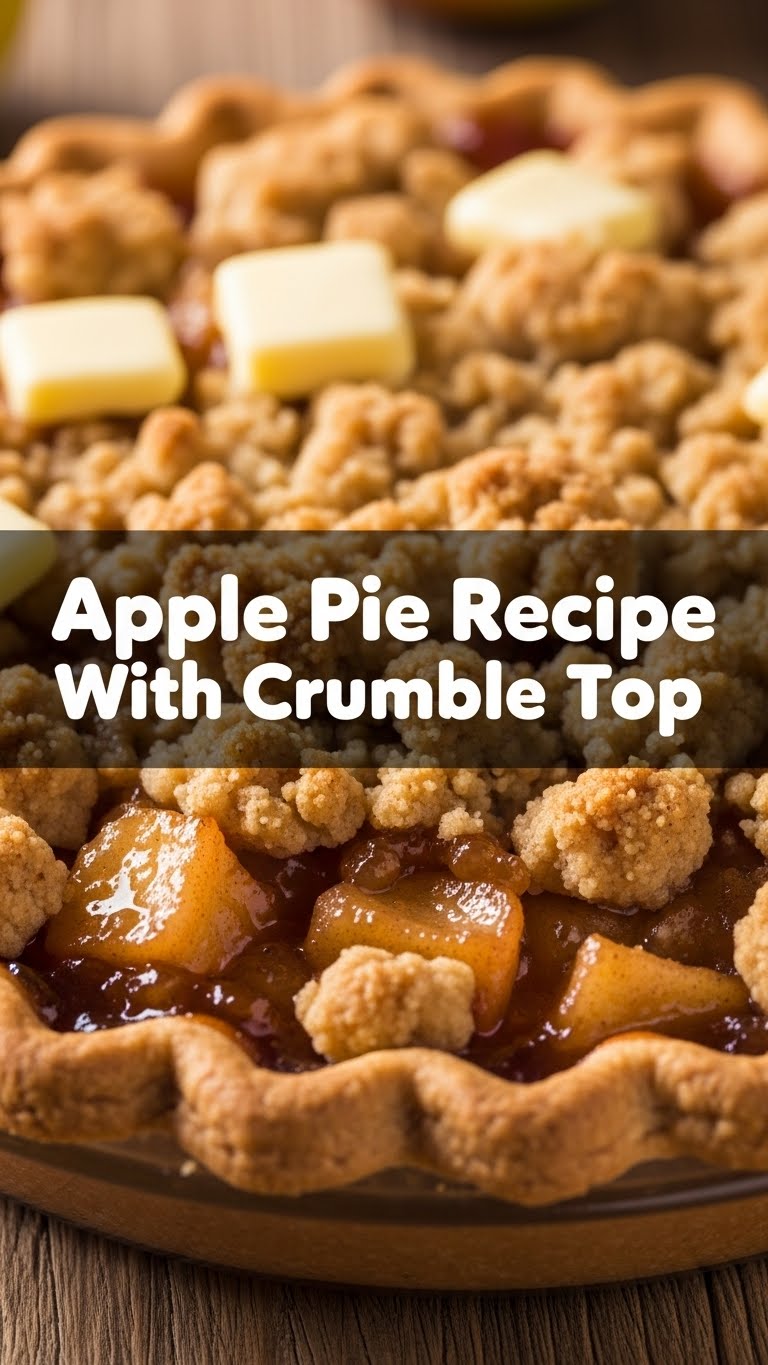
- Warm, spiced apples meet buttery, crunchy crumble: It’s a texture and flavor party in your mouth, and everyone’s invited.
It’s basically a magic trick: minimal effort, maximum “wow!” Factor. You’re welcome.
Ingredients You’ll Need
Gather your troops! Here’s what you’ll need to conquer this pie:
For the Crust (the foundation of your pie-tastic empire):
- 1 pre-made pie crust (store-bought, chilled): Because we’re smart, not martyrs. You could make your own, but why add extra steps?
For the Apple Filling (the juicy heart of it all):
- 6-8 medium apples: A mix of sweet (Honeycrisp, Fuji) and tart (Granny Smith, Braeburn) is best, like your personality on a Monday. Peel, core, and slice ’em thinly.
- 1/2 cup granulated sugar: The sweet stuff.
- 1/4 cup packed light brown sugar: For that deep, caramelly hug.
- 1/4 cup all-purpose flour: A little thickener, because nobody likes soupy pie.
- 1 teaspoon ground cinnamon: The star of the spice rack dream team.
- 1/2 teaspoon ground nutmeg: Cinnamon’s trusty sidekick.
- Pinch of ground allspice (optional): Adds a little extra warmth.
- 1 tablespoon fresh lemon juice: Brightens everything up, like a tiny culinary cheerleader.
- 2 tablespoons unsalted butter: Just a smidge, cut into small pieces, for good measure.
For the Crumble Topping (the crown jewel, IMO):
- 1 cup all-purpose flour: The bulk of your crumble.
- 1/2 cup packed light brown sugar: The other half of the dynamic duo.
- 1/2 cup old-fashioned rolled oats: For texture, and to pretend it’s healthy.
- 1/2 teaspoon ground cinnamon: A little extra spice in the crumble never hurt anyone.
- 1/2 cup (1 stick) unsalted butter: Crucially, make sure it’s COLD and cut into small cubes. Science, people!
- Pinch of salt: Balances the sweetness, trust me.
Step-by-Step Instructions
- Preheat & Prep the Crust: First things first, get your oven ready. Preheat it to 375°F (190°C). Unroll that pre-made crust and gently fit it into a 9-inch pie plate. Crimp the edges however you like – rustic is totally in style. If you’re feeling extra, prick the bottom with a fork a few times.
- Get Those Apples Ready: In a large bowl, toss your peeled, cored, and sliced apples with the granulated sugar, brown sugar, flour, cinnamon, nutmeg, allspice, and lemon juice. Give it a good mix until everything’s coated. Let this mixture sit for about 10-15 minutes; the apples will start to release their juices.
- Fill ‘er Up: Pour the apple filling into your prepared pie crust, mounding it slightly in the center. Dot the top of the apples with those small pieces of butter. This adds extra richness!
- Make the Crumble: In a separate medium bowl, whisk together the flour, brown sugar, oats, and cinnamon for the topping. Now, add the cold, cubed butter and the pinch of salt. Use your fingers (or a pastry blender if you’re fancy) to work the butter into the dry ingredients until the mixture resembles coarse crumbs. The key here is cold butter for a truly crumbly texture.
- Top it Off: Generously sprinkle your glorious crumble topping evenly over the apples in the pie plate. Don’t be shy; cover those apples completely!
- Bake Time! Place the pie on a baking sheet (to catch any potential drips – better safe than sorry, FYl) and pop it into your preheated oven. Bake for 50-60 minutes, or until the crumble topping is golden brown and the apple filling is bubbly and tender when poked with a knife. If the top starts browning too quickly, you can loosely tent it with aluminum foil.
- Cool Down (This is the Hard Part): Once baked, transfer the pie to a wire rack and let it cool for at least 2-3 hours before slicing and serving. I know, I know, it’s torture. But trust me, this resting time allows the filling to set properly, preventing a soupy mess. Patience is a virtue, especially when pie is involved.
Common Mistakes to Avoid
- Cutting into it too soon: Rookie mistake! The juices will run everywhere, and your beautiful pie will turn into a delicious, but messy, puddle. Resist the urge, my friend.
- Not chilling crumble butter enough: If your butter isn’t cold, your crumble will be greasy, not wonderfully crumbly.
- Using only one type of apple: While doable, a mix of sweet and tart apples provides a more complex and delicious flavor profile. Don’t be a one-apple wonder!
- Overfilling the pie: Your oven will thank you for not creating a bubbling, sticky disaster on the bottom.
- Forgetting to preheat the oven: Baking in a cold oven will mess with your crust and cooking time. Just don’t do it.
Alternatives & Substitutions
Feeling adventurous? Or just out of an ingredient? No worries, we’ve got options!
- Different fruits: This crumble top isn’t just for apples! Try it with sliced pears, mixed berries, or even peaches. Adjust sugar levels based on the fruit’s sweetness.
- Gluten-free: Swap out the all-purpose flour for a good quality gluten-free all-purpose blend in both the filling and the crumble.
- Vegan butter: For a dairy-free version, use a plant-based butter substitute in both the filling and the crumble.
- Add nuts: Want extra crunch? Throw in 1/2 cup of chopped pecans or walnuts into your crumble topping. Yum!
- Don’t like oats? Skip ’em! Just add a little more flour (maybe 1/4 cup) to the crumble mixture to compensate for the lost bulk. It’s your pie, friend!
FAQ (Frequently Asked Questions)
Got questions? I’ve got (casual and humorous) answers!
- What are the best apples for apple pie?
A: A mix! Think Granny Smith (for tartness and structure) with a sweeter, softer apple like Honeycrisp, Fuji, or Braeburn. It’s like a culinary buddy cop movie. - Can I make this pie ahead of time?
A: Absolutely! You can assemble the whole pie (minus baking) up to a day in advance, cover it, and chill. Or, bake it fully and reheat gently before serving. - Can I freeze this pie?
A: Yep! You can freeze it unbaked (wrap tightly, bake from frozen, adding extra time) or baked (cool completely, wrap, then freeze). Thaw, then reheat for a delicious treat later. - Why is my crumble topping soggy?
A: A few culprits! Could be your butter wasn’t cold enough, you didn’t use enough flour in the crumble, or your apples released too much liquid. Make sure to let those apples sit a bit to release juice before mixing with flour, and always use cold butter for the crumble. - I don’t have a pie plate, what else can I use?
A: No pie plate, no problem! An 8×8 inch or 9×13 inch baking dish will work. You’ll essentially have a rustic slab pie, which is equally delicious and perhaps even easier to serve! - Can I use margarine instead of butter?
A: Well, technically yes, you *could*. But why hurt your soul like that? Butter just tastes better, let’s be real. If you’re going for flavor, stick with butter.
Final Thoughts
You did it! You’ve just crafted a magnificent apple crumble pie that will make your kitchen smell like a dream and your taste buds sing. Take a bow, you culinary genius! Whether you share it with loved ones or hoard it for yourself (we totally support that, BTW), you’ve earned every single bite.
Now go impress someone—or yourself—with your new culinary skills. You’ve earned it!


