So, you’re craving something warm, cozy, and utterly delicious but the thought of wrestling with traditional pastry dough makes you want to just order takeout? Yeah, same. My oven and I have a complicated relationship, mostly involving me asking it nicely to behave and it usually… well, it usually behaves. But pie? Pie used to be my Everest. Until now, my friend. Until now.
Why This Recipe is Awesome
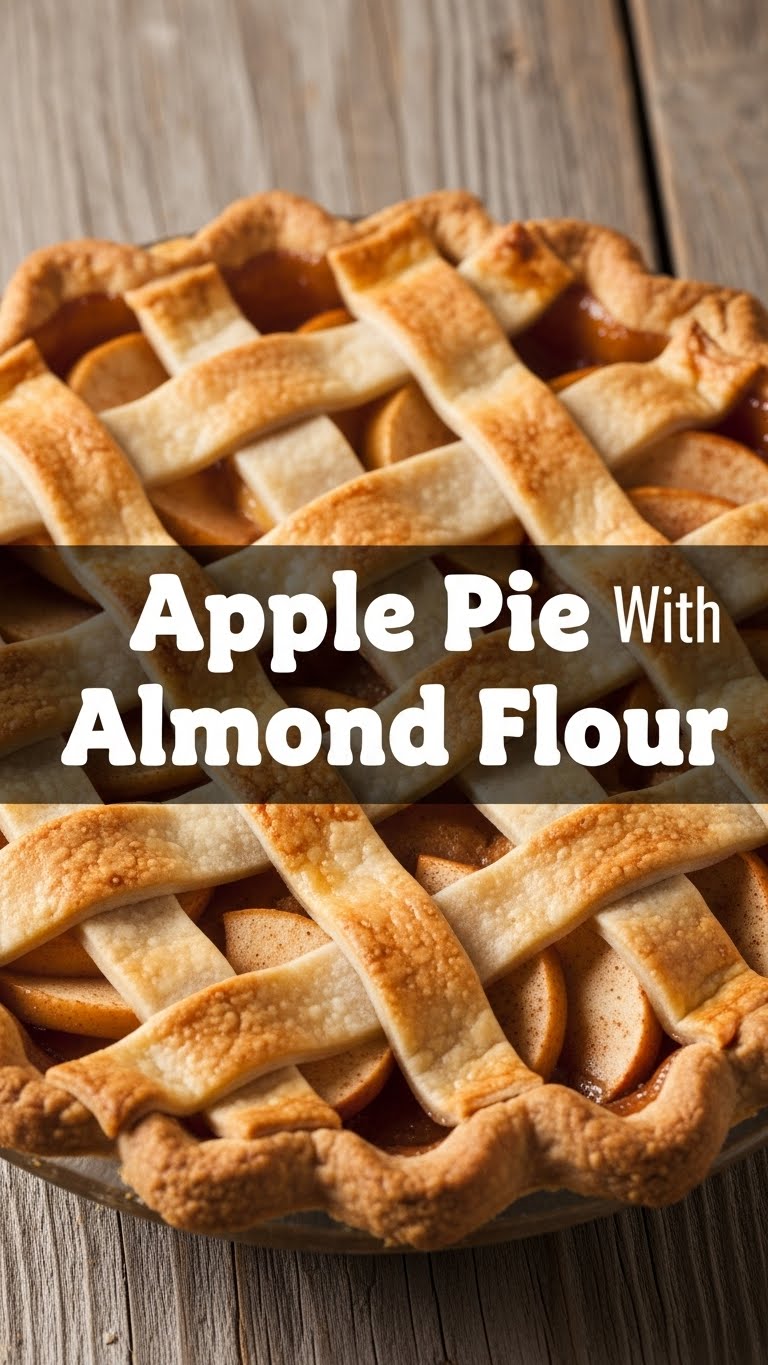
Listen, if I can make this, *you* can make this. This isn’t just an apple pie; it’s an apple pie with an almond flour crust. What does that mean? It means **gluten-friendly**, fewer carbs (if you’re into that kind of thing, no judgment here!), and a ridiculously simple, forgiving crust that won’t make you want to throw your rolling pin out the window. Seriously, it’s pretty much idiot-proof. Plus, almond flour gives it this lovely, subtle nutty flavor that just *sings* with the apples. It’s like regular apple pie went on a fancy vacation and came back even better looking.
Ingredients You’ll Need
Gather ’round, fellow culinary adventurers! Here’s your treasure map of deliciousness. Don’t worry, nothing too exotic here.
For the Fabulous Almond Flour Crust:
- **2 cups Blanched Almond Flour:** Not almond meal, unless you *like* things a bit rustic (and by rustic, I mean chunky). Blanched is smoother, just like your life should be.
- **1/2 cup Cold Unsalted Butter:** Cut into cubes. Cold is key, people! We’re not making scrambled eggs here.
- **1/4 cup Granulated Sweetener:** Your choice! Erythritol, xylitol, regular sugar if you’re feeling wild. Just don’t go overboard, the apples bring their own party.
- **1/2 teaspoon Salt:** Balances everything out. It’s the unsung hero.
- **1 large Egg Yolk:** Just the yolk! It helps bind everything like magic.
- **1/2 teaspoon Vanilla Extract (optional but recommended):** Adds a little extra oomph.
- **1-2 tablespoons Ice Water (if needed):** Only if your dough is being a diva and won’t come together.
For the Apple-y Goodness Filling:
- **6-7 Medium Apples:** Granny Smith are the classic tart choice, but a mix with Honeycrisp or Fuji is divine. Just avoid the mushy ones unless you’re into apple sauce pie (no shade, just not what we’re going for). **Peeled, cored, and sliced about 1/4-inch thick.**
- **1/2 cup Granulated Sweetener:** Again, your preference. Adjust to your apple’s tartness.
- **2 tablespoons Lemon Juice:** Cuts through the sweetness, keeps the apples from browning, and adds a zing!
- **1 tablespoon Cornstarch or Arrowroot Powder:** Our secret weapon for a perfectly thick (not runny!) filling. No one likes a watery pie.
- **1 teaspoon Ground Cinnamon:** Because apple pie without cinnamon is just… sad apples.
- **1/4 teaspoon Ground Nutmeg (optional):** A little extra warmth, if you’re feeling fancy.
- **2 tablespoons Unsalted Butter:** Cut into small pieces. Dots of buttery goodness over the filling.
Step-by-Step Instructions
Alright, apron on! Let’s get baking without breaking a sweat. Mostly.
- **Crust Time (Part 1):** In a large bowl, whisk together your almond flour, sweetener, and salt. Make sure it’s all happy and combined.
- **Butter Up:** Add your cold, cubed butter to the dry ingredients. Use your fingers (or a pastry blender if you’re fancy) to cut the butter into the flour until it resembles coarse crumbs. We’re looking for pea-sized bits here. This is where the magic starts.
- **Bind It:** Add the egg yolk and vanilla extract (if using). Mix until just combined. If it’s still too crumbly to form a ball, add a tablespoon of ice water at a time until it comes together. **Don’t overmix, IMO!**
- **Chill Out:** Divide the dough in half. Shape each half into a disc, wrap ’em in plastic wrap, and chill in the fridge for at least 30 minutes. This helps prevent sticking and makes it easier to roll. Trust me on this.
- **Apple Prep:** While your dough is chilling, toss your sliced apples, sweetener, lemon juice, cornstarch (or arrowroot), cinnamon, and nutmeg (if using) in a large bowl. Mix well until the apples are evenly coated.
- **Preheat & Roll:** Preheat your oven to **375°F (190°C)**. Grab one disc of dough from the fridge. Place it between two sheets of parchment paper and roll it out into a 10-11 inch circle. Carefully peel off the top parchment and invert the crust into your 9-inch pie plate. Gently press it into place, trimming any major overhang.
- **Fill ‘Er Up:** Pour your apple filling into the pie crust. Dot the top with those little pieces of butter. Mmm, butter.
- **Top It Off:** Roll out the second disc of dough. You can either lay it whole over the apples (make a few slits for steam) or get fancy with a lattice top (YouTube is your friend here!). Trim the edges, pinch them together with the bottom crust (fluting is always a nice touch), and make sure it looks pretty.
- **Bake It Real Good:** Pop your pie into the preheated oven. Bake for **40-55 minutes**, or until the crust is golden brown and the filling is bubbly. If the crust starts browning too fast, loosely tent it with foil.
- **Cool Down:** Let your pie cool on a wire rack for at least 2-3 hours before slicing. This is crucial! It allows the filling to set properly. I know, it’s torture, but it’s worth it.
Common Mistakes to Avoid
We’ve all been there. Learn from my (and others’) mishaps!
- **Not Chilling the Dough:** Rookie mistake! **Chilling the dough** prevents it from sticking and shrinking excessively. Patience is a virtue, especially in pie-making.
- **Overmixing the Crust:** If you treat the dough like bread dough, it’ll get tough. We want tender, flaky deliciousness, not a hockey puck. Mix until just combined, then back off.
- **Skipping the Thickener (Cornstarch/Arrowroot):** Think you can just wing it? Prepare for a soupy mess. That thickener is there for a reason, pal.
- **Slicing Too Soon:** Remember that 2-3 hour cooling time? It’s not a suggestion. Slice too early, and your beautiful filling will run everywhere like a frightened gazelle.
- **Ignoring Your Oven:** Every oven is a unique beast. **Keep an eye on that crust!** If it’s browning too fast, tent it with foil. Don’t just set a timer and walk away.
Alternatives & Substitutions
Feeling creative? Or just missing an ingredient? No stress!
- **Flour Power:** While this recipe shines with almond flour, you *can* try a mix of almond and coconut flour (use less coconut, it’s very absorbent). For a traditional crust, well, that’s another recipe entirely, my friend!
- **Sweet Swaps:** If you’re out of a specific granulated sweetener, brown sugar works wonderfully for the filling (adds a caramel note!). Maple syrup or honey can also work, but reduce other liquids a bit.
- **Butter Alternative:** For the crust, cold coconut oil (solidified) can work as a dairy-free option, but the flavor will be different. For the filling, margarine or a plant-based butter alternative can replace butter if needed.
- **Apple Variety:** Don’t have Granny Smiths? Mix it up! Any firm, baking apple will do. Just adjust the sweetener based on how sweet or tart your apples are.
- **Spice It Up:** Add a pinch of allspice or ginger to your filling for extra warmth.
FAQ (Frequently Asked Questions)
Got questions? I’ve got (casual) answers!
- **”Can I make this dairy-free?”** Yep! Use a good quality plant-based butter substitute in the crust and for dotting the filling. Easy peasy.
- **”My dough is super crumbly, what gives?”** Did you add enough egg yolk? Is your butter *really* cold? Sometimes, an extra tablespoon of ice water (one at a time!) is all it needs to come together. Don’t be shy.
- **”Can I make this ahead of time?”** You bet! You can prep the crust discs and keep them in the fridge for up to 2 days, or even freeze them for a month. The filling can be prepped a day ahead too. Just assemble and bake when you’re ready for pie glory.
- **”How do I store leftovers?”** If there *are* leftovers (a big IF!), cover it loosely with plastic wrap or foil and store at room temperature for up to 2 days, or in the fridge for up to 4 days. It also freezes well!
- **”Can I use margarine instead of butter?”** Well, technically yes, but why hurt your soul like that? Butter just tastes better, **FYI**. But hey, if that’s what you have, go for it.
- **”My pie crust looks pale, what should I do?”** Don’t be afraid to let it bake a little longer! Or, brush the top with a tiny bit of egg wash (egg yolk + a splash of water) before baking for a gorgeous golden sheen.
Final Thoughts
And there you have it! Your ticket to apple pie nirvana, with less fuss and more “OMG, I made this?!” moments. This almond flour apple pie isn’t just a dessert; it’s a statement. A statement that says, “I love delicious things, but I also value my sanity and don’t want to spend all day baking.” Now go impress someone—or yourself—with your new culinary skills. You’ve earned it!


