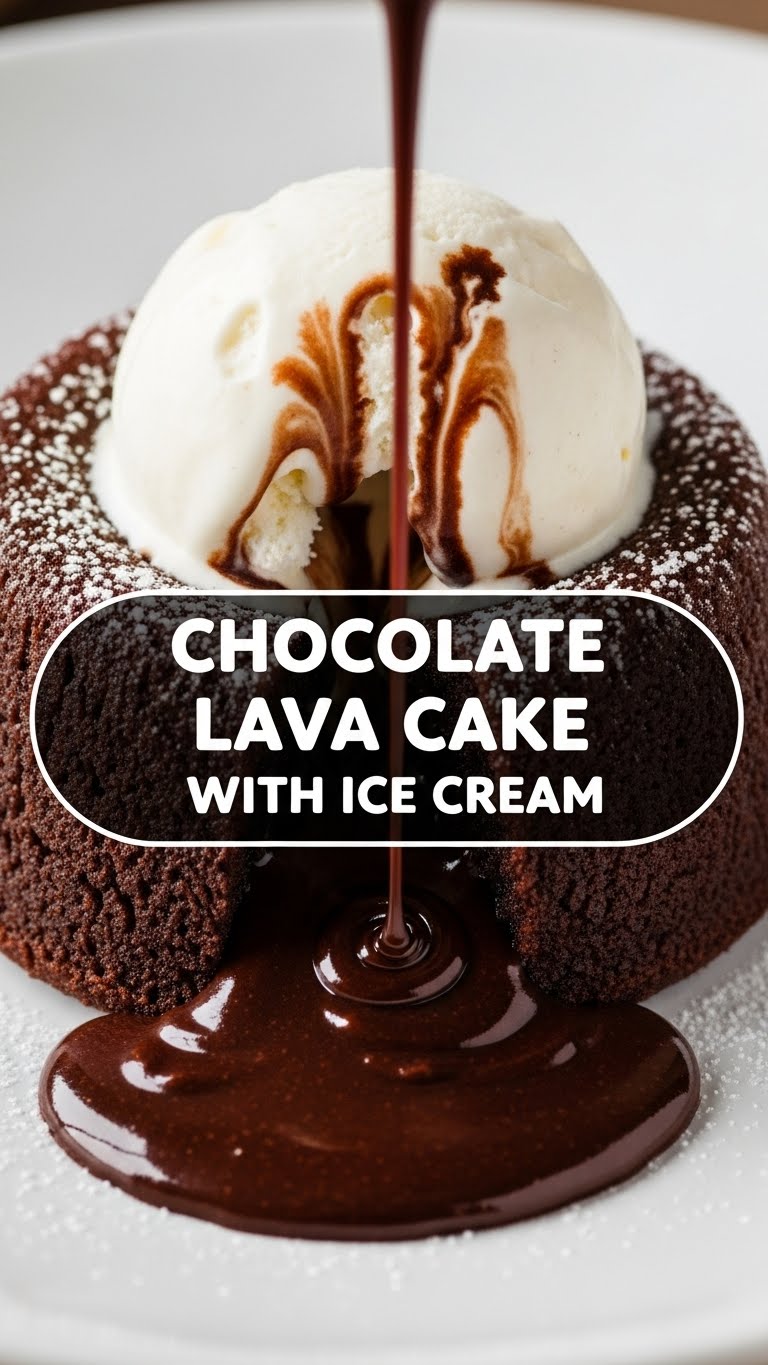
So, you’re dreaming of something ridiculously decadent, super chocolatey, and kinda fancy but requires minimal effort? My friend, you’ve come to the right place. Forget those long, complicated recipes that make you want to throw your apron at the wall. We’re diving headfirst into the glorious world of **Chocolate Lava Cake with Ice Cream**. It’s basically a warm hug in dessert form, with a surprise gooey center that’ll make you swoon. Ready to become a dessert wizard? Let’s go!
Why This Recipe is Awesome
Okay, let’s be real. In a world full of complex baking challenges, this recipe is your chill, supportive bestie. Why is it awesome? Because it’s shockingly simple to make, incredibly quick (we’re talking 20-ish minutes from start to face-stuffing), and it looks like you spent hours slaving away. Seriously, it’s practically idiot-proof. Even if your culinary adventures usually end with the fire alarm, you can nail this. Plus, that moment when you spoon into it and the warm, molten chocolate oozes out? Pure, unadulterated bliss. It’s an instant mood lifter, a perfect date-night showstopper, or just a treat for your amazing self. You deserve it!
Ingredients You’ll Need
Gather ’round, my fellow dessert enthusiasts! Here’s what you’ll need for this magical journey. Don’t worry, it’s nothing too exotic, mostly stuff you probably already have lurking in your pantry.
- Unsalted Butter (1/2 cup / 113g): The good stuff. No sad, lonely margarine here, please. We’re making lava cake, not regrets.
- Good Quality Dark Chocolate (4 oz / 113g): This is NOT the time for chocolate chips, unless they’re fancy dark ones. Get a bar of 60-70% cacao for that rich, intense flavor. Chop it up so it melts faster, because patience is a virtue we don’t always possess.
- Large Eggs (2 whole, plus 2 yolks): These are your binding agents, your molten chocolate dream weavers.
- Granulated Sugar (1/4 cup / 50g): Just enough sweetness to balance the dark chocolate. We’re aiming for sophisticated, not a sugar rush straight to the dentist.
- All-Purpose Flour (2 tablespoons): Just a whisper! We want gooey, not cakey.
- Pinch of Salt: Don’t skip this! It enhances all those beautiful chocolatey flavors. It’s like the secret weapon of baking.
- Vanilla Extract (1/2 teaspoon): Because everything is better with a dash of vanilla. It’s a fact.
- Ice Cream (your favorite flavor): This is non-negotiable. Vanilla bean is classic, but hey, salted caramel or mint chip? You do you.
- Optional Garnish: A dusting of powdered sugar, fresh berries, or a sprig of mint if you’re feeling extra fancy.
Step-by-Step Instructions
Alright, let’s turn these simple ingredients into pure chocolate alchemy. Follow these steps, and you’ll be digging into gooey goodness in no time!
- Get Prepped: First things first, preheat your oven to 425°F (220°C). Then, grab four 6-ounce ramekins. **Butter them generously** and dust with cocoa powder or flour. This is crucial for easy release later, trust me.
- Melt the Good Stuff: In a microwave-safe bowl (or a double boiler if you’re fancy), melt the chopped dark chocolate and butter together. Heat in 30-second intervals, stirring until smooth and glossy. Let it cool slightly while you move on.
- Whip It Good: In another medium bowl, whisk together the whole eggs, egg yolks, and granulated sugar until light, pale, and fluffy. This should take about 2-3 minutes with a hand mixer, or some serious arm muscle if you’re doing it by hand.
- Combine Forces: Gently fold the slightly cooled chocolate mixture into the egg mixture until just combined. Don’t overmix! We’re not making scrambled chocolate eggs.
- Flour Power & Vanilla Swirl: Sift the flour and salt over the chocolate mixture, then add the vanilla extract. Fold everything together until *just* combined. Again, **don’t overmix**! Lumps are okay.
- Fill ‘Em Up: Divide the batter evenly among your prepared ramekins. Place them on a baking sheet.
- Bake to Perfection: Pop that baking sheet into your preheated oven and bake for 12-14 minutes. The edges should look set, but the center should still be jiggly. This jiggliness is your key to that glorious lava!
- The Grand Finale: Let them cool in the ramekins for just 1-2 minutes. Then, carefully invert each cake onto a serving plate. A quick tap on the bottom usually helps. Top immediately with a generous scoop of your favorite ice cream.
Common Mistakes to Avoid
Even though this recipe is pretty forgiving, there are a few rookie mistakes that can turn your lava dream into a sad, solid cake. Let’s avoid those, shall we?
- Overbaking: This is the ultimate sin. If you bake it too long, your molten center will solidify, and you’ll just have a regular chocolate cake (which is fine, but not what we’re after!). **Keep an eye on the clock!**
- Not Greasing/Flouring Ramekins Properly: Ever had a cake stick to the pan? It’s soul-crushing. Grease and dust those ramekins thoroughly so your beautiful cakes slide right out.
- Using the Wrong Chocolate: Milk chocolate is too sweet, and low-quality chocolate won’t give you that rich depth of flavor. Invest in a decent dark chocolate bar for the best results.
- Impatience: Resist the urge to dive in immediately after pulling them from the oven. Let them cool for a minute or two; it helps them set just enough to hold their shape when inverted.
- Overmixing: Once you add the flour, fold gently until just combined. Overmixing develops the gluten, making your cake tougher instead of tender and moist.
Alternatives & Substitutions
Feeling creative? This recipe is super flexible! Here are a few ways to switch things up:
- Chocolate Choices: While dark chocolate is king, you can experiment with milk chocolate for a sweeter cake (though I’d stick with dark for maximum lava effect, IMO). You could also use a mix of dark and semi-sweet.
- Flavor Boosters: Add a tablespoon of espresso powder to the chocolate for a deeper, more intense flavor that really highlights the chocolate. A splash of Kahlua, Grand Marnier, or even a good bourbon can elevate the adult version.
- Gluten-Free: Swap out the all-purpose flour for a good quality 1:1 gluten-free baking flour blend. It works wonderfully!
- Ice Cream Swaps: Vanilla is classic, but go wild! Raspberry sorbet, coffee ice cream, or even a spicy chili chocolate ice cream could be epic.
- Toppings Galore: Beyond ice cream, consider a dollop of whipped cream, fresh raspberries or strawberries, a sprinkle of sea salt, or a drizzle of caramel sauce. The world is your dessert oyster!
FAQ (Frequently Asked Questions)
- Can I make these ahead of time? Absolutely! You can prepare the batter and store it in the fridge for up to 24 hours. Just give it a good stir before pouring into ramekins and add a minute or two to the baking time.
- How do I know when they’re done? The edges should be set and slightly firm, but the center will still look wobbly and soft. That wobble is your golden ticket to lava! **FYI, trust the jiggle.**
- What if I don’t have ramekins? You can use oven-safe custard cups, small coffee mugs (check they’re oven-safe!), or even a muffin tin (just don’t fill them quite as full, and shorten the baking time).
- My lava didn’t flow! What happened? You likely overbaked it. Better luck next time! Keep a closer eye on the oven, and remember: it’s better to slightly underbake than overbake for that molten center.
- Can I use margarine instead of butter? Well, technically you *could*, but why hurt your soul like that? Butter provides a richer flavor and better texture. **Treat yourself!**
- Can I freeze these? You can freeze unbaked batter in ramekins. Cover tightly and freeze. When ready to bake, place them directly from the freezer into a preheated oven, adding about 5-10 minutes to the baking time.
- What’s the best type of chocolate to use? A good quality dark chocolate (60-70% cacao) will give you the best depth of flavor and perfect consistency. Ghirardelli, Lindt, or Callebaut are great choices!
Final Thoughts
See? I told you it was easy! Now you’ve got this incredible, show-stopping dessert that tastes like a million bucks but takes barely any effort. Go ahead, bask in the glory, take a picture for the ‘gram, and then devour every last bite. You’ve earned it, superstar! Whether you’re impressing friends, cozying up with a loved one, or just having a fantastic self-care moment, this chocolate lava cake with ice cream is your new go-to. Happy baking (and eating)!


