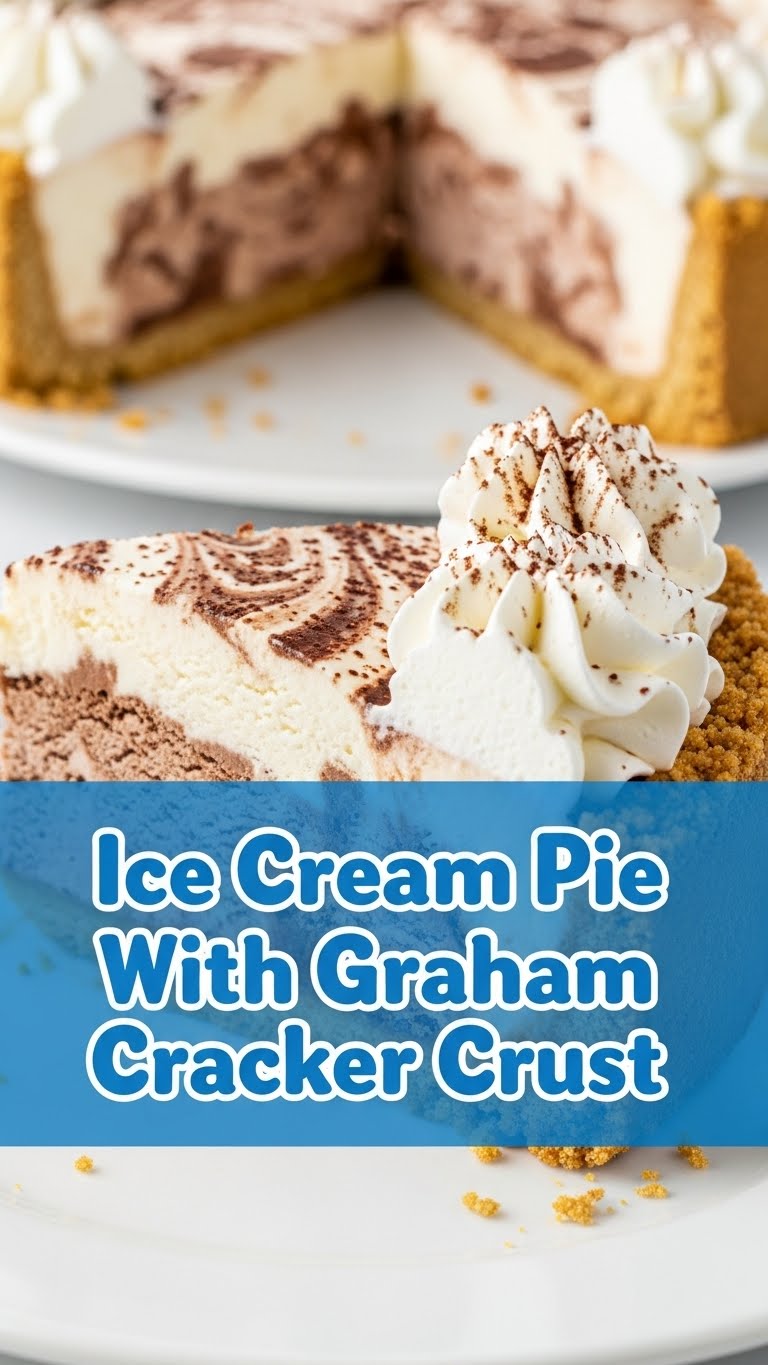
So you’re craving something ridiculously delicious, but the thought of spending hours in the kitchen makes you want to crawl into a blanket fort? Same, friend, same. You want that impressive dessert moment without the impressive effort. Good news: I’ve got your back. We’re talking Ice Cream Pie with a Graham Cracker Crust, and trust me, it’s about to become your new secret weapon.
Why This Recipe is Awesome
Okay, buckle up, because this isn’t just a recipe; it’s a *life hack* disguised as a dessert. Here’s the deal: it’s ridiculously easy, requires **zero baking** (unless you count the pre-made crust kind of baking, which we don’t), and looks like you spent hours slaving away. It’s **idiot-proof** (trust me, if *I* can do it, you’re golden), incredibly customizable, and universally adored. You get maximum ‘chef points’ with minimal actual chef-ing. It’s perfect for impressing guests, delighting your family, or just treating yourself after a long Tuesday. You deserve it.
Ingredients You’ll Need
Gather ’round, my sweet-toothed conspirator! Here’s your simple shopping list for achieving dessert nirvana:
- Graham Crackers: About 1 ½ cups of finely crushed crumbs. These are the unsung heroes, the OG crust builders. One standard sleeve should do the trick.
- Melted Unsalted Butter: ½ cup. This is the glue of deliciousness, binding your crumbs into a solid foundation. Don’t skimp!
- Granulated Sugar: ¼ cup. Just a touch, to add that extra sparkle and sweetness to the crust.
- Your Favorite Ice Cream: 1.5 quarts (or about 6 cups). This is where the real magic happens, so pick wisely! Seriously, go for your all-time favorite. Vanilla, chocolate, mint chip, salted caramel… the world is your oyster (or, well, your freezer).
- Optional Toppings: Hot fudge, caramel sauce, whipped cream, sprinkles, crushed candy bars, fresh fruit – because more is always, always more.
Step-by-Step Instructions
Alright, let’s get this party started. Follow these super simple steps, and you’ll be a pie master in no time!
Crush those crackers! Get your graham crackers (or whatever cookie you’re using, you rebel) into fine crumbs. You can use a food processor for speed (my preferred method, FYI) or put them in a zip-top bag and smash them with a rolling pin or the bottom of a heavy glass. Cathartic, right?
Mix the magic! In a medium bowl, combine your crushed graham cracker crumbs, melted butter, and granulated sugar. Stir it all together until the crumbs are evenly moistened and look like wet sand. This is your crust, treat it with respect!
Press it in! Firmly press the mixture into the bottom and up the sides of a 9-inch pie plate or a 9-inch springform pan. Use the bottom of a glass or your clean hands to get it really compact. **The firmer, the better!**
Chill out! Pop the crust into the freezer for at least 20-30 minutes. This step is crucial for helping it set and keeping it from crumbling later. Don’t skip it!
Scoop it up! While your crust is chilling, take your favorite ice cream out of the freezer and let it soften slightly at room temperature for about 10-15 minutes. It should be scoopable and spreadable, but not melty. Timing is key here!
Layer it up (optional but recommended)! Once your crust is firm, spoon the softened ice cream into the crust. You can do one thick layer, or if you’re feeling fancy, do two different ice cream flavors. Use the back of a spoon or an offset spatula to spread it evenly.
Freeze for glory! Cover the pie with plastic wrap (try to avoid it touching the ice cream directly) and return it to the freezer. You’ll want to let it freeze for at least 4 hours, or preferably overnight, until it’s completely firm.
Serve and conquer! Once firm, remove from the freezer about 5-10 minutes before serving to allow for easier slicing. If using a springform pan, carefully release the sides. Top with your chosen delights, slice it up, and bask in the glory of your delicious, easy-peasy creation!
Common Mistakes to Avoid
Even though this recipe is pretty foolproof, there are a few rookie errors that can mess up your masterpiece. Let’s make sure you don’t fall victim to these!
- Not chilling the crust enough: If you don’t give that crust ample freezer time, it’ll crumble like your hopes on a Monday morning when you try to slice the pie. **Don’t skip this step!** It’s non-negotiable for structural integrity.
- Using rock-hard ice cream: Trying to scoop and spread frozen concrete will lead to frustration, possibly a broken scoop, and uneven layers. Let it soften slightly; aim for spreadable, not soupy.
- Over-softening the ice cream: On the flip side, if you let your ice cream turn into a liquid puddle, your pie will be a gloopy mess when you refreeze it. Aim for a nice, thick, spreadable consistency.
- Impatience: This pie requires freezer time, plain and simple. **Do not rush it.** Good things (like perfectly firm ice cream pie) come to those who wait (and freeze).
- Not pressing the crust firmly: A loosely packed crust will fall apart. Use some elbow grease to really compact those crumbs.
Alternatives & Substitutions
The beauty of this pie is its flexibility! Feel free to mix and match to your heart’s content. It’s your kitchen, your rules!
- Crust Variations: Not a graham cracker fan? No problem! Use **Oreo crumbs** (seriously, try it, it’s next-level), Nilla wafers, gingersnaps, or even shortbread cookies. Just make sure to adjust the butter if needed – some cookies are drier and might need a tiny bit more.
- Ice Cream Flavors: Seriously, anything goes. Chocolate, strawberry, mint chip, coffee, cookie dough, a combo of two different ones – get creative! My personal fave is usually a mix of salted caramel and a really good vanilla bean. So much yum.
- Toppings Galore: This is where you can really express yourself! Think hot fudge, caramel, whipped cream, sprinkles, crushed candies (Heath bars are a win!), fresh berries, chocolate shavings, toasted nuts, or even a drizzle of peanut butter. **Go wild!**
- Dairy-Free? Absolutely! Just swap out the regular ice cream for your favorite dairy-free alternative (almond, coconut, oat milk-based work great!) and use a plant-based butter for the crust. Deliciousness for everyone!
FAQ (Frequently Asked Questions)
Got questions? I’ve got answers (mostly humorous ones).
- Q: Can I make this pie ahead of time for a party?
A: Heck yes! That’s half the beauty of this dessert. Make it a day or two in advance, keep it well-covered, and you’re golden. Future you will thank past you. - Q: How long does it last in the freezer?
A: If it *lasts*… seriously, properly covered, it’ll be good for up to a week or two. But honestly, it rarely sticks around that long. - Q: Do I really need to melt the butter for the crust?
A: Yes, unless you’re aiming for a crust made of sad, lumpy clumps. Melted butter ensures everything binds together beautifully for a perfect, even crust. - Q: Can I use different cookies for the crust?
A: Dude, of course! We already talked about Oreos, but get creative. Just make sure they’re easily crushable and you might need to adjust butter slightly if they’re super dry or very oily. - Q: My crust isn’t sticking together. Help!
A: Sounds like it needs more moisture. Add a *tiny* bit more melted butter (start with a tablespoon) and mix it in. You’re looking for that wet sand consistency. - Q: What if I don’t have a springform pan?
A: A regular 9-inch pie plate works perfectly fine! Serving might be a *smidge* messier as you’ll scoop it out, but it’ll still taste amazing. - Q: Is it okay to eat this for breakfast?
A: I’m not a doctor, but I’m also not *not* saying yes. It has dairy and carbs, practically a balanced meal, right? YOLO.
Final Thoughts
Alright, my culinary compadre, you’ve got the lowdown on creating the easiest, most impressive ice cream pie ever. This isn’t just a dessert; it’s a testament to minimal effort yielding maximum deliciousness. Now go forth and create this masterpiece. Share it, don’t share it (I wouldn’t judge!), whatever makes your heart happy. You’ve earned this dessert, seriously. Now go impress someone—or yourself—with your new culinary skills. Happy scooping!


