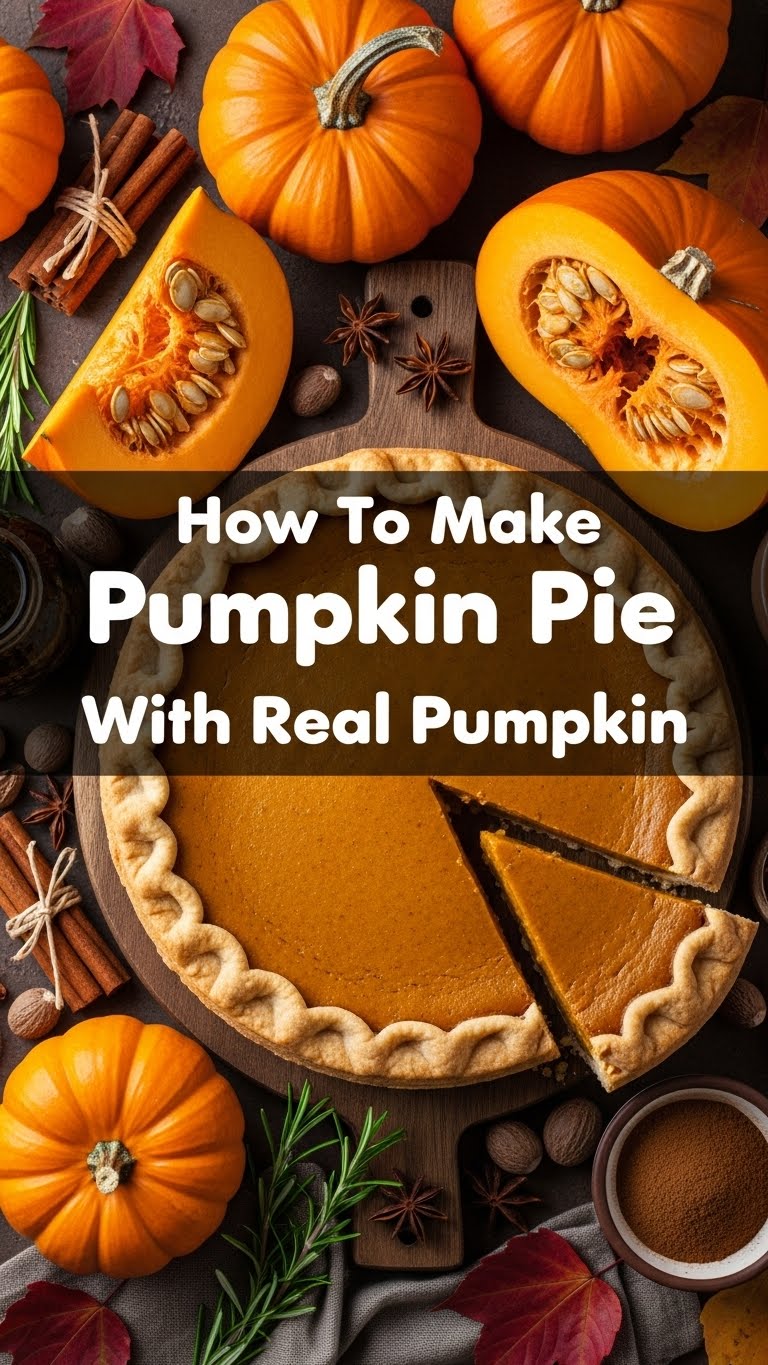
So, you’ve stared wistfully at those perfect pumpkin pies in magazines, haven’t you? And then thought, ‘Nah, too much effort. I’ll just buy one.’ Hold up! What if I told you making a ridiculously good, *real* pumpkin pie from scratch is actually… shockingly doable? Like, even for us mere mortals who sometimes burn toast? You absolutely can, and we’re about to make it happen. Get ready to ditch the canned stuff and embrace the magic of actual pumpkin!
Why This Recipe is Awesome
Look, I get it. ‘Real pumpkin’ sounds intimidating, like you need a farm and a degree in gourdology. But trust me, this recipe cuts through all that fancy-pants nonsense. It’s **foolproof**, tastes a million times better than anything from a can (no offense, canned pumpkin, you’re fine, but this is next level), and will make everyone think you’re some kind of culinary wizard. Plus, fewer weird ingredients, more actual food. Win-win!
Ingredients You’ll Need
For the Crust (easy mode!)
- 1 store-bought pie crust (frozen or refrigerated), the 9-inch kind. (Because who needs more dishes, am I right?)
For the Real Pumpkin Filling
- About 2 cups pumpkin puree (that’s roughly one small-to-medium pie pumpkin, roasted and mashed) – **This is where the magic happens!**
- 3 large eggs, slightly beaten (the glue that holds it all together)
- ¾ cup packed light brown sugar (for that deep, caramelly sweetness)
- ½ cup granulated sugar (the classic sweet touch)
- 1 ½ teaspoons ground cinnamon (no pie is complete without it)
- ½ teaspoon ground ginger (gives it that warming kick)
- ¼ teaspoon ground cloves (a little goes a long way, adds complexity)
- ¼ teaspoon freshly grated nutmeg (fresh is *always* better, trust me)
- ½ teaspoon salt (enhances all the other flavors, don’t skip it!)
- 1 ½ cups heavy cream (for ultimate richness and silky texture)
- Optional: A splash of vanilla extract (because vanilla makes everything better, IMO)
Step-by-Step Instructions
Prepping Your Real Pumpkin (the fun part!)
- **Grab your pumpkin!** Preheat oven to 400°F (200°C). Wash your little pie pumpkin. Carefully cut it in half, then scoop out the seeds and stringy bits (save those seeds for roasting later, if you’re feeling ambitious!).
- **Roast ’em up!** Place the pumpkin halves cut-side down on a baking sheet lined with parchment paper. Roast for 45-60 minutes, or until fork-tender. Let cool slightly.
- **Mash it good!** Once cool enough to handle, scoop out the roasted flesh and mash it with a fork or potato masher until smooth. You can also use a blender or food processor for extra creaminess. **Measure out 2 cups** of your glorious homemade pumpkin puree.
Making the Pie Filling (the main event!)
- **Crust prep!** If your pie crust is frozen, thaw it. Press it gently into a 9-inch pie plate. Trim any excess edges, then crimp them prettily (or just leave them rustic, no judgment here!).
- **Mix the dry stuff:** In a large bowl, whisk together the brown sugar, granulated sugar, cinnamon, ginger, cloves, nutmeg, and salt. Make sure there are no lumpy bits of sugar.
- **Add the wet stuff:** Stir in your mashed pumpkin puree, the slightly beaten eggs, and the heavy cream (and vanilla, if using). Mix until just smooth and well combined. **Don’t overmix!** We’re making pie, not soufflé.
- **Pour and bake:** Pour your glorious pumpkin mixture evenly into your prepared pie crust.
- **Bake time!** Place the pie in the preheated oven at 425°F (220°C) for 15 minutes. Then, reduce the oven temperature to 350°F (175°C) and continue baking for another 40-50 minutes, or until a knife inserted near the center comes out clean. The very center might still be slightly jiggly, that’s okay!
- **Cool down:** This is the hardest part! Let the pie cool completely on a wire rack before slicing. **Seriously, be patient!** This helps it set properly and prevents a sad, runny slice.
Common Mistakes to Avoid
- **Thinking you can cut into it fresh out of the oven.** Nope! That’s how you get a runny, sad pie. **Patience, my friend, is a virtue.** Let it cool completely.
- **Using a regular carving pumpkin from Halloween.** Those are watery and stringy. Stick to “pie pumpkins” or “sugar pumpkins”—they’re sweeter and less fibrous, **trust me on this one.**
- **Over-beating the filling.** You want it just combined, not whipped into a frenzy. Excessive air bubbles can lead to cracks or a less dense texture.
- **Forgetting to preheat your oven.** This is a rookie mistake! A properly preheated oven ensures even baking from the get-go.
Alternatives & Substitutions
- **Crust:** Don’t want to buy a crust? No problem, make your own shortcrust pastry! Or, for a twist, try a graham cracker or gingersnap crust for extra flavor.
- **Spices:** Missing a spice? Adjust! Add more cinnamon, skip the cloves if they’re not your jam. Just keep the overall spice level balanced. Cardamom is a fun addition if you’re feeling fancy!
- **Cream:** Can you use evaporated milk? Yep! It’ll be a little less rich, but totally works. Don’t swap for regular milk, it’s too thin for that dreamy texture.
- **Sweetener:** Maple syrup or a touch of molasses instead of some of the brown sugar? Absolutely! It adds a lovely depth of flavor.
FAQ (Frequently Asked Questions)
- Can I use canned pumpkin? Well, yes, but then it wouldn’t be “real pumpkin” pie, now would it? Kidding! Totally can. Just substitute the 2 cups of fresh puree for 1 (15oz) can of pumpkin puree.
- How do I know if my pie pumpkin is ready to roast? It should be easy to pierce the flesh with a fork when it’s done roasting. If it’s still firm, give it more time.
- My pie cracked! What went wrong? Usually means it was overbaked, or cooled too quickly (like, in a cold draft). Still delicious, though! A dollop of whipped cream hides all sins.
- Can I make this ahead of time? You bet! Pumpkin pie often tastes even better the next day. Cover it loosely with plastic wrap and refrigerate.
- What if I don’t have a pie pumpkin? Acorn squash or butternut squash can work in a pinch for puree, but the flavor will be slightly different. Still good, just a little less “classic pumpkin.”
- Do I need to blind bake the crust? For *this* recipe, nope! The initial high temp bake helps set the crust and prevents a soggy bottom.
- How long does pumpkin pie last? Covered and refrigerated, it’ll last 3-4 days. But let’s be real, it probably won’t last that long!
Final Thoughts
See? That wasn’t so scary, was it? You just conquered real pumpkin pie, you magnificent chef, you! You transformed a humble gourd into a glorious dessert, and that’s something to brag about. Now go impress someone—or yourself—with your new culinary skills. You’ve earned it! Grab a slice (or two), put your feet up, and bask in the glory of your homemade deliciousness. You rock!


