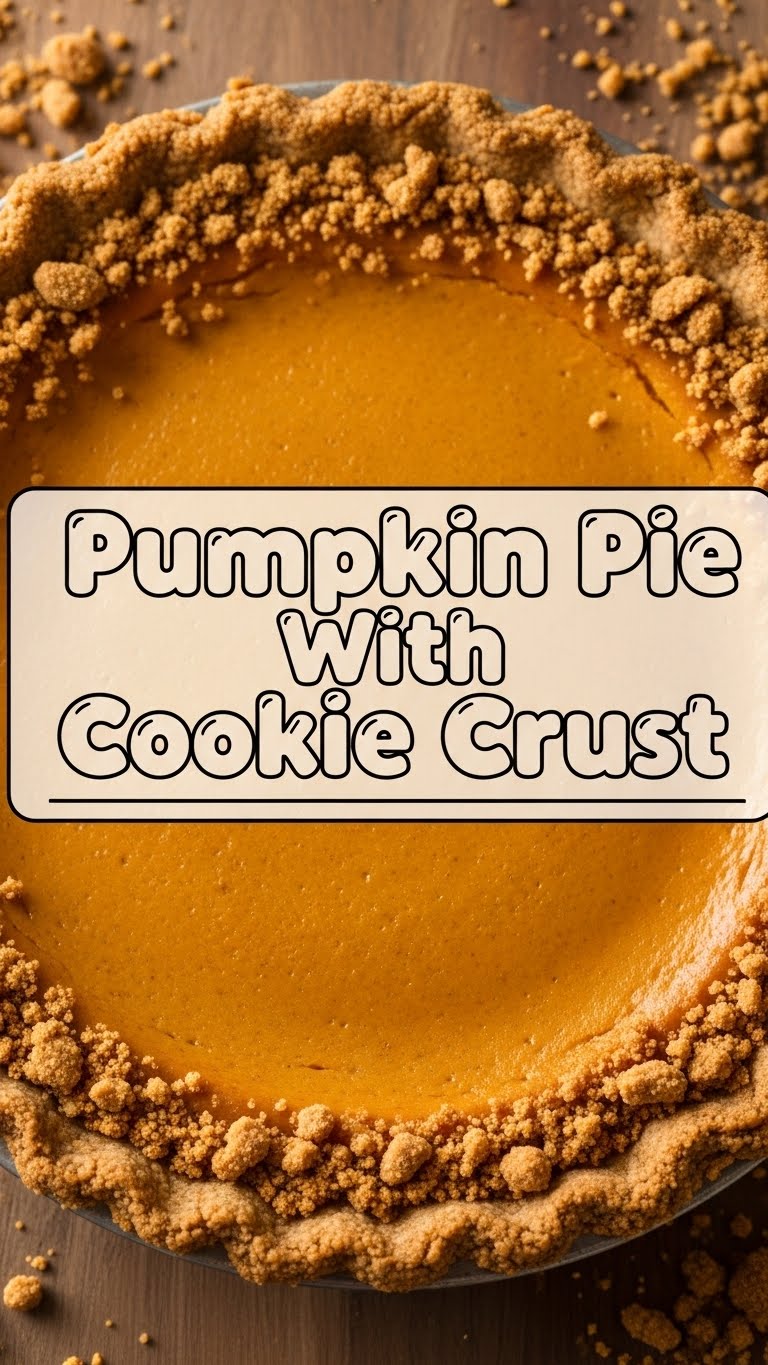
So, you’ve got that classic autumn vibe hitting hard, maybe watched one too many cozy movies, and now your brain is screaming “PUMPKIN PIE!” But then your inner baker groans because, let’s be real, making a *perfect* pie crust can be a whole thing. What if I told you we could skip that fuss and just shove some cookies into a pie dish? Yes, my friend, we’re making Pumpkin Pie with a Cookie Crust, and it’s gloriously simple.
Why This Recipe is Awesome
Because it’s basically two desserts in one, mashed together in a delicious, no-stress package! Forget rolling out dough, patching cracks, or getting anxiety over a soggy bottom. We’re using cookies – glorious, crunchy cookies – as our foundation. It’s **idiot-proof**, even if your past baking attempts involved calling the fire department. Plus, it’s ridiculously adaptable, tastes like a hug, and will make you look like a culinary genius without actually breaking a sweat. Your secret’s safe with me. 😉
Ingredients You’ll Need
Get ready to raid your pantry (or make a quick dash to the store, no judgment here!).
- **For the Cookie Crust:**
- **250g (about 2 cups) Digestive biscuits or Graham crackers:** Or any crunchy, plain-ish cookie you fancy! Gingersnaps work wonders for extra spice.
- **1/2 cup (113g) Unsalted butter, melted:** Because everything is better with butter, right?
- **2 tablespoons Granulated sugar:** Just a little kiss of sweetness for the crust.
- **For the Pumpkin Pie Filling:**
- **1 can (15 oz / 425g) Pumpkin puree:** Make sure it’s *pure* pumpkin, not pie filling mix. We’re not about those shortcuts that compromise taste.
- **1 can (12 oz / 354ml) Evaporated milk:** The secret to that creamy, dreamy texture. Don’t skip it!
- **2 large Eggs:** Room temperature, if you’re feeling fancy.
- **3/4 cup (150g) Granulated sugar:** Adjust to your sweet tooth, but this is a good starting point.
- **1 teaspoon Ground cinnamon:** The star spice!
- **1/2 teaspoon Ground ginger:** Adds a lovely warmth.
- **1/4 teaspoon Ground cloves:** Just a pinch, it’s potent!
- **1/4 teaspoon Ground nutmeg:** Essential autumn vibes.
- **1/2 teaspoon Salt:** Don’t forget this! It balances all the sweetness and spices.
- **Optional: A dash of vanilla extract:** Because why not?
Step-by-Step Instructions
- **Crush Your Dreams (I mean, Cookies!):** Get those cookies into crumbs. You can toss them in a food processor for speed, or, if you’re feeling feisty, put them in a zip-top bag and smash them with a rolling pin. Great for stress relief, **IMO**.
- **Butter Up the Crumbs:** In a medium bowl, combine your cookie crumbs, melted butter, and sugar. Mix it really well until it looks like wet sand.
- **Press it In:** Press the buttery crumbs firmly into the bottom and up the sides of a 9-inch pie plate. Use the bottom of a glass to get it super packed and even. Stick it in the fridge for at least 15 minutes to chill while you make the filling.
- **Preheat Power:** Get your oven cranked up to **375°F (190°C)**. Don’t skip this. Your pie will thank you.
- **Whip Up the Filling:** In a large bowl, whisk together the pumpkin puree, evaporated milk, eggs, sugar, cinnamon, ginger, cloves, nutmeg, and salt. Add the vanilla if you’re using it. Whisk until it’s perfectly smooth and gloriously orange.
- **Pour & Bake:** Retrieve your chilled cookie crust. Pour the pumpkin filling into the crust. Carefully transfer the pie plate to the preheated oven.
- **Bake Time!** Bake for 50-60 minutes, or until the center is *mostly* set but still has a slight jiggle when you gently shake the pie plate. A knife inserted near the edge should come out clean. **Quick tip: if the crust starts to get too dark, cover the edges with foil!**
- **Cool Down:** Let your masterpiece cool completely on a wire rack. This is the hardest part, I know, but crucial! Then, chill it in the fridge for at least 2-3 hours (or overnight) before slicing. Trust me, it tastes better cold.
Common Mistakes to Avoid
- **Not Chilling the Crust:** You might think, “Oh, it’s fine.” It’s not. Chilling helps the crust set, preventing it from crumbling into a sad mess when you slice. Rookie mistake!
- **Over-baking the Pie:** A cracked surface usually means it’s been in there too long. We’re aiming for a gentle jiggle, not a solid brick.
- **Using Pumpkin Pie *Filling*:** Read the label, friend! Pumpkin puree is just pumpkin. Filling has spices and sugar already added, and using it here will make your pie way too sweet and potentially weirdly spiced.
- **Cutting it Warm:** Patience, grasshopper. A warm pumpkin pie is a runny, messy pumpkin pie. Let it cool and chill for optimal slice-ability and flavor.
Alternatives & Substitutions
Feeling adventurous? Here are some ways to shake things up:
- **Cookie Crush:** Instead of Digestive biscuits or Graham crackers, try gingersnaps for an extra spicy kick, shortbread for a buttery crumb, or even chocolate wafers for a fun twist! **FYI**, different cookies might require slight adjustments to the butter, so play it by ear.
- **Spiced Up:** Want more zing? Add a pinch of allspice, cardamom, or even a tiny amount of black pepper to your filling for an unexpected complexity.
- **Dairy-Free:** You can totally use a plant-based butter alternative for the crust and a full-fat canned coconut milk (the creamy part, not the liquid) instead of evaporated milk for the filling. It might alter the flavor slightly, but still delish!
- **Sweetener Swap:** If you’re not a fan of granulated sugar, you can experiment with brown sugar for a deeper, caramel note in the filling. Just note that it might change the texture a smidge.
FAQ (Frequently Asked Questions)
Got questions? I probably do too, but here are some common ones that might pop into your head:
- **Can I make this ahead of time?** Absolutely! Pumpkin pie is one of those magical desserts that actually tastes *better* the next day. Make it up to two days in advance, store it covered in the fridge.
- **Why did my pie crack?** Oh, the dreaded crack! Usually, it’s a sign of over-baking or cooling too quickly. Remember that slight jiggle? That’s your sweet spot.
- **What if I don’t have all the spices?** No worries! You can often find pre-mixed “Pumpkin Pie Spice” in the baking aisle. Just use 2 teaspoons of that instead of individual spices. Easy peasy.
- **Can I freeze leftover pie?** You bet! Wrap individual slices tightly in plastic wrap, then foil, and pop them in the freezer for up to a month. Thaw in the fridge overnight.
- **My crust is too crumbly when I slice it, what gives?** Probably didn’t pack it firmly enough, or it didn’t chill long enough. You need that butter to solidify and bind those crumbs together!
Final Thoughts
And there you have it! A ridiculously easy, unbelievably delicious pumpkin pie with a crunchy, sweet cookie crust that will make you wonder why you ever bothered with traditional pastry. This isn’t just a dessert; it’s a statement. A statement that says, “I’m classy, I’m clever, and I know how to make pie without the drama.” Now go impress someone—or yourself—with your new culinary skills. You’ve earned it!


