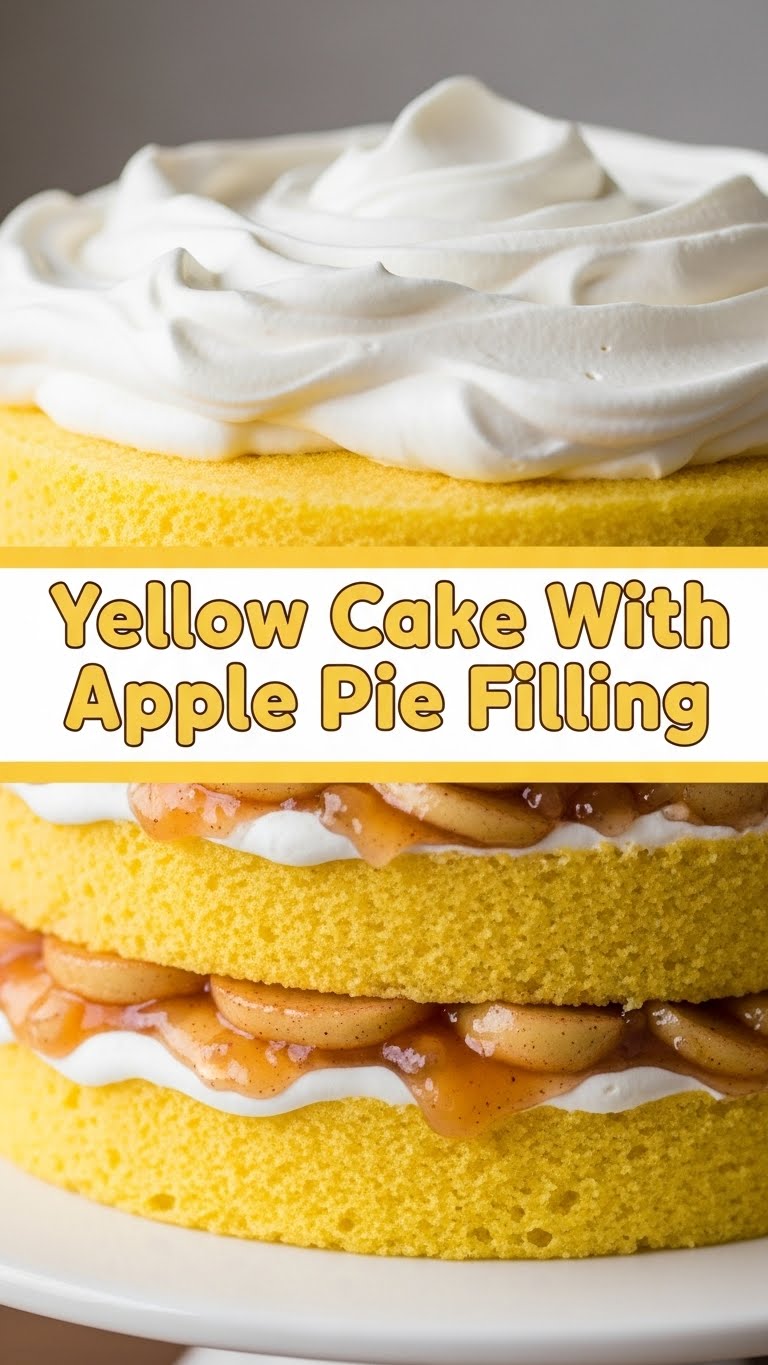
So, you’ve been staring into the abyss of your fridge, wanting something comforting, something sweet, but also something that screams “I tried, but not *too* hard”? My friend, I get it. We’ve all been there. You want cake? You want pie? Why not both, without the existential crisis or the marathon baking session? Today, we’re diving headfirst into a concoction so brilliant, it’ll make you wonder why you ever bothered choosing. Get ready for **Yellow Cake with Apple Pie Filling** – it’s like a warm hug and a cheeky wink all in one.
Why This Recipe is Awesome
Listen, I’m not going to lie, this recipe is practically a cheat code for dessert happiness. It’s for those days when you want to impress but also want to binge-watch your favorite show. Think about it: the fluffy, buttery goodness of a classic yellow cake meets the warm, spiced hug of apple pie filling. It’s truly the best of both worlds, without the crust-making drama or the delicate lattice work. Plus, it’s pretty much **idiot-proof** – even I didn’t mess it up, and that’s saying something.
- It’s ridiculously easy, especially if you cheat with canned filling (and we totally condone cheating here).
- It looks way fancier than the effort involved. Hello, effortless gourmet!
- That combo of moist cake and gooey, spiced apples? **Chef’s kiss.**
- It uses ingredients you probably already have lurking in your pantry. No special trips to a fancy grocery store needed, unless you want to, you know, treat yourself to a fancy coffee while you’re out.
Ingredients You’ll Need
Alright, gather your troops! Here’s what you’ll need to make this masterpiece. Don’t worry, it’s all super basic stuff, nothing obscure you have to hunt down in the depths of an antique market.
For the Yellow Cake:
- 1 ½ cups All-Purpose Flour: The backbone of our cakey dreams. Don’t skip sifting if you want extra fluffiness, but I won’t tell if you don’t.
- 1 ½ teaspoons Baking Powder: Our little lift-off agent.
- ½ teaspoon Salt: Balances all that sweet goodness. Don’t underestimate its power!
- ½ cup (1 stick) Unsalted Butter: Softened, please! Leave it out on the counter for a bit, like it’s sunbathing.
- 1 cup Granulated Sugar: For that irresistible sweetness.
- 2 Large Eggs: Room temperature, because science says so (and room temp eggs incorporate better, trust me).
- 1 teaspoon Vanilla Extract: The soul of yellow cake. Don’t cheap out on this!
- ¾ cup Whole Milk: Also room temperature. See a pattern here?
For the Apple Pie Filling:
- 1 (21-ounce) can Apple Pie Filling: My personal favorite shortcut. Seriously, just open it. No shame in this game!
- *Optional for extra flair:* A dash of extra cinnamon or a tiny splash of lemon juice if you want to jazz it up a bit.
Step-by-Step Instructions
Okay, put on your favorite apron (or just a t-shirt you don’t mind getting flour on), crank up some tunes, and let’s get baking! These steps are so easy, you could probably do them blindfolded (but please don’t).
- **Preheat & Prep:** First things first, get that oven hot! Preheat to **350°F (175°C)**. Grab an 8 or 9-inch round baking pan, grease it generously, and dust with a little flour. If you have parchment paper, line the bottom for extra insurance. Trust me, nothing’s worse than a stuck cake.
- **Dry Mix Magic:** In a medium bowl, whisk together your flour, baking powder, and salt. Set this aside like it’s waiting for its big moment.
- **Wet Mix Wonders:** In a larger bowl, using an electric mixer (or a strong arm), cream together the softened butter and sugar until it’s light and fluffy. This usually takes about 2-3 minutes. Don’t rush this step, it’s important for texture!
- **Egg-cellent Addition:** Beat in the eggs, one at a time, making sure each one is fully incorporated before adding the next. Stir in the vanilla extract. Scrape down the sides of the bowl to ensure everything gets mixed in properly.
- **Combine Forces:** Now, for the big merge! Add about a third of your dry ingredients to the wet mixture, and mix on low speed until just combined. Then, pour in half of your milk, mix, then another third of dry, then the rest of the milk, and finally the last of the dry. **Stop mixing as soon as the flour disappears.** Overmixing is the enemy of a tender cake!
- **Bake the Base:** Pour your beautiful batter into the prepared pan. Bake for **25-30 minutes**, or until a wooden skewer or toothpick inserted into the center comes out clean. While it’s baking, open that can of apple pie filling!
- **Cool Down:** Let the cake cool in the pan for about 10-15 minutes before carefully inverting it onto a wire rack to cool completely. Patience, my friend, patience.
- **Assemble Your Masterpiece:** Once the cake is completely cool (this is **super important**!), spoon the apple pie filling over the top. You can make it a thick layer, or spread it thinner, whatever your heart desires.
- **Serve & Savor:** Slice it up and enjoy! A scoop of vanilla ice cream or a dollop of whipped cream is highly recommended for ultimate decadence.
Common Mistakes to Avoid
We all make mistakes, but let’s try to avoid these rookie blunders, shall we? Learn from my past kitchen catastrophes!
- **Ignoring the “Room Temperature” Rule:** Seriously, your butter, eggs, and milk need to be room temp. It helps everything emulsify properly, giving you a smoother, more consistent batter. Don’t be a rebel here.
- **Overmixing the Batter:** This is the most common crime against cake. Once the flour is just incorporated, stop! Overmixing develops the gluten too much, leading to a tough, dense cake. You want light and fluffy, remember?
- **Not Greasing/Flouring Your Pan Enough:** Nothing will fill you with more rage than a beautiful cake stuck to the bottom of the pan. Grease and flour it like your life depends on it.
- **Cutting the Cake While It’s Still Warm:** I know, the temptation is real. But warm cake is fragile cake. Let it cool completely before adding the filling or slicing, or you’ll have a crumbled mess.
- **Thinking You Can Skip the Salt:** It’s a tiny amount, but it brightens all the other flavors. Don’t omit it, you taste bud betrayer!
Alternatives & Substitutions
Feeling adventurous? Or maybe you’re just missing an ingredient (it happens to the best of us). Here are some easy swaps and fun twists:
- **Fruit Filling:** Not feeling apples? No problem! Use cherry pie filling, peach, or even a mixed berry compote. Whatever fruit-filled fantasy you’re dreaming of, go for it!
- **Cake Flavor:** While yellow cake is a classic for a reason, you could totally swap it for a vanilla bean cake mix (if you’re going the box mix route, no judgment!), or even a spiced cake for extra autumn vibes.
- **Toppings Galore:** Instead of just the apple filling, try a sprinkle of **streusel topping** (flour, sugar, butter, cinnamon) baked on top for an extra crunch. Or a simple dusting of powdered sugar. Or heck, a drizzle of caramel sauce!
- **Dairy-Free?** You can often use dairy-free butter alternatives and plant-based milks in yellow cake recipes. Just make sure they’re unsweetened.
FAQ (Frequently Asked Questions)
Got questions? I’ve got (casual) answers!
Can I use a box cake mix instead of making it from scratch?
Heck yes, you can! This is all about ease, remember? Grab your favorite yellow cake mix, follow the package directions, and then proceed with the apple pie filling. No one’s judging here, only celebrating!
Do I have to use canned apple pie filling? What if I want to make it from scratch?
Technically, yes, you can make it from scratch. Peel, core, and slice about 4-5 medium apples (Granny Smith or Honeycrisp are great), cook them down with a little sugar, cinnamon, nutmeg, and a splash of lemon juice until tender. But honestly, the canned stuff is a lifesaver for this specific “easy mode” recipe. Your call!
How long does this cake last? And how should I store it?
If it lasts longer than two days in your house, you have way more self-control than I do! Store it covered, at room temperature for up to 2-3 days, or in the fridge for up to 5 days. Just let it come to room temp before serving for the best flavor.
Can I make this as cupcakes?
Absolutely! Just divide the batter among cupcake liners and bake for a shorter time (around 18-22 minutes). Once cooled, core out a little bit of the center and spoon in some apple pie filling, or just spread it on top. Adorable and delicious!
What kind of apples are best if I make the filling myself?
Granny Smith for a tart kick, or Honeycrisp/Fuji for a sweeter, firmer apple. A mix of both is usually fantastic to get a balance of sweet and tart, and varied textures.
Can I use margarine instead of butter?
Well, technically yes, you *can*. But why hurt your soul like that? Butter provides a richer flavor and a better texture. If you’re going for delicious, stick with butter. IMO, it’s worth it.
Final Thoughts
There you have it, folks! A dessert that’s ridiculously delicious, surprisingly easy, and guaranteed to make you feel like a culinary wizard without actually having to cast any complicated spells. This Yellow Cake with Apple Pie Filling is your new go-to for comfort, celebration, or just a Tuesday night treat because, well, why not? Now go impress someone—or yourself—with your new culinary skills. You’ve earned it!


