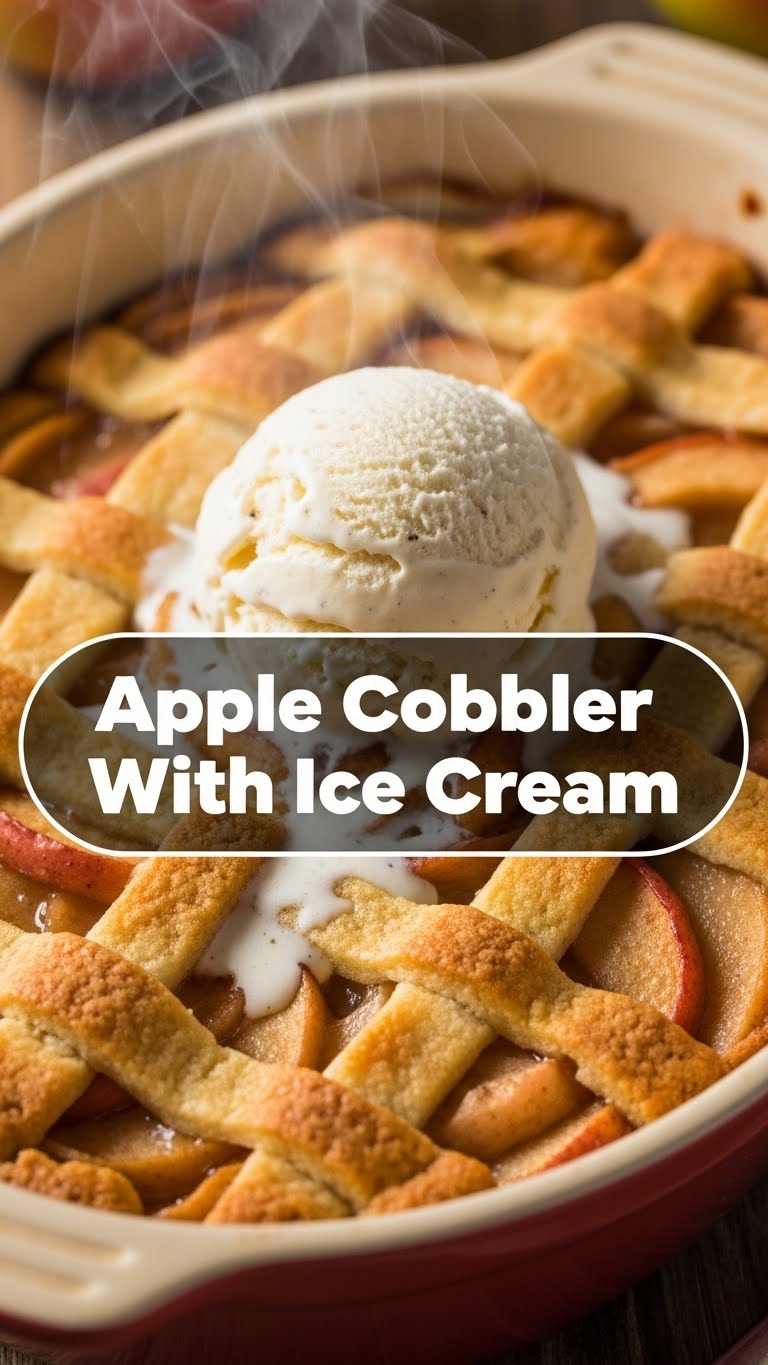
So, you’ve got that craving, huh? The one that whispers ‘warm, cozy, and ridiculously delicious’ right into your ear? But also the one that screeches ‘NO FUSS!’ when you think about actually *making* something? Welcome to the club, friend. Today, we’re tackling an Apple Cobbler with Ice Cream situation that’s so easy, it practically makes itself. And yes, it comes with a side of zero judgment for eating it all yourself.
Why This Recipe is Awesome
Okay, let’s be real. We all have those recipes we *say* are easy, then boom—unexpected complications, a kitchen disaster, and suddenly you’re ordering pizza again. Not this one, my friend. This apple cobbler? It’s **foolproof**. Seriously, even if your baking experience extends only to microwaving popcorn, you can nail this. It’s the kind of dessert that makes your house smell like a warm hug, tastes like pure nostalgia, and comes together faster than you can decide which show to binge next. Plus, it’s basically an excuse to eat ice cream for dinner. You’re welcome.
Ingredients You’ll Need
- Apples: About 6-8 medium-sized, peeled, cored, and sliced. Granny Smiths are the MVP here—they hold their shape and give that lovely tartness to balance the sweet. But use whatever you have, just don’t tell the apple purists.
- Granulated Sugar: 1/2 cup (or a bit more/less, depending on your sweet tooth and apple tartness).
- All-Purpose Flour: 2 tablespoons. Just a tiny bit to thicken things up in the apple filling. Don’t go crazy, we’re not making cement.
- Cinnamon: 1 teaspoon. Because apples and cinnamon are basically soulmates.
- Nutmeg: 1/4 teaspoon. Optional, but adds a nice warm depth. Like a tiny, cozy blanket for your taste buds.
- Lemon Juice: 1 tablespoon. Brightens everything up and keeps apples from browning. It’s like a secret weapon.
- Unsalted Butter: 1/2 cup (1 stick), *cold* and cut into small pieces, for the topping. Or if you’re feeling fancy, use slightly more. Butter makes everything better, IMO.
- All-Purpose Flour: 1 1/2 cups, for the topping.
- Granulated Sugar: 1/2 cup, for the topping.
- Baking Powder: 1 1/2 teaspoons. This is what gives your topping that delightful lift.
- Salt: 1/2 teaspoon. Don’t skip this! It enhances all the other flavors.
- Milk (or Buttermilk): 1/2 cup, *cold*. Adds moisture to the topping. Buttermilk gives it a nice tang!
- Vanilla Ice Cream: A generous scoop (or three) for serving. Non-negotiable, obviously.
Step-by-Step Instructions
- **Prep the Apples:** Preheat your oven to **375°F (190°C)**. Peel, core, and slice those apples. Don’t worry about perfection; rustic is in! Toss them into a large bowl.
- **Flavor the Filling:** Add the 1/2 cup sugar, 2 tablespoons flour, cinnamon, nutmeg, and lemon juice to the apples. Give it a good stir until the apples are nicely coated. Pour this delicious mixture into a 9×13 inch baking dish (or an 8×8 if you want a thicker cobbler).
- **Whip Up the Topping:** In a separate medium bowl, whisk together the 1 1/2 cups flour, 1/2 cup sugar, baking powder, and salt.
- **Cut in the Butter:** Add the cold, cut-up butter to the dry ingredients. Use your fingers (or a pastry blender if you’re fancy) to work the butter into the flour mixture until it resembles coarse crumbs. We’re talking pea-sized bits here, maybe slightly larger. **Don’t overmix!**
- **Add the Milk:** Pour in the cold milk and mix *just* until combined. Again, **don’t overmix**—a shaggy dough is a happy dough.
- **Assemble the Cobbler:** Spoon dollops of the topping mixture over the apple filling. Don’t worry about covering every single inch; some apple peeking through is totally fine and adds character.
- **Bake It Up:** Pop that glorious dish into your preheated oven. Bake for **35-45 minutes**, or until the topping is golden brown and the apple filling is bubbly and tender. A knife inserted into an apple should go in easily.
- **Serve & Devour:** Let it cool for a few minutes (if you can resist!), then serve warm with a generous scoop (or two, we’re not judging) of vanilla ice cream. Pure bliss!
Common Mistakes to Avoid
- **Not preheating the oven:** Rookie mistake! Your cobbler won’t cook evenly, and you’ll end up with a sad, pale topping. **Always preheat!**
- **Overmixing the topping:** This is how you get tough, chewy topping instead of light, tender goodness. Mix *just* until combined. Embrace the shagginess!
- **Skipping the cold ingredients:** Cold butter and cold milk are key for a flaky, tender topping. Warm ingredients make for a dense, sad topping.
- **Under-baking the apples:** Nobody wants crunchy apples in their cobbler. Make sure they’re tender before you pull it out. Test with a knife!
- **Serving without ice cream:** This isn’t a mistake, it’s a tragedy. The warm cobbler and cold ice cream combo is legendary. Don’t deprive yourself.
Alternatives & Substitutions
- **Fruit Frenzy:** Not an apple fan? Or just feeling adventurous? This recipe works great with peaches (fresh or frozen!), berries (mixed berries are divine!), or even a combination. Pears are also a fantastic swap. Just adjust sugar if your fruit is super sweet or tart.
- **Spice It Up:** Beyond cinnamon and nutmeg, feel free to add a pinch of cardamom, a tiny bit of ginger, or even some allspice for extra warmth.
- **Topping Twists:** For a slightly different texture, you could sprinkle some oats (1/4 cup) into the topping mix for a more “crisp” vibe. A dash of brown sugar in the topping can also add a deeper, caramel-y flavor.
- **Dairy-Free?** Swap regular milk for a plant-based alternative like almond or oat milk, and use a good quality dairy-free butter alternative. **FYI**, it might alter the texture slightly, but it’ll still be delicious!
FAQ (Frequently Asked Questions)
- **Can I use canned apples?** Technically, yes, but why? Fresh apples give you the best texture and flavor. Canned apples are often too soft and sweet. But if it’s an emergency, drain them well and reduce the added sugar.
- **My cobbler topping looks a bit pale, is it done?** The topping should be golden brown and the filling bubbly. If it’s pale but bubbling, you might need a few more minutes. If the topping is browning too fast, you can loosely tent it with foil.
- **How long does cobbler last?** Covered in the fridge, about 3-4 days. But let’s be real, it rarely lasts that long, does it? Reheat gently in the oven or microwave.
- **Can I make this ahead of time?** You can assemble the apple filling and topping ingredients separately a day ahead, but for the best results, assemble and bake fresh. A completely baked cobbler can be reheated, but the topping won’t be as crisp.
- **What if I don’t have baking powder?** Ah, the horror! You could try a little baking soda with buttermilk, but it’s not a direct swap and might affect the rise. It’s really best to stick with baking powder for this one. Add it to your next grocery list, ASAP!
- **Should I peel the apples?** **IMO**, yes! Unpeeled apples can result in chewy bits of skin in your otherwise tender cobbler. Plus, peeling is surprisingly therapeutic, no?
Final Thoughts
There you have it, my friend! A ridiculously easy, unbelievably delicious apple cobbler that’s perfect for impressing guests (or just yourself on a Tuesday night, we’ve all been there). You’ve just leveled up your dessert game without breaking a sweat or needing a culinary degree. Now go forth, bake, and bask in the glory of your warm, apple-y masterpiece. You’ve earned every single scoop of that ice cream. Enjoy!


