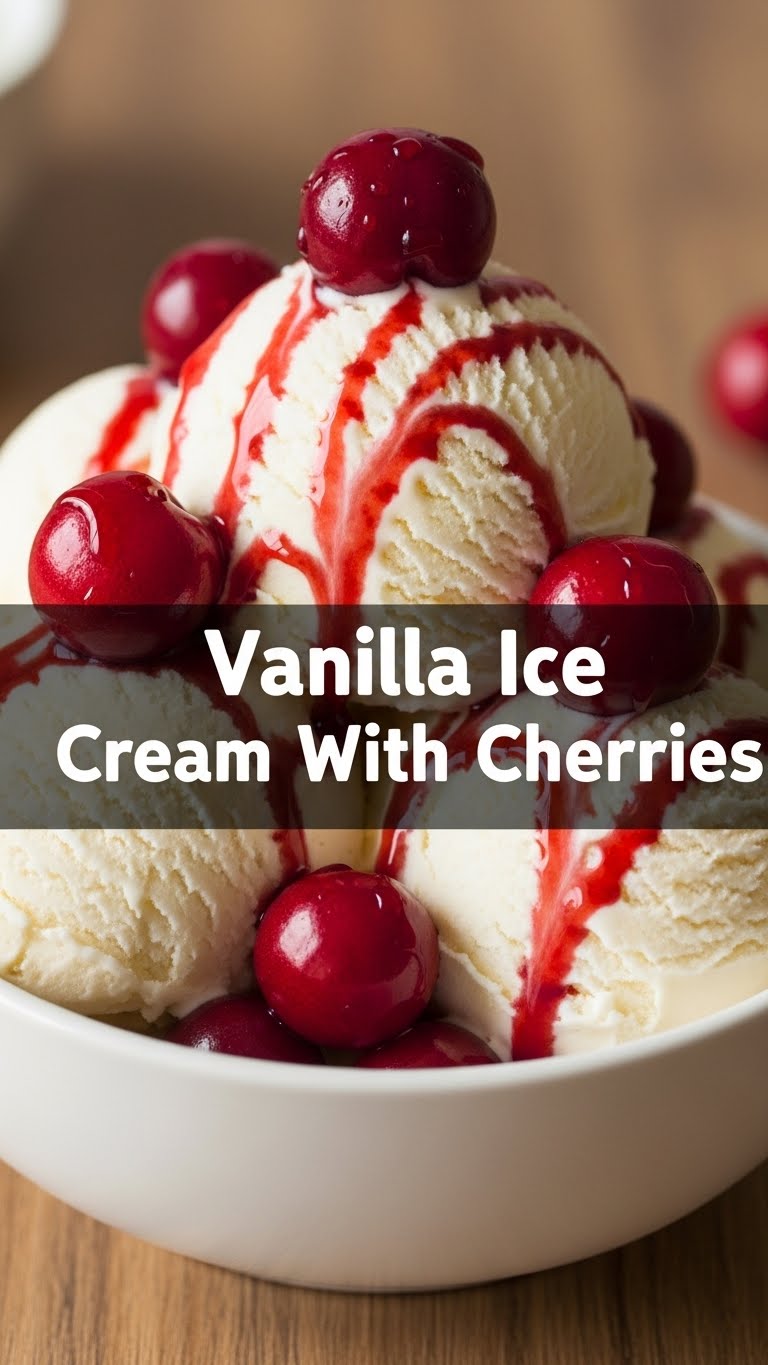
So, picture this: it’s a scorching hot day, you’re melting faster than a snowman in the Sahara, and your brain is screaming for something cool, creamy, and ridiculously delicious. But, like, without the actual *work* part, right? Because who needs more work when you’re already busy being fabulous? Exactly! That’s where we step in with a recipe that’s so good, it should probably be illegal. Or at least, come with a warning label for extreme deliciousness. We’re talking homemade vanilla ice cream, but with a vibrant, juicy cherry twist that’ll make your taste buds do a happy dance. And guess what? It’s totally doable, even if your culinary skills usually peak at instant noodles.
Why This Recipe is Awesome
Okay, let’s be real. There are approximately one million ice cream recipes out there. So, why *this* one? Because it’s the Beyoncé of ice cream recipes: flawless, powerful, and everyone wants a piece of it. Seriously though, this isn’t some finicky, temperamental recipe that requires a culinary degree. It’s an **idiot-proof, crowd-pleasing, ego-boosting masterpiece**. You whip it up, you churn it, you chill it, and then BAM! You’re basically a dessert god. Plus, it’s homemade, which means you get to brag a little, and who doesn’t love that? It’s the perfect blend of classic comfort and a playful fruity kick that screams “summer indulgence” without making you break a sweat (unless it’s from pure excitement, of course).
Ingredients You’ll Need
Gather ’round, my sweet-toothed friends! Here’s what you’ll need to transform into a dessert wizard. Don’t worry, no dragon’s blood or unicorn tears involved, just good ol’ deliciousness.
- **Heavy Cream (2 cups):** This is the VIP of our show. The thicker, the better. Don’t skimp, unless you want sad, icy ice cream.
- **Whole Milk (1 cup):** Our trusty sidekick, adding to that perfect creamy texture.
- **Granulated Sugar (¾ cup, or to taste):** Sweetness is key! Adjust if you like things less or more saccharine.
- **Vanilla Extract (2 teaspoons):** The heart and soul of vanilla ice cream. **Go for the good stuff here**, it makes a HUGE difference. Seriously, don’t use the cheap stuff.
- **Pinch of Salt:** Don’t skip this! It magically enhances all the other flavors.
- **Fresh Cherries (1 cup, pitted and roughly chopped):** The superstar garnish! Sweet, tart, and ready to party.
- **Lemon Juice (1 teaspoon, optional, for cherries):** Just a tiny splash to make those cherry flavors pop even more. Think of it as a cherry cheerleader.
Step-by-Step Instructions
Alright, let’s get this party started! Follow these super easy steps, and you’ll be scooping perfection in no time.
- **Mix the Base:** Grab a medium bowl. Pour in your heavy cream, whole milk, granulated sugar, vanilla extract, and that tiny pinch of salt. Whisk everything together until the sugar completely dissolves. **Make sure it’s fully dissolved**, no gritty surprises allowed!
- **Chill Out:** Cover the bowl with plastic wrap and pop it in the fridge for at least 2 hours. Overnight is even better! **A super-cold base is crucial** for the best ice cream texture. Patience is a virtue, especially when ice cream is involved.
- **Churn, Baby, Churn:** Once your base is thoroughly chilled, pour it into your ice cream maker’s frozen bowl. Churn according to your machine’s instructions, usually about 20-30 minutes, until it reaches a soft-serve consistency. It will look like soft-serve, so don’t expect it to be rock hard yet.
- **Cherry Prep:** While the ice cream is churning (or even before!), pit and roughly chop your fresh cherries. If you want, toss them with a tiny bit of lemon juice.
- **Fold ’em In:** When the ice cream is done churning, gently fold in the chopped cherries. Don’t overmix, we want distinct pockets of cherry goodness!
- **Firm it Up:** Transfer the ice cream to a freezer-safe container. Press a piece of parchment paper or plastic wrap directly onto the surface to prevent ice crystals (aka freezer burn – yuck!). Freeze for another 2-4 hours, or until firm.
- **Scoop and Enjoy!** When it’s ready, scoop it up, admire your handiwork, and devour! You’ve earned this, my friend.
Common Mistakes to Avoid
Look, we all make mistakes. It’s part of the human experience. But let’s try to avoid *these* ones, shall we? Your taste buds will thank you.
- **Not Chilling the Base Enough:** This is the #1 rookie mistake. If your base isn’t ice-cold, your ice cream will take forever to churn, result in a weird, icy texture, and generally disappoint you. **Chill, chill, chill!**
- **Overfilling Your Ice Cream Maker:** Your ice cream expands as it churns. If you fill it to the brim, you’ll have a sticky mess and sad, underdeveloped ice cream. Check your machine’s max fill line!
- **Using Warm Cherries:** Tossing warm cherries into your freshly churned ice cream is like adding warm water to a cold drink. It’ll start melting everything. Make sure your cherries are at least room temperature, or even better, slightly chilled.
- **Not Freezing the Bowl Properly:** If your ice cream maker bowl isn’t frozen solid (usually 24 hours in the freezer), your ice cream won’t churn. It’ll just be a cold, soupy liquid. Don’t skip this crucial step!
Alternatives & Substitutions
Feeling adventurous? Or maybe you’re out of a certain ingredient? No stress! Here are some fun ways to mix things up.
- **Other Fruits:** Not a cherry person? (Gasp!) Try **raspberries, blueberries, or sliced strawberries**. Just gently fold them in at the end. Peaches would also be divine!
- **Dairy-Free Dream:** Want to go dairy-free? Swap the heavy cream for full-fat coconut cream (the thick stuff from a can, chilled overnight) and the whole milk for a full-fat oat or almond milk. The texture will be slightly different but still delicious.
- **Flavor Boosts:** Instead of just vanilla, try adding a tiny splash of **almond extract** with the vanilla for a cherry-almond dream. Or, if you’re feeling fancy, a **vanilla bean** for those beautiful specks.
- **Sugar Swaps:** Maple syrup or honey can work, but they will subtly change the flavor and texture. Stick with granulated sugar for the classic taste, IMO.
FAQ (Frequently Asked Questions)
Got questions? I’ve got answers! (Mostly.)
- **Can I make this without an ice cream maker?**
You *can*, but it’s a bit more effort. You’ll need to pour the base into a shallow freezer-safe dish, freeze it for about an hour, then take it out and whisk it vigorously to break up ice crystals. Repeat this every 30-45 minutes for about 3-4 hours. It’s a workout, but hey, you earn that ice cream!
- **How long does homemade ice cream last?**
In a tightly sealed container, usually about 1-2 weeks in the freezer. After that, it starts getting icy. But let’s be real, it won’t last that long anyway, will it?
- **What’s the best way to store it?**
**An airtight, shallow container is your best friend.** Pressing plastic wrap directly onto the surface helps a lot to prevent freezer burn.
- **Can I use frozen cherries?**
Absolutely! Thaw them first, drain any excess liquid, and then chop them. They might be a bit softer, but still delicious.
- **Why is my ice cream too hard/icy?**
Likely culprits: not enough fat (did you use low-fat milk/cream?), not enough sugar (sugar helps prevent ice crystals), or not enough churning time. Also, ensure your freezer is at the right temperature (around 0°F / -18°C).
- **Can I add other mix-ins?**
Oh, you bet! Chocolate chips, cookie crumbles, a swirl of fudge… the world is your oyster (or, rather, your ice cream bowl!). Just don’t go too crazy, we want to taste that lovely vanilla and cherry goodness.
Final Thoughts
There you have it! A guide to making vanilla ice cream with cherries that’s so good, you might just ditch store-bought forever. It’s simple, it’s fun, and it’s unbelievably rewarding. So, grab your ingredients, put on some tunes, and get ready to create some seriously delicious magic. You’re not just making ice cream; you’re crafting happiness, one scoop at a time. Now go impress someone—or yourself—with your new culinary skills. You’ve earned it!


