So, you’re looking for that perfect dessert that screams “I tried really hard!” but actually whispers “I totally winged it and it worked out!”? My friend, you’ve come to the right place. We’re diving into the glorious world of Chocolate Tart with Ice Cream today, and trust me, it’s going to be epic (and surprisingly easy).
Why This Recipe is Awesome
Seriously, this Chocolate Tart recipe is the **MVP of desserts**. It looks fancy enough to fool your fanciest friends, but it’s so ridiculously simple, even your pet goldfish could probably guide you through it. (Okay, maybe not the goldfish, but you get the idea.) No crazy techniques, no obscure ingredients, just pure, unadulterated chocolatey joy. **It’s practically fail-proof**, which is saying something, considering my track record in the kitchen. Plus, it pairs perfectly with ice cream, because why have one amazing thing when you can have two?
Ingredients You’ll Need
Gather ’round, my budding pastry chef, and let’s get our delicious ducks in a row:
- For the Crust (aka the “Don’t mess this up” part):
- 1 ½ cups (about 180g) chocolate digestive biscuits (or Oreos, if you’re feeling extra indulgent. No judgment here.) – Crushed into glorious submission.
- ½ cup (113g) unsalted butter, melted – Because butter makes everything better, duh.
- ¼ cup (50g) granulated sugar – Just a little sweetness to balance the force.
- For the Filling (aka the “Magic happens here” part):
- 1 ½ cups (350ml) heavy cream – The heavier, the dreamier.
- 10 oz (280g) good quality dark chocolate (at least 60% cocoa), chopped – Don’t skimp here! This is the star of the show, remember?
- ¼ cup (50g) granulated sugar – Again, for balance, my friend.
- 2 tablespoons unsalted butter – More butter! We’re not health fanatics today.
- 1 teaspoon vanilla extract – The secret weapon for depth.
- Pinch of salt – To make the chocolate sing!
- For Serving (aka the “Cherry on top” part):
- Vanilla ice cream – Or whatever flavor makes your heart happy.
- A sprinkle of cocoa powder or chocolate shavings (optional, but makes you look super pro).
Step-by-Step Instructions
Alright, apron on, game face on (or just your regular face, no pressure). Let’s do this!
- Get Crusty (Prep the Base): Preheat your oven to 350°F (175°C). Now, crush those biscuits until they’re fine crumbs. You can use a food processor or a Ziploc bag and a rolling pin for some therapeutic aggression.
- Mix & Press: In a bowl, combine the biscuit crumbs, melted butter, and ¼ cup sugar. Mix well until it looks like wet sand. Press this mixture firmly into the bottom and up the sides of a 9-inch tart pan with a removable bottom. **Press it down really well** – no crumbly rebellion allowed!
- Bake It Off: Pop the crust into the preheated oven and bake for 8-10 minutes, just until it’s slightly golden and smells amazing. Let it cool completely on a wire rack while you move on to the good stuff.
- Heat the Cream: While the crust chills, heat the heavy cream and ¼ cup sugar in a saucepan over medium heat. Bring it just to a simmer, stirring occasionally. **Don’t let it boil**, or you’ll have a creamy disaster.
- Melt the Chocolate Magic: Remove the cream from the heat. Add the chopped dark chocolate, 2 tablespoons of butter, vanilla extract, and a pinch of salt. Let it sit for 5 minutes – this gives the chocolate a chance to melt beautifully.
- Whisk Away: After 5 minutes, whisk the mixture gently until it’s super smooth and glossy. It should look absolutely divine and smell even better. Try not to eat it all with a spoon. (I dare you.)
- Fill ‘er Up: Pour the luscious chocolate filling into your cooled tart crust. Give the pan a gentle tap on the counter to release any air bubbles and ensure an even top.
- Chill Out: Transfer the tart to the fridge and chill for at least 4 hours, or preferably overnight. **Patience is a virtue here**, my friend; it needs to set up properly.
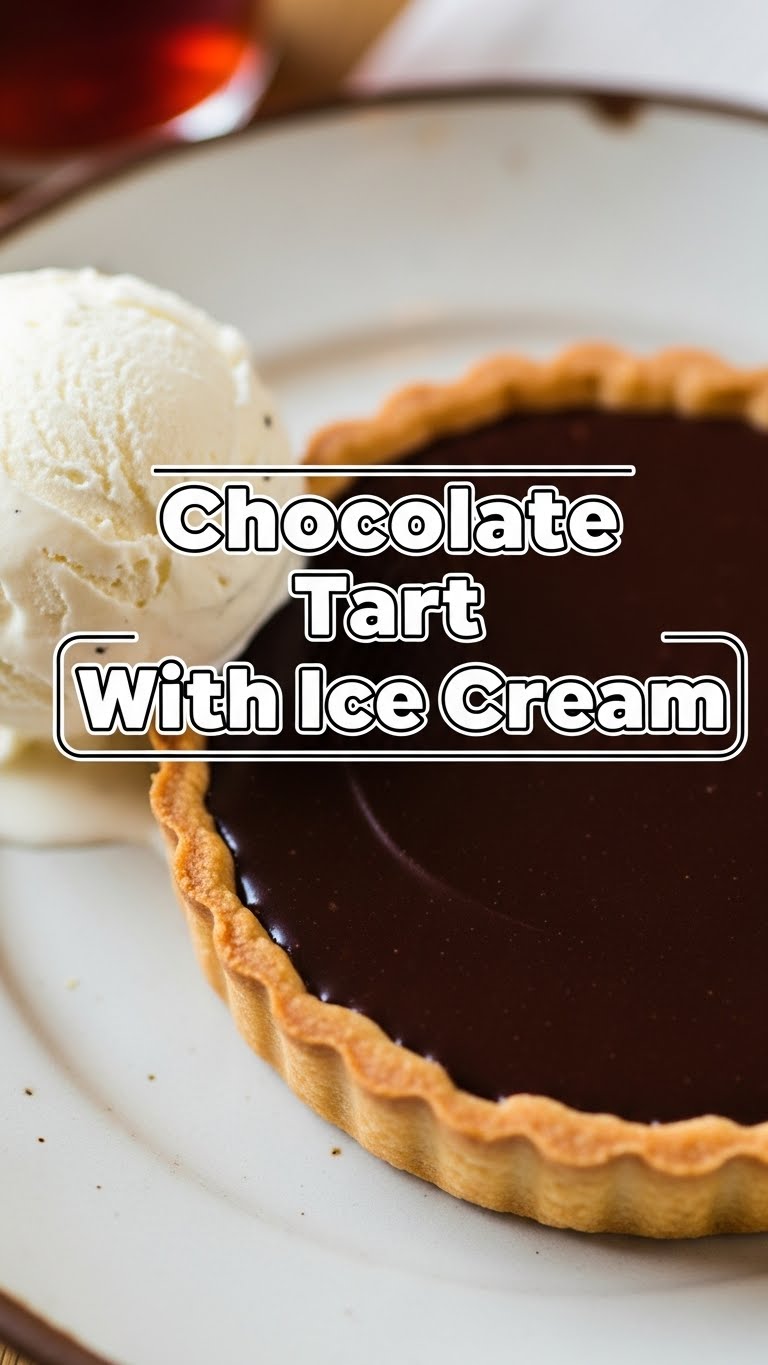
- Serve & Devour: Once firm, carefully remove the tart from the pan. Slice it up, and serve with a generous scoop (or two!) of vanilla ice cream. A dusting of cocoa powder or chocolate shavings makes it Instagram-ready.
Common Mistakes to Avoid
Nobody’s perfect, but we can definitely steer clear of these common blunders:
- Not crushing your biscuits enough: Nobody wants a lumpy crust, unless that’s your vibe. Even texture is key for a sturdy base.
- Over-boiling the cream: Simmer, don’t boil! We’re making a tart, not a science experiment gone wrong. Gently warming is the goal.
- Skimping on good quality chocolate: This is a chocolate tart, not a “mystery brown goo” tart. Invest in the good stuff; your taste buds will thank you.
- Not chilling long enough: Impatience is the enemy of a perfectly set tart. Don’t pull it out early unless you fancy a chocolate puddle. **Seriously, resist the urge.**
- Thinking you don’t need a pinch of salt: That tiny bit of salt *really* makes the chocolate flavor pop. It’s like a secret flavor enhancer. Don’t skip it!
Alternatives & Substitutions
Feeling a little rebellious, or just missing an ingredient? No stress, we’ve got options:
- Crust: No digestives? Graham crackers, Oreos (mint Oreos for an extra kick!), or even shortbread biscuits work wonders. Just adjust the sugar slightly if your choice is already very sweet.
- Chocolate: Dark chocolate is my go-to, but if you’re a milk chocolate devotee, go for it! Just be aware it’ll be sweeter and a bit less intense. You could even do a mix for a nuanced flavor!
- Cream: While heavy cream is king for richness, a mix of heavy cream and full-fat canned coconut milk can work if you’re looking for a dairy-free option (though it might alter the texture slightly).
- Flavor Boosts: Feeling fancy? Add a splash of Kahlua, Grand Marnier, or even a tiny bit of espresso powder to the filling for an adult twist. A pinch of chili powder can also add a surprising kick!
FAQ (Frequently Asked Questions)
Got questions? I’ve got (casual) answers!
- Q: Can I make this tart ahead of time?
A: Oh absolutely! **This tart is a total rockstar make-ahead dessert.** It actually tastes even better the next day, once all those flavors have had a chance to mingle. Just cover it loosely and keep it in the fridge. - Q: My crust is falling apart! What did I do wrong?
A: Did you press it firmly enough? That’s usually the culprit. Or maybe not enough melted butter. Next time, unleash your inner Hulk and really compact those crumbs! - Q: Can I use a different size tart pan?
A: Sure, but be prepared to adjust the ingredient quantities. A smaller pan might need slightly less filling, a larger one more. **Just eyeball it**; cooking is an an art, not always a precise science, right? - Q: Why do I need good quality chocolate? Does it really matter?
A: My friend, it MATTERS. Think of it like a good coffee versus instant; both are coffee, but one is a *much* better experience. This tart is all about the chocolate, so give it the respect it deserves! - Q: How long does this tart last in the fridge?
A: If you manage to make it last that long, I’d say 3-4 days. But honestly, it rarely sees day 2 in my house. - Q: Do I *have* to serve it with ice cream?
A: “Have to?” No, you *get* to! The cold, creamy ice cream against the rich, decadent chocolate is pure bliss. Whipped cream is a distant second, IMO, but you do you!
Final Thoughts
See? I told you this wasn’t rocket science! You’ve just whipped up a dessert that looks like it came from a fancy pâtisserie but only cost you a bit of time and a few humble ingredients. Now go impress someone—or yourself—with your new culinary skills. You’ve earned it! Maybe make an extra one just for you, because sharing is optional, right? 😉 Happy baking, you superstar!


