Ever found yourself staring into the abyss of your freezer, wishing a magical ice cream genie would appear? Yeah, me too. But guess what? You’ve got something even better than a genie: your trusty KitchenAid mixer and this ridiculously easy recipe. Get ready to churn some serious happiness, because homemade ice cream is about to become your new personality trait.
Why This Recipe is Awesome
Okay, so why bother when you can just grab a tub from the store? Good question, friend. Because this isn’t just any ice cream; it’s your ice cream. Made with love (and minimal effort, let’s be real). Plus, you control the sugar, the flavor, and the sheer volume you’re about to consume. It’s basically an adulting superpower.
This recipe is practically idiot-proof, seriously. If I can do it without setting off the smoke detector, you’re golden. No weird chemicals, just pure, unadulterated deliciousness. And did I mention the bragging rights? Yeah, those are pretty sweet too.
Ingredients You’ll Need
- Heavy Cream: The MVP. Don’t even think about light cream unless you want sad, icy sadness. We’re going for rich and creamy, people!
- Whole Milk: The supporting actor, helping the cream do its thing.
- Granulated Sugar: Your sweetness level control. Feel free to adjust, but let’s not go too wild on the first try, eh?
- Vanilla Extract: A classic for a reason. Don’t skimp on the good stuff; it makes a difference. Or try vanilla bean paste if you’re feeling fancy.
- Pinch of Salt: Sounds weird, but it actually amplifies all the other flavors. Don’t skip it; trust me on this one.
- (Optional but recommended) 1-2 Egg Yolks: For an extra rich, custard-like base. It’s a game-changer if you’re up for a tiny bit more effort.
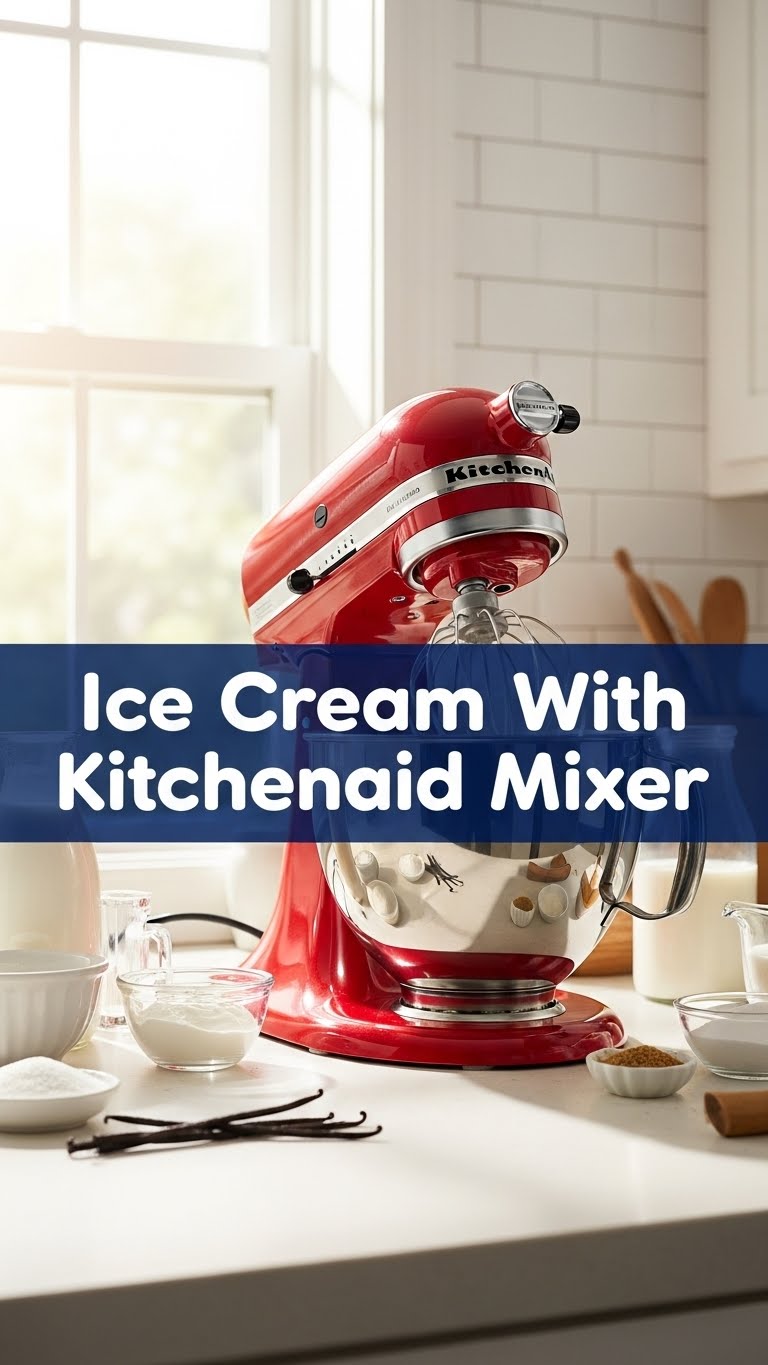
- Your KitchenAid Mixer with Ice Cream Maker Attachment: Obviously. Make sure that bowl is frozen solid! More on that later.
Step-by-Step Instructions
- Prep Your Base: In a medium saucepan, whisk together the heavy cream, whole milk, sugar, and salt. If using egg yolks, whisk them in a separate bowl first, then slowly temper them into the warm (not boiling!) cream mixture while whisking constantly.
- Heat Gently: Heat the mixture over medium-low heat, stirring occasionally, until the sugar is fully dissolved and the mixture is warm to the touch (around 170°F if you have a thermometer, or just before it starts to simmer). Do not boil! Remove from heat.
- Add Vanilla: Stir in the vanilla extract.
- Chill Out: Pour the mixture into a clean bowl or container, cover it, and chill thoroughly in the refrigerator for at least 4 hours, preferably overnight. This step is non-negotiable for creamy ice cream!
- Get Ready to Churn: Attach your pre-frozen KitchenAid ice cream maker bowl to your stand mixer. Make sure it’s snug! Insert the dasher (the paddle part), and secure the mixer head.
- Pour and Churn: Turn the mixer to Stir speed (Speed 1). Slowly pour your chilled ice cream base into the frozen bowl.
- Watch the Magic Happen: Let it churn for 20-30 minutes, or until it reaches your desired soft-serve consistency. It’ll be soft at this stage, kind of like a very thick milkshake. FYI, the longer it churns, the thicker it gets.
- Harden Up (Optional): If you want firmer, scoopable ice cream, transfer it to an airtight container and freeze for another 2-4 hours (or longer) until firm. If you can’t wait, grab a spoon and dig in!
Common Mistakes to Avoid
- The “Not-So-Frozen Bowl” Fiasco: Seriously, your ice cream bowl needs to be in the freezer for at least 15-24 hours, even if it “feels” cold. A partially frozen bowl means sad, slushy ice cream. Don’t pull it out early!
- Impatience is Not a Virtue: Trying to churn a warm base is like trying to convince a cat to take a bath – pointless and messy. Chill your base thoroughly. It’s crucial for the texture.
- Overfilling the Bowl: Your ice cream will expand as it churns. Don’t fill the bowl to the brim; leave some room for delicious growth. Check your KitchenAid manual for max fill lines.
- Mixing on High Speed: Your mixer has a “Stir” speed for a reason. High speed won’t make it churn faster; it just makes it splatter and potentially mess with the attachment. Stick to low and steady.
- Skipping the Salt: “A pinch of salt? Pfft.” Says the person who just made bland ice cream. Don’t be that person. That tiny bit of salt is a flavor enhancer superhero.
Alternatives & Substitutions
- Flavor Frenzy: Want more than just vanilla? After the base is chilled, stir in things like chocolate chips or chunks, cookie pieces (Oreos, anyone?), fruit purées (strawberry, raspberry – add toward the end of churning), caramel swirl (drizzle in the last 5 minutes of churning), or coffee extract for a rich coffee ice cream. Mint extract + chocolate chips for mint chip? Yes, please!
- Dairy-Free Dreamin’: Swap the heavy cream and whole milk for full-fat coconut milk (the canned kind, not the carton beverage) or a good quality oat milk creamer. The texture will be slightly different, but still delicious!
- Sweetener Swaps: You can experiment with maple syrup or honey, but be aware these will change the texture slightly and might make the ice cream a bit softer due to their different freezing points. IMO, stick to granulated sugar for your first go.
- Egg-Free: If you’re not into the egg yolk idea, just omit them. Your ice cream will still be delicious, just a little less rich and custard-like. No biggie!
FAQ (Frequently Asked Questions)
- “My ice cream is too soft after churning, what gives?”
Relax, it’s normal! It’s supposed to be soft-serve consistency right out of the churn. For firmer ice cream, you gotta let it hang out in the freezer for a few more hours. Patience, young grasshopper! - “Do I really need to chill the base for so long?”
Yes, absolutely. This is critical! A warm base won’t churn properly and will result in icy, grainy ice cream. Think of it as a beauty rest for your mixture. - “Can I make this without a KitchenAid ice cream attachment?”
Well, this recipe is specifically for the KitchenAid, so… no. But there are tons of no-churn recipes out there! However, for that classic, creamy churned texture, the attachment is your best bet. - “My ice cream is hard as a rock in the freezer. Help!”
It’s likely due to too little sugar or not enough fat (did you use light cream, you rebel?). Also, homemade ice cream tends to freeze harder than store-bought because it lacks commercial stabilizers. Let it sit out for 5-10 minutes before scooping. - “How long does homemade ice cream last?”
If you manage not to eat it all in one sitting (impressive!), it’s generally best within 1-2 weeks for optimal flavor and texture. After that, it starts to get a bit icy and lose its charm. So, eat up!
Final Thoughts
See? I told you it was easy! You just conquered the glorious world of homemade ice cream, all thanks to your KitchenAid and a little bit of chill time. Now you can stand proudly, spoon in hand, knowing you created that creamy goodness from scratch.
Go ahead, show off a little! Or, you know, just eat it all yourself while binging your favorite show. No judgment here. You’ve earned every single delicious scoop!


