So you’re craving something tasty but too lazy to spend forever in the kitchen, huh? Same. We’ve all been there – staring into the fridge, wishing a magical dessert would appear. Well, today, my friend, we’re making some magic. And by magic, I mean an **Ice Cream Cake with a Cake Layer** that’s so ridiculously easy, you’ll wonder why you ever bought one from the store (and probably paid way too much for it, IMO).
Why This Recipe is Awesome
Because it’s the ultimate “I want something fancy but I also want to nap” dessert. Seriously, this isn’t some super chef, obscure ingredient, spend-all-day-in-the-kitchen kind of deal. This is for us, the realists. Here’s why you’ll love it:
- It’s practically **idiot-proof**. Even I didn’t mess it up, and that’s saying something.
- It looks like you put in a ton of effort, but shhh, we’ll keep our little secret. Your guests will be *wowed*.
- You get cake AND ice cream in one glorious bite. It’s like a two-for-one deal, but for your taste buds.
- It’s completely customizable. More on that later, but just know your wildest cake-and-ice-cream dreams can come true.
- It’s a perfect make-ahead dessert. Pop it in the freezer and forget about it until dessert time. Genius, right?
Ingredients You’ll Need
Keep it simple, sweetie. No need to hunt down exotic berries or rare extracts. We’re going for delicious, not pretentious.
- **1 box (standard size) cake mix**: Your choice of flavor! Chocolate, vanilla, funfetti – whatever makes your heart sing. Or just whatever’s on sale.
- **Ingredients for cake mix**: Usually eggs, oil, water. Follow the box instructions, because why mess with perfection?
- **2 large tubs (1.5-quart / 1.4L each) of your favorite ice cream**: Pick two flavors that complement each other, or go wild. Chocolate and vanilla is a classic, but don’t be afraid to mix it up. (Think mint chip and cookie dough – oh boy!)
- **1 tub (12-16 oz) whipped topping or pre-made frosting**: We’re not making frosting from scratch today, friend. That’s for another day, when we’re feeling ambitious.
- **Optional toppings**: Sprinkles, chocolate syrup, caramel sauce, crushed cookies, chopped nuts – let your inner child run wild!
Step-by-Step Instructions
Get ready for the easiest “baking” adventure of your life. Seriously, it’s more assembly than baking.
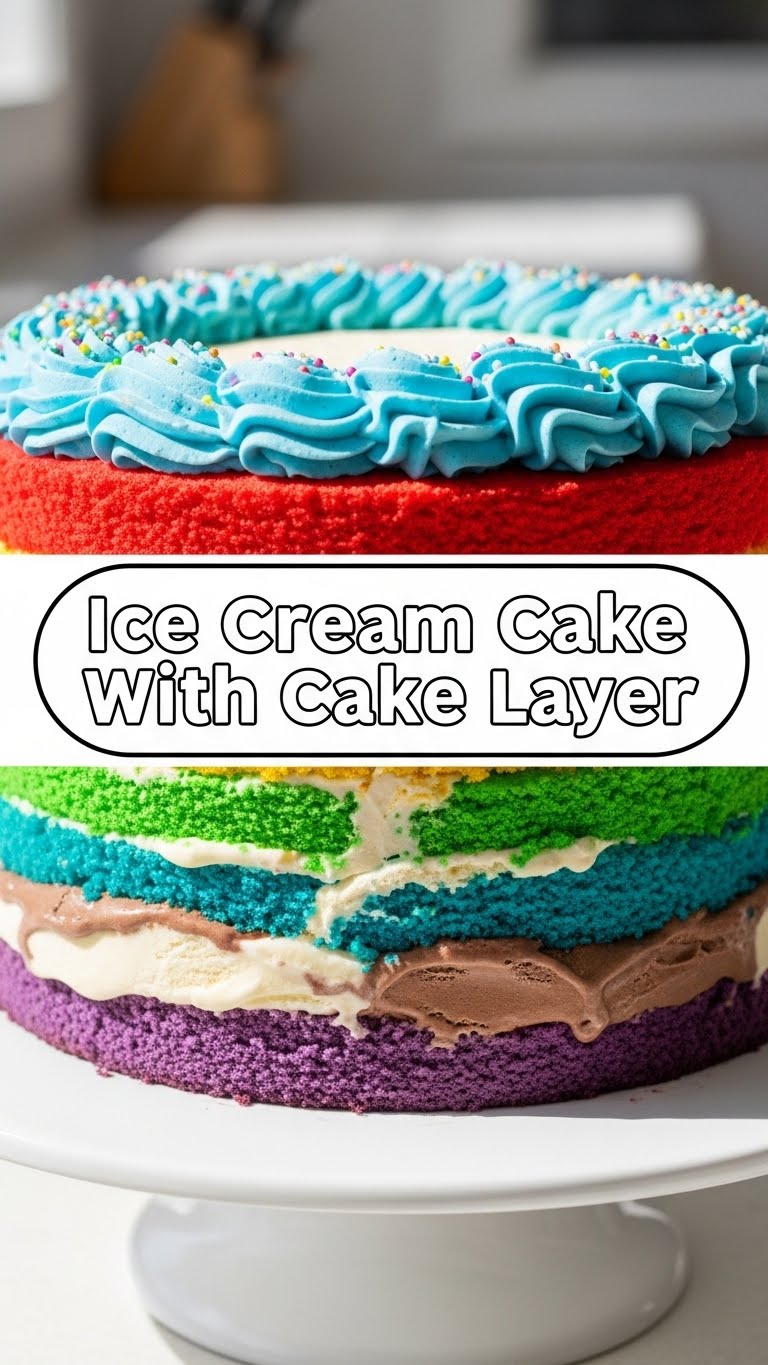
- **Bake Your Cake**: Prepare your cake mix according to package directions. For the best results, use **two 8-inch round cake pans** if you have them, or one 9×13 pan and slice it later. Bake until a toothpick inserted into the center comes out clean.
- **Cool It Down**: This is crucial! Once baked, let your cake cool in the pans for about 10-15 minutes, then invert them onto a wire rack to cool completely. **Do not, I repeat, DO NOT try to assemble with a warm cake.** You’ll end up with a melted mess, and nobody wants that.
- **Prep for Layering**: If you used two 8-inch pans, you’re golden. If you used a 9×13, carefully slice it in half horizontally to create two thinner layers. If you’re using a single thicker cake (from a single 8 or 9-inch pan), you’ll want to slice that horizontally as well to make two layers.
- **Soften the Ice Cream**: While the cake cools, take your ice cream out of the freezer and let it soften on the counter for about 15-20 minutes. You want it spreadable, not soupy. This is a delicate balance, my friend.
- **First Layer of Magic**: Place one cake layer on your serving plate or an 8-inch springform pan (highly recommended for easy release!). Spread one tub of your softened ice cream evenly over the cake layer. Get right to the edges!
- **Second Layer of Magic**: Gently place the second cake layer on top of the first ice cream layer. If you’re feeling adventurous, you can spread the second tub of ice cream here. Or, if you want a classic ice cream layer in the middle, spread your second ice cream tub here and then the second cake layer on top of that. Pro Tip: Press gently to make sure the layers are hugging each other.
- **Freeze and Firm**: Pop the whole cake into the freezer for at least 2-3 hours, or until the ice cream is nice and firm. Don’t rush this part. Patience is a virtue, especially when it comes to dessert.
- **Frosting Time!**: Once firm, take your cake out. Spread your whipped topping or pre-made frosting all over the top and sides of the cake. This is where it really starts looking like a masterpiece.
- **Decorate (Optional but Encouraged)**: Sprinkle on your chosen toppings! Sprinkles make everything happier, IMO. A drizzle of chocolate? Yes, please!
- **Final Chill**: Back into the freezer it goes for another hour or until serving time. You want everything super chilled for the perfect slice.
Common Mistakes to Avoid
We’re all human, and sometimes we get a little eager. But these tips will save you from common cake-making woes!
- **Not Cooling the Cake Properly**: I mentioned it before, but it bears repeating. A warm cake + ice cream = soupy sadness. Don’t do it!
- **Over-Softening the Ice Cream**: While you want it spreadable, you don’t want it melted. If it’s too soft, it’ll run everywhere. If it’s too hard, it’ll tear your cake. It’s a sweet spot, find it!
- **Trying to Slice a Frozen Block**: Let the cake sit at room temperature for 5-10 minutes before slicing. A warm, sharp knife also helps a ton.
- **Skipping the Freezing Steps**: Each freezing step is there for a reason – to ensure your cake holds its shape and doesn’t become a dessert soup.
- **Thinking You Don’t Need a Springform Pan**: While not strictly mandatory, a springform pan or lining a regular pan with parchment (with an overhang) makes removal SO much easier. Trust me, future you will thank you.
Alternatives & Substitutions
The beauty of this recipe? It’s a blank canvas! Get creative (or don’t, it’s still awesome).
- **Cake Flavor Swap**: Swap out the chocolate cake for vanilla, red velvet, lemon, or even a spice cake. The world is your bakery!
- **Ice Cream Adventure**: Instead of classic flavors, try salted caramel, coffee, strawberry cheesecake, or even sorbet for a lighter touch.
- **Crust it Up**: Feeling extra? Press a layer of crushed Oreos, Graham crackers, or shortbread cookies mixed with melted butter into the bottom of your springform pan before adding the first cake layer. Freeze for 15 minutes before continuing.
- **Homemade Hero**: If you’re feeling ambitious (or just have more time than me), make your cake and frosting from scratch. Your efforts will be rewarded!
- **Adult Version**: Drizzle a little coffee liqueur or rum over the cake layers before adding the ice cream. Just a touch for a grown-up twist!
FAQ (Frequently Asked Questions)
Got questions? I’ve got (casual) answers!
Can I make this ahead of time?
Oh, absolutely! This cake is a total superstar for making in advance. In fact, it needs to freeze, so you can make it days (even a week!) before your event. Just keep it well-wrapped in the freezer.
What if I don’t have a springform pan?
No worries! You can line a regular 8 or 9-inch round cake pan with plastic wrap or parchment paper, leaving an overhang on the sides. This will act as “handles” to lift the cake out once frozen. It’s a bit trickier, but totally doable!
My ice cream is too hard to spread! What do I do?
Patience, grasshopper! Just let it sit out on the counter a bit longer. Give it another 5-10 minutes. You want it soft enough to spread without breaking your cake, but not melted. You’ll get the hang of it.
How long does this ice cream cake last in the freezer?
If properly wrapped (think plastic wrap then foil), it can last up to 2-3 weeks. But honestly, it’s so good, I doubt it’ll stick around that long!
Can I use any kind of frosting?
You can, but I highly recommend a whipped topping (like Cool Whip) or a buttercream that’s not too stiff. Cream cheese frosting or a very dense buttercream might get a bit too hard when fully frozen. The lighter stuff stays nice and creamy!
Do I have to slice the cake horizontally? Couldn’t I just use two separate thin cakes?
Totally! If your cake mix yields two thin layers (like from two 8-inch round pans), that’s perfect. The horizontal slice is for when you’ve got one thick cake and need to divide it for your layers.
Final Thoughts
And there you have it, folks! An absolutely delicious, surprisingly easy ice cream cake that will impress the socks off anyone who tries it (especially if they think you slaved away for hours). This isn’t just a dessert; it’s a statement. A statement that says, “I’m fabulous, I love good food, and I also know how to take shortcuts like a pro.”
Now go impress someone – or yourself – with your new culinary skills. You’ve earned it!


