So, you’ve reached that point, huh? The one where your sweet tooth is screaming for something warm, comforting, and utterly delicious, but your inner chef is… well, taking a nap. Been there, done that, bought the T-shirt. And frankly, who has time for overly complicated recipes that require a chemistry degree? Not me, and probably not you!
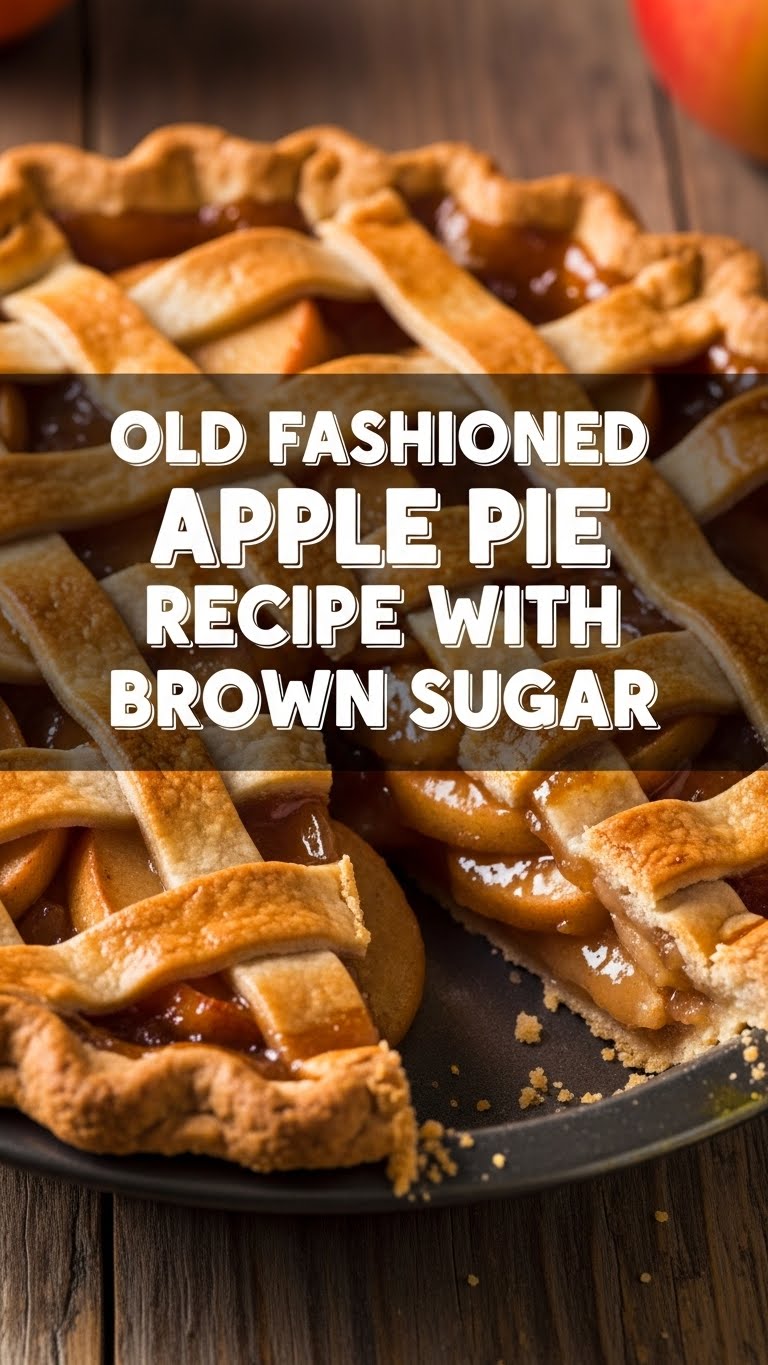
That’s why we’re diving headfirst into an old-fashioned apple pie that sings with brown sugar goodness. It’s the kind of pie your grandma *would* have made if she’d had Google and a slightly snarkier sense of humor. Get ready to bake, laugh, and probably make a delightful mess. Let’s do this!
Why This Recipe is Awesome
Okay, let’s be real. There are a million apple pie recipes out there. So why this one? Because it’s literally **idiot-proof**. And if *I* can pull it off without setting off the smoke detector (again), you definitely can. This isn’t just a pie; it’s a hug in a dish, seasoned with nostalgia and a hefty dose of brown sugar that makes it stand out from its white-sugar-only cousins. It’s got that perfect balance of sweet and tart, with a buttery crust that’ll make you question all your life choices before this moment. Plus, your kitchen will smell like pure autumnal magic. You’re welcome.
Ingredients You’ll Need
Gather ’round, pantry explorers! Here’s what you need to conjure this masterpiece. (Don’t worry, no unicorn tears required.)
- For the Crust (or grab store-bought, no judgment here!):
- 2 ½ cups all-purpose flour (the basic stuff, don’t get fancy)
- 1 teaspoon salt (because even pie needs a little seasoning)
- 1 cup (2 sticks) unsalted butter, **chilled and cubed** (the colder, the better, trust me on this)
- ½ cup ice water (literally water with ice, not just cold tap water, rookie!)
- For the Filling:
- 6-8 medium apples, a mix of tart and sweet (Granny Smith, Honeycrisp, Fuji are my faves – variety is the spice of life, and pie!)
- ½ cup light brown sugar, **packed** (the star of our show, obvs)
- ¼ cup granulated sugar (brown sugar needs a buddy)
- ¼ cup all-purpose flour (thickens things up nicely, no one likes a soupy pie)
- 1 teaspoon ground cinnamon (the smell alone is worth it)
- ¼ teaspoon ground nutmeg (cinnamon’s sophisticated cousin)
- ⅛ teaspoon ground cloves (just a pinch for that extra “oomph”)
- 2 tablespoons unsalted butter, cubed (for dots of buttery goodness on top of the apples)
- 1 tablespoon lemon juice (prevents browning and adds a little zing)
- For Assembly & Glaze:
- 1 egg, beaten (for that gorgeous, shiny crust)
- 1 tablespoon coarse sugar (optional, but adds sparkle and crunch!)
Step-by-Step Instructions
- Make Your Crust (or Unpack It!): If you’re making it from scratch, combine flour and salt in a large bowl. Cut in the **chilled butter** using a pastry blender or your fingertips until it resembles coarse crumbs with some pea-sized pieces. Gradually add ice water, one tablespoon at a time, mixing until just combined. Don’t overmix, or it’ll be tough! Divide dough in half, flatten into discs, wrap in plastic, and chill for at least 30 minutes.
- Prep the Apples: Peel, core, and slice your apples into roughly ¼-inch thick pieces. Aim for consistency so they cook evenly. Toss them immediately with lemon juice in a large bowl to prevent browning.
- Mix the Filling: In a separate bowl, whisk together the brown sugar, granulated sugar, flour, cinnamon, nutmeg, and cloves. Pour this dry mixture over your apples and toss gently until every apple slice is coated in that sugary, spicy goodness.
- Roll it Out: On a lightly floured surface, roll out one disc of your chilled pie dough into a 12-inch circle. Carefully transfer it to a 9-inch pie plate. Trim any excess, leaving about a ½-inch overhang.
- Fill ‘er Up: Pour your apple filling into the pie crust, mounding it slightly in the center. Dot the top with those 2 tablespoons of cubed butter. You know, for extra flavor.
- Top it Off: Roll out your second pie dough disc. You can lay it whole over the filling, or get fancy with a lattice top (if you’re feeling ambitious and not lazy). Trim edges, then crimp the top and bottom crusts together to seal.
- Egg Wash & Bake: Whisk the egg and brush it over the top crust. If you’re using coarse sugar, sprinkle it on now for that extra sparkle. Cut a few slits in the top crust to allow steam to escape – crucial, FYI!
- Bake Time! Preheat your oven to 425°F (220°C). Place the pie on a baking sheet (to catch any drips, because spills are the enemy). Bake for 15 minutes at 425°F, then reduce the oven temperature to 375°F (190°C) and continue baking for another 40-50 minutes, or until the crust is golden brown and the filling is bubbly. **Tip:** If the crust edges start browning too quickly, loosely cover them with aluminum foil.
- Cool Down: This is the hardest part. Let the pie cool completely on a wire rack for at least 2-3 hours before slicing. This allows the filling to set properly. Impatience leads to messy slices, trust me.
Common Mistakes to Avoid
We all make mistakes, but let’s try to avoid *these* ones, shall we? Learn from my past culinary disasters!
- Warm Butter for Crust: Oh, you thought room temperature butter was fine? **Rookie mistake.** You need super cold butter for a flaky crust. Warm butter equals a tough, sad, oily crust. Don’t do it!
- Overworking the Dough: If you knead pie dough like it’s bread, you’re gonna have a bad time. Overworked dough develops gluten, leading to a tough, chewy crust. Mix just until combined, then stop!
- Not Chilling the Dough Enough: Impatience is a virtue, but not in pie-making. Chilling the dough is essential for easy rolling and preventing shrinkage in the oven. **Don’t skip this step!**
- Not Preheating the Oven: Baking in a cold oven means your crust won’t set properly, and your pie will take forever. Always preheat!
- Slicing Too Soon: I know, the aroma is intoxicating. But cutting into a hot pie means the filling will ooze out, and you’ll have a sad, sloppy mess. **Patience, grasshopper.**
Alternatives & Substitutions
Feeling a little rebellious? Here are some ways to shake things up without totally sabotaging your pie:
- Apples: No specific apples on hand? Mix and match! Just aim for a good balance of sweet and tart. Skip super soft apples like Red Delicious, as they can turn to mush.
- Crust: Store-bought is your friend! Seriously, there’s no shame in saving time. Look for all-butter pie crusts for the best flavor.
- Sweetener: Only have dark brown sugar? Go for it! It’ll give a deeper, more molasses-like flavor. If you’re out of brown sugar entirely, you can use all granulated sugar, but IMO, it loses some of that signature warmth.
- Spices: Out of cloves or nutmeg? You can still make a delicious pie! Cinnamon is the star, so just make sure you have that. A dash of ginger could be a fun addition if you’re feeling spicy.
- Toppings: Instead of a double crust, try a crumble topping! Mix oats, flour, brown sugar, and cold butter until crumbly, then sprinkle over the apples. Deliciously rustic!
FAQ (Frequently Asked Questions)
Got questions? I’ve got answers. (Mostly.)
What are the best apples for apple pie? Oh, the age-old question! A mix is always best. I love a combo of Granny Smith (for tartness and structure) with Honeycrisp or Fuji (for sweetness and firmness). Pink Lady also works beautifully. Why settle for just one when you can have a party in your pie?
My pie filling looks runny. What did I do wrong? Likely didn’t let it cool enough! The flour in the filling needs time to fully thicken as the pie cools. Or, perhaps your apples were super juicy, and you didn’t add quite enough flour. **Always cool your pie!**
Can I make the pie dough ahead of time? Absolutely, you smart cookie! You can make it up to 2-3 days in advance and keep it wrapped tightly in the fridge, or even freeze it for up to a month. Just thaw it in the fridge overnight before using. How convenient is that?
Can I use margarine instead of butter? Well, technically yes, you *can*. But why hurt your soul like that? Butter provides superior flavor and flakiness. Margarine just… isn’t the same. Treat yourself (and your pie) to real butter!
How do I store leftover pie? If there are any leftovers, that is! Cover it loosely with foil or plastic wrap and store it at room temperature for up to 2 days. If you want it to last longer, pop it in the fridge for up to 4-5 days. It’s usually devoured before then, though, so good luck with that!
Final Thoughts
See? You just made an Old Fashioned Apple Pie with Brown Sugar! And you didn’t even break a sweat (much). You navigated the perils of pie crust, wrestled with apples, and emerged victorious, smelling faintly of cinnamon and triumph. Now, go impress someone—or yourself—with your new culinary skills. Slice yourself a generous piece, maybe add a scoop of vanilla ice cream, and bask in the glory of your delicious creation. You’ve earned it!
Happy baking, my friend!


