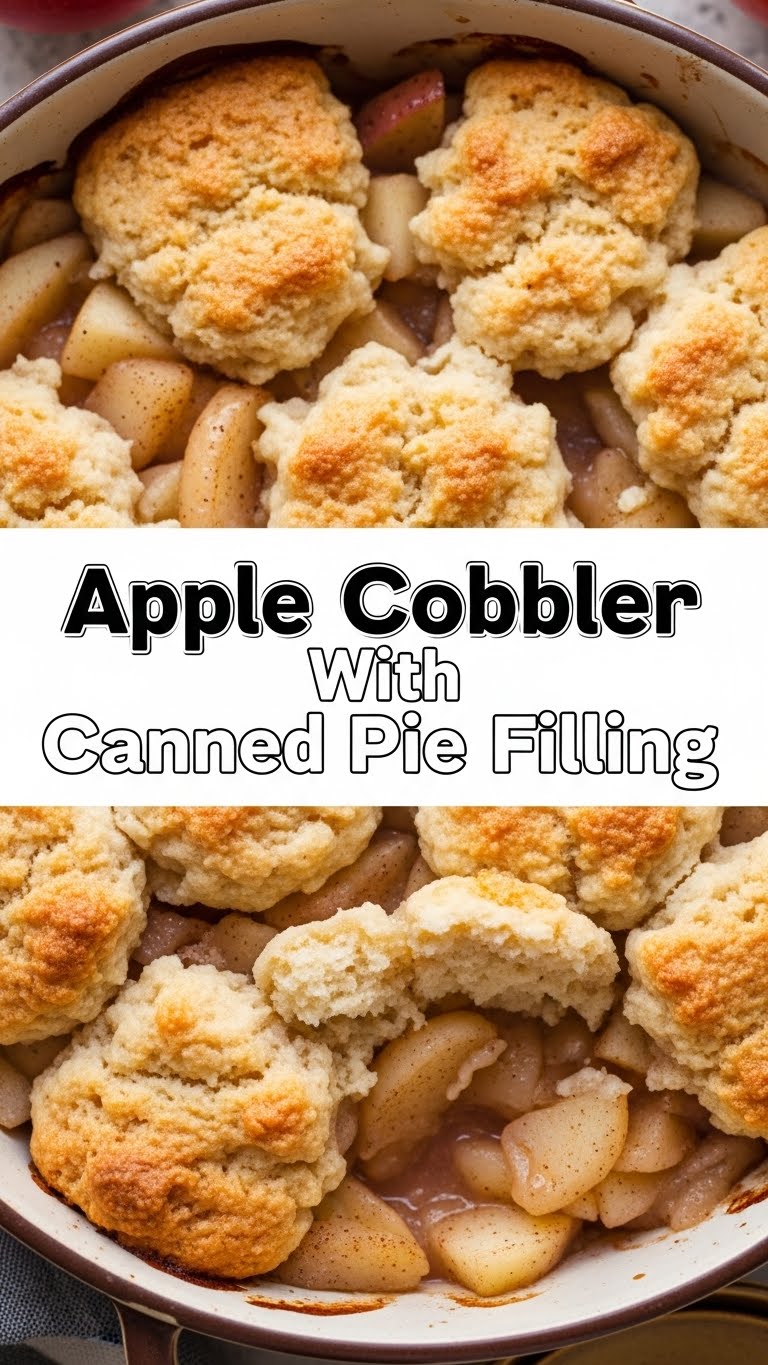
So you’re craving something warm, sweet, and comforting, but the thought of peeling a gazillion apples makes you want to curl up in a fetal position and cry? Been there, my friend, been there. We’re all busy, we’re all a little tired, and sometimes, frankly, we just want dessert without the drama. This is where our secret weapon comes in: **Apple Cobbler with Canned Pie Filling.** Yes, you heard that right. We’re embracing the shortcuts, and we’re not apologizing for it.
Why This Recipe is Awesome
Let’s be real: this recipe is your ticket to culinary glory with minimal effort. It’s the kind of dish that makes people go, “Wow, you made this?!” while you secretly high-five yourself for opening a can. It’s practically magic for busy humans (and by busy, I mean smart, efficient, and definitely not “lazy,” *ahem*). You get that homey, delicious taste without the hour-long apple prep. **It’s idiot-proof, even I didn’t mess it up**, and that’s saying something, believe me. Plus, your kitchen will smell divine, which is a bonus point in itself.
Ingredients You’ll Need
Gather your troops! Here’s what you’ll need for this glorious, low-effort cobbler:
- **1 large (20-21 oz) can apple pie filling:** The true MVP here. Don’t judge; embrace the ease.
- **1 cup all-purpose flour:** The foundation of your delicious topping.
- **1/2 cup granulated sugar:** Because life is sweet, just like you (and this cobbler).
- **1 teaspoon baking powder:** For lift! Nobody likes a flat, sad cobbler.
- **1/4 teaspoon salt:** Just a pinch to balance the sweetness. It’s science, or something.
- **1/2 cup (1 stick) cold unsalted butter:** Cubed! The colder, the flakier, baby.
- **1/2 cup milk:** Any kind works, really. Cow, almond, oat… just not chocolate milk, please. Let’s not get weird.
- **1/2 teaspoon ground cinnamon (optional, but highly recommended):** For that “fall feels” vibe, even in July.
Step-by-Step Instructions
Get ready for simplicity. You’ve got this!
- **Preheat Power:** Get your oven sizzling! Preheat it to **375°F (190°C)**. Grab an 8×8 inch baking dish or something similar.
- **Filling Frenzy:** Pop open that glorious can of apple pie filling. Pour it into your baking dish and spread it out evenly. If you’re feeling fancy, sprinkle a dash of extra cinnamon over the apples now.
- **Dry Mix Magic:** In a medium bowl, whisk together the flour, sugar, baking powder, and salt. If you’re using it, toss in that cinnamon too. Give it a good swirl.
- **Butter Up:** Now for the fun part! Add your cold, cubed butter to the dry ingredients. Use a pastry blender, two knives, or even your clean fingertips to cut the butter into the flour mixture until it resembles coarse crumbs. We’re talking pea-sized pieces here, maybe a little bigger. **Don’t overmix!**
- **Milk Moment:** Pour in the milk and stir just until everything is combined. Again, resist the urge to overmix. A slightly lumpy dough is a happy, tender cobbler topping.
- **Top It Off:** Spoon dollops of your beautiful, shaggy topping mixture over the apple filling. Don’t worry about covering every single inch; some gaps are good for that rustic, bubbly cobbler look.
- **Bake Away:** Slide your dish into the preheated oven. Bake for **30-35 minutes**, or until the topping is golden brown and the apple filling is bubbling up around the edges. Oh, that smell!
- **Cool Down (If You Can!):** Let the cobbler cool for at least 10-15 minutes before serving. That filling is molten lava right out of the oven, and we don’t want any burnt tongues, do we?
Common Mistakes to Avoid
We all make mistakes, but let’s try to avoid these common cobbler blunders:
- **Skipping the Preheat:** Rookie mistake! Thinking you don’t need to preheat the oven means uneven baking and sad, undercooked spots. Don’t do it.
- **Warm Butter Woe:** Using soft or warm butter will give you a tough, dense topping instead of that lovely flaky texture. **Cold butter is key**, people!
- **Overmixing the Topping:** Keep your hands (or mixer) away! Overworking the dough develops the gluten too much, leading to a tough, bready topping. Mix just until combined.
- **Impatience is Not a Virtue:** Diving in immediately when it’s fresh out of the oven is tempting, but that bubbling filling is ridiculously hot. Give it time to cool slightly. Your taste buds will thank you.
Alternatives & Substitutions
Feeling creative? Here are a few ways to mix things up:
- **Different Fruit Fillings:** Not an apple fan? Sacrilege! Just kidding. You can totally use canned cherry pie filling, peach pie filling, or even mixed berry. The world is your oyster… or, well, your cobbler.
- **Dairy-Free Delight:** Swap regular milk for your favorite plant-based milk (almond, oat, soy) and use a dairy-free butter alternative. Easy peasy!
- **Add-ins for Topping:** Want more texture? Stir in a handful of chopped pecans or walnuts, or even a couple of tablespoons of rolled oats into your topping mixture. Yum!
- **Spice It Up:** Beyond cinnamon, a tiny pinch of nutmeg or allspice can really elevate the apple filling. Just a little goes a long way.
FAQ (Frequently Asked Questions)
Got questions? I’ve got answers (and opinions, naturally).
- **Can I use margarine instead of butter?** Well, technically yes, but why hurt your soul like that? Butter just tastes better, IMO. For a true cobbler experience, stick with butter if you can.
- **Do I have to preheat the oven? Seriously?** YES! Absolutely. It ensures your cobbler bakes evenly and gets that gorgeous golden-brown topping. Don’t skip this, friend.
- **What if I don’t have baking powder?** Oh no! You can make your own by mixing 1/4 teaspoon baking soda with 1/2 teaspoon cream of tartar for every teaspoon of baking powder needed. Or, if you have self-rising flour, you can use that and omit the baking powder and salt.
- **Can I add fresh fruit?** Sure, but it’s a different beast! If you want to use fresh apples, you’ll need to peel, core, slice, and cook them down with sugar and spices first, or they’ll be hard. This recipe is all about the canned goodness for speed.
- **How long does this cobbler keep?** Covered tightly in the fridge, it’s usually good for 3-4 days. But let’s be honest, it probably won’t last that long.
- **Can I freeze it?** You can, but the topping might get a little soft once thawed. It’s best enjoyed fresh, FYI. If you do freeze, wrap it well and reheat gently in the oven.
Final Thoughts
There you have it! A ridiculously easy, unbelievably tasty apple cobbler that will fool everyone into thinking you spent hours in the kitchen. This is comfort food at its finest, minus the fuss. Serve it warm with a scoop of vanilla ice cream or a dollop of whipped cream, and prepare for immediate happiness. Now go impress someone—or yourself—with your new culinary superpower. You’ve earned it!


