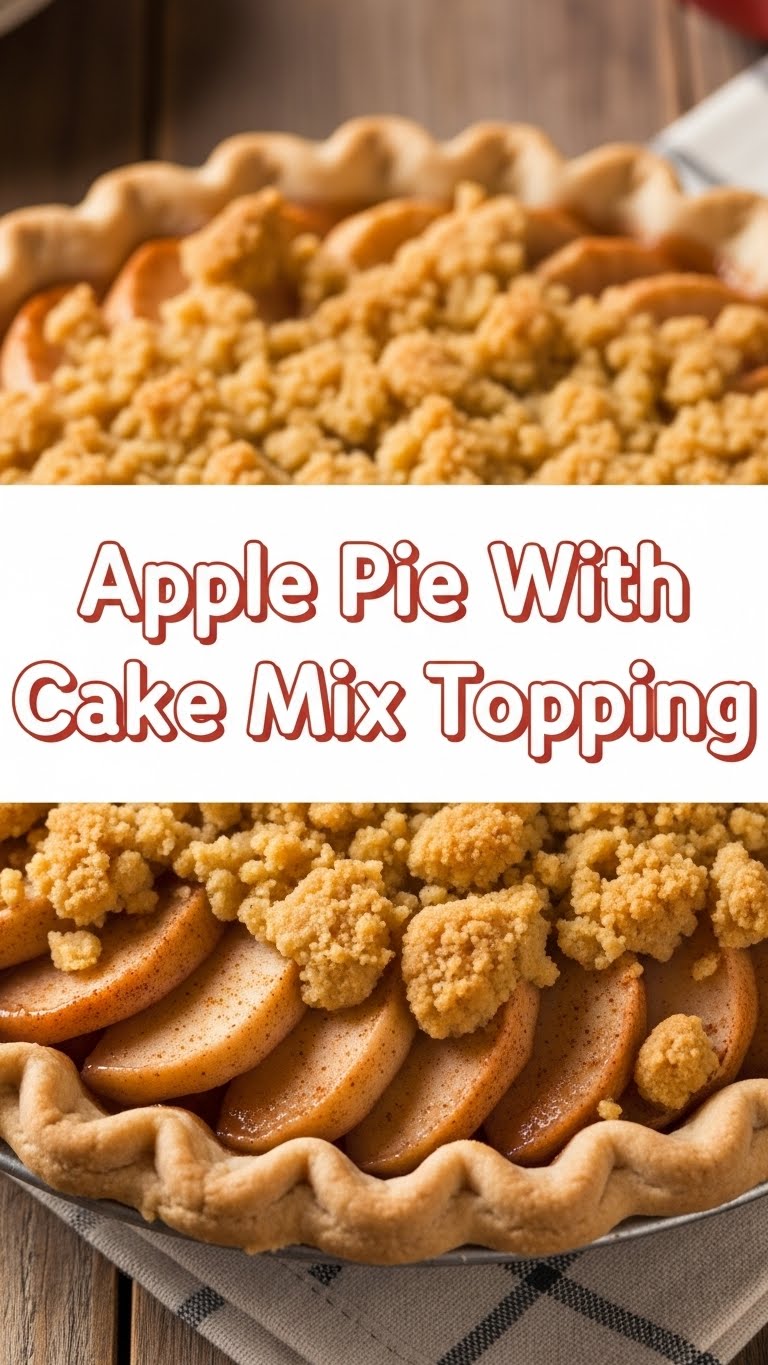
So you’re craving something tasty but too lazy to spend forever in the kitchen, huh? Same. We’ve all been there: that undeniable urge for a warm, comforting dessert, but the mere thought of making a pastry crust from scratch sends shivers down your spine (and not the good kind). Fear not, my friend, because I’m about to drop some serious dessert wisdom on you that’ll change your apple pie game forever. Get ready for the easiest, most ridiculously delicious Apple Pie with a Cake Mix Topping!
Why This Recipe is Awesome
Let’s be real, traditional apple pie can be a commitment. This recipe, however, is basically a culinary high-five to your future self. It’s **idiot-proof** – seriously, even I didn’t mess it up, and my kitchen skills are usually reserved for ordering takeout. The magic here? A humble box of cake mix. Yes, you read that right. We’re ditching the fussy crust for a crumbly, buttery, cake-mix-infused topping that bakes up golden brown and tastes like a dream. It’s quick, it’s low-effort, and the clean-up is minimal. What’s not to love?
Ingredients You’ll Need
Gather ’round, fellow dessert enthusiast! Here’s your shopping list. Don’t overthink it.
- 6-8 Medium Apples: About 6 cups once sliced. Go for a mix of sweet and tart like Granny Smith, Fuji, or Honeycrisp. The stars of our show!
- 1 Box Yellow or Spice Cake Mix: Our secret weapon. No need for eggs or oil for this part, just the dry mix!
- 1/2 cup (1 stick) Unsalted Butter: Melted. Because everything is better with butter, right?
- 1/4 cup Granulated Sugar: (Optional, depending on your apples’ sweetness and your sweet tooth).
- 1 teaspoon Ground Cinnamon: Can you even have apple pie without it? I think not.
- 1/4 teaspoon Ground Nutmeg: Just a pinch to round out those cozy flavors.
- 1 tablespoon Lemon Juice: To keep those apples from browning and add a little zing.
- Pinch of Salt: To enhance all those delicious flavors. Trust me on this one.
Step-by-Step Instructions
Alright, apron on (or not, we don’t judge). Let’s get this pie-adjacent deliciousness happening!
- Preheat & Prep: Get your oven heated up to 375°F (190°C). Grab a 9×13 inch baking dish and give it a quick spray with non-stick cooking spray. You want things to slide right out.
- Apples, Assemble!: Peel, core, and slice your apples. Aim for about 1/4-inch slices. Toss them into a large bowl with the optional sugar (if using), cinnamon, nutmeg, lemon juice, and salt. Mix it all up until the apples are nicely coated.
- Dish it Up: Pour those glorious apple slices into your prepared baking dish, spreading them out evenly. They might look like a lot, but they’ll cook down.
- The Cake Mix Magic: Grab your box of dry cake mix and sprinkle it evenly over the apple layer. Don’t stir it in! This is important for that crumbly topping.
- Butter Shower: Drizzle the melted butter all over the cake mix layer. Try to get it as evenly distributed as possible. This is what’s going to make our topping golden and irresistible.
- Bake Away! Pop the dish into your preheated oven and bake for 40-50 minutes. You’ll know it’s ready when the topping is a beautiful golden brown and the apples underneath are bubbly and tender.
- Cool Down (if you can wait): Let it cool for at least 15-20 minutes before serving. It helps it set, and trust me, you don’t want to burn your tongue on hot apple lava (been there).
Common Mistakes to Avoid
Even though this recipe is basically fool-proof, there are a couple of pitfalls you might want to sidestep. Learn from my past (many) kitchen mishaps!
- Forgetting to Preheat: Thinking you don’t need to preheat the oven? Rookie mistake. Your pie won’t cook evenly, and nobody wants a sad, undercooked dessert.
- Over-Slicing Apples: If your apple slices are too thin, they’ll turn to mush. Too thick, and they won’t soften properly. Aim for that sweet spot of about 1/4 inch.
- Stirring the Cake Mix: **Do NOT stir the dry cake mix into the apples.** It’s a topping, not a coating. We want that distinct crumbly texture.
- Impatience is a Vice: Pulling it out too early. Make sure that topping is golden and the apples are tender. A toothpick should easily go through an apple slice.
Alternatives & Substitutions
Feeling adventurous? Or just working with what you’ve got? Here are a few tweaks you can make.
- Fruit Swaps: Not an apple fan today? Try peaches, berries (fresh or frozen!), or a mix of both. Adjust sugar content as needed for sweeter fruits.
- Cake Mix Flavors: While yellow or spice cake mix are my faves for that classic apple pie vibe, white cake mix works too. Chocolate cake mix? Now that’s an interesting twist for a pear or cherry pie, IMO!
- Butter Alternatives: You *could* use margarine or even coconut oil, but for the best flavor and texture, stick with good old butter. Your taste buds will thank you.
- Spice it Up: Add a dash of allspice or ginger to your apples for extra warmth. Feeling extra fancy? A splash of vanilla extract in the apples never hurt anyone.
FAQ (Frequently Asked Questions)
- Can I use margarine instead of butter? Well, technically yes, but why hurt your soul like that? Butter just tastes better and gives a superior crumble. But if that’s all you have, go for it, champ.
- Does it freeze well? Absolutely! Once cooled, cover tightly and freeze for up to 3 months. Thaw in the fridge and reheat in the oven when those ‘dessert emergency’ moments strike.
- Do I have to peel the apples? You don’t *have* to, especially if you like a rustic feel or are feeling particularly lazy. But for a smoother texture, peeling is recommended.
- Can I make this in advance? You bet! You can assemble it a day ahead, cover it, and keep it in the fridge. Just add a few extra minutes to the baking time.
- What should I serve it with? A scoop of vanilla ice cream is non-negotiable, in my humble opinion. A dollop of whipped cream also wouldn’t be a bad idea. Or just eat it straight from the dish with a spoon – no judgment here!
Final Thoughts
See? You just made a ridiculously delicious dessert without breaking a sweat or needing a pastry degree. This Apple Pie with Cake Mix Topping is the perfect balance of comfort, flavor, and sheer laziness (the good kind!). It’s perfect for a weeknight treat, a potluck, or just because you deserve something sweet. Now go impress someone—or yourself—with your new culinary skills. You’ve earned it!


