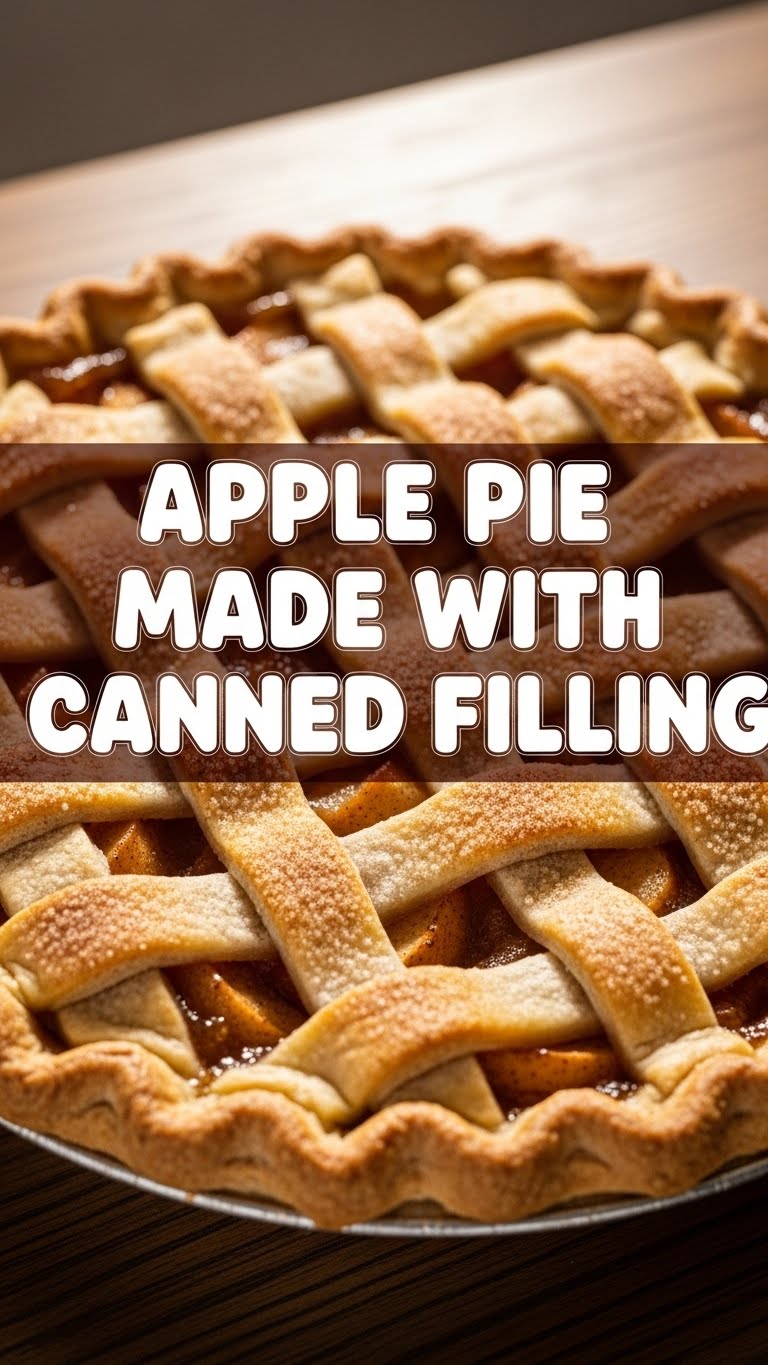
So, your sweet tooth is doing a little jig, demanding apple pie, but your energy levels are doing the cha-cha slide straight into ‘nope’ territory, huh? Been there, bought the t-shirt. Or, rather, bought the *canned apple filling*. Let’s be real, sometimes you want that cozy, warm, apple-y goodness without turning your kitchen into a flour-dusted war zone. And guess what? You absolutely can!
Why This Recipe is Awesome
Okay, let’s be super transparent here. We all adore homemade, from-scratch goodness, but sometimes life just hits you with a frying pan and you need deliciousness without the drama. This recipe? It’s your culinary superhero when you’re feeling a bit like a villain. Seriously, **it’s practically idiot-proof.** If I can do it without setting off the smoke detector, you, my friend, are golden. Plus, it tastes like you slaved away for hours, and your little secret is totally safe with me. We’re talking maximum comfort, minimum effort. Win-win, baby!
Ingredients You’ll Need
- 2 pre-made pie crusts: You know, the rolled-up kind in the dairy aisle? Yes, those. Don’t judge, they’re magic.
- 1 large can (about 20-21 oz) apple pie filling: This is your main character! Pick your favorite brand.
- 2 tablespoons unsalted butter: Cut into small cubes. Because butter makes everything better, duh.
- 1 tablespoon granulated sugar: (Optional) For sprinkling on top, just for that extra sparkle.
- A pinch of cinnamon or nutmeg: (Optional) For that “I totally made this from scratch” aroma.
- 1 egg, beaten: (Optional) For a shiny, golden-brown crust, aka the “I’m fancy” touch.
Step-by-Step Instructions
- **Get Preheat-y:** Crank up your oven to 425°F (220°C). Don’t skip this step; it’s crucial for a perfectly flaky crust.
- **Crust Down, Filling In:** Unroll one pie crust and gently press it into a 9-inch pie plate. Now, pour in that glorious can of apple pie filling and spread it out evenly.
- **Butter Up:** Dot the top of the filling with those little cubes of butter. This adds richness and helps prevent a dry top crust.
- **Top It Off:** Unroll your second pie crust. Carefully lay it over the filling. Trim any excess crust around the edges, leaving about an inch overhang.
- **Seal the Deal:** Fold the overhang under the bottom crust and crimp the edges. Use your fingers or a fork to make pretty patterns. **Pro tip: Make sure it’s sealed tight to avoid lava-like filling eruptions!**
- **Vent Time:** Cut a few slits in the top crust. These are steam vents, not just for aesthetics (though they do look good, too).
- **Optional Glow-Up:** If you’re feeling extra, brush the top crust with your beaten egg. Then, sprinkle with that optional sugar and a dash of cinnamon/nutmeg. Voila! Instant bakery vibes.
- **Bake It ‘Til Golden:** Pop that beauty into your preheated oven. Bake for 15 minutes, then reduce the oven temperature to 375°F (190°C) and continue baking for another 30-40 minutes, or until the crust is beautifully golden brown and the filling is bubbly.
- **Patience, Grasshopper:** Let your masterpiece cool for at least 2-3 hours before slicing. **This is the hardest part, IMO.** It allows the filling to set, preventing a runny mess. Trust me on this one.
Common Mistakes to Avoid
- **Not Preheating the Oven:** Rookie move! A hot oven is key for a crisp crust. Don’t be that person.
- **Overfilling:** Resist the urge to cram in extra filling. You’ll end up with a volcanic overflow in your oven, and nobody wants that clean-up.
- **No Vents:** Those little slits aren’t just for show. They let steam escape. Without them, your pie might get a giant, unsightly bubble, or worse, explode. (Okay, maybe not *explode*, but still, not pretty.)
- **Cutting Too Soon:** As tempting as it is, slicing a hot pie is a recipe for a sloshy, structurally unsound slice. Give it time to chill out and firm up.
- **Forgetting the Foil Hat:** If your crust starts getting too dark before the filling is done, loosely tent it with aluminum foil. This isn’t just for conspiracy theories; it saves your pie!
Alternatives & Substitutions
- **Crusty Business:** Don’t have pre-made crusts? **You can totally go rogue and make your own!** Just know it takes more time and skill. Or, hey, a graham cracker crust could work for a different vibe, but it won’t be traditional apple pie.
- **Filling Frenzy:** Not an apple fan? Swap out the canned apple filling for cherry, peach, or blueberry! The world is your fruit-filled oyster. Just make sure it’s *pie filling*, not just fruit in syrup.
- **Spice It Up:** Want more *zing*? Add a pinch of allspice or ground cloves to your cinnamon/nutmeg mix. Or, if you’re feeling adventurous, a tiny splash of vanilla extract or a tablespoon of bourbon (before baking, obviously!) can elevate things.
- **Butter-less Woes:** Out of butter? You *could* use a bit of coconut oil or even shortening dots on top, but honestly, butter is where the flavor magic happens. **Why deny yourself this simple pleasure?**
FAQ (Frequently Asked Questions)
- **Can I use margarine instead of butter?** Well, technically yes, but why hurt your soul like that? Butter truly adds unparalleled richness and flavor. It’s a small splurge with a big payoff.
- **My crust is browning too fast! What do I do?** Ah, the age-old pie dilemma! Simply grab some aluminum foil and gently tent it over your pie. This acts as a shield and keeps your crust from going from golden to charcoal.
- **How do I know when the pie is truly done?** Beyond the beautiful golden crust, look for the filling to be actively bubbling through the vents. If you’re really hardcore, an instant-read thermometer inserted into a vent should read around 195-200°F (90-93°C).
- **Do I have to add the egg wash and sugar?** Nope, not at all! It’s purely for aesthetics – a shiny, golden-brown crust with a little sparkle. Your pie will still be delicious without it, just a bit more rustic.
- **How long does this pie last, and how do I store it?** Covered, at room temperature, it’s good for 2 days. If you want it longer, pop it in the fridge for up to 4-5 days. It’s best reheated slightly in the oven!
- **Can I freeze this pie?** You betcha! Bake it completely, let it cool, then wrap it tightly in plastic wrap and then foil. It’ll last up to 3-4 months. Thaw in the fridge overnight and reheat in the oven.
Final Thoughts
See? You just made a delicious apple pie with minimal fuss, and nobody’s going to question your culinary prowess. This recipe is proof that you don’t need to be a Michelin-star chef (or even a fully awake human) to create something incredibly satisfying. So go ahead, pat yourself on the back, grab a slice (or two!), and bask in the glory of your genius. You totally deserve it! Now go impress someone—or just yourself—with your new culinary skills. **You’ve earned it, superstar!**


