So, you’ve scrolled past one too many glorious pie photos on your feed and now you’re having a full-blown apple pie craving, but the thought of actually *making* one feels like scaling Everest, right? Been there, done that, bought the “I survived a kitchen disaster” T-shirt. But what if I told you we could conquer this delicious mountain together, no sherpas required, and end up with a slice of pure, unadulterated, homemade bliss? And no, you won’t need to sell a kidney for fancy ingredients or spend your entire weekend tethered to the oven. We’re talking maximum reward for minimum effort here, because life’s too short for complicated recipes that leave you stressed and sticky. Let’s bake some magic, shall we?
Why This Recipe is Awesome
Okay, let’s get real. This isn’t just *any* apple pie recipe. This is *the* apple pie recipe for when you want to feel like a domestic goddess (or god) without actually, you know, being one. Seriously, it’s pretty much idiot-proof. I’ve personally made this after a long day when my brain cells were basically on vacation, and even *I* didn’t mess it up. It’s got that perfect balance of sweet and tart, a flaky crust that will make you weep (happy tears, promise!), and it just screams “cozy comfort.” Plus, the smell alone will make your neighbors think you’ve suddenly turned into a master baker. Get ready for compliments, because they’re coming.
Ingredients You’ll Need
Don’t panic! It’s all standard stuff. No unicorn tears or rare spices from the forbidden forest needed. Just good old-fashioned deliciousness.
- For the Crust (the easier-than-you-think part):
- 2 pre-made pie crusts (store-bought, frozen kinda pie crusts are your BFF here): Listen, we’re not judging. Life’s busy. If you wanna make your own, go for it, champ, but for this recipe, shortcuts are our love language.
- 1 egg, lightly beaten: For that glorious, golden-brown glow. Think of it as pie-sunscreen.
- For the Filling (the juicy, apple-y goodness):
- 6-8 medium apples (a mix of Granny Smith for tartness and Honeycrisp or Fuji for sweetness is *chef’s kiss*): About 6 cups sliced. Don’t be shy with the apples! This is an *apple* pie, after all.
- ½ cup granulated sugar: Adjust to your apple’s sweetness level, and your own sweet tooth, obvs.
- ¼ cup packed light brown sugar: Adds that lovely caramel-y depth.
- ¼ cup all-purpose flour: Our secret weapon for thickening – no watery pie bottoms allowed!
- 1 teaspoon ground cinnamon: Because what’s apple pie without its bestie, cinnamon?
- ¼ teaspoon ground nutmeg: A little warmth, a little spice, all things nice.
- ⅛ teaspoon salt: Just a pinch to make all those flavors pop. Trust me on this.
- 2 tablespoons unsalted butter, cut into small pieces: Because butter makes everything better. Period.
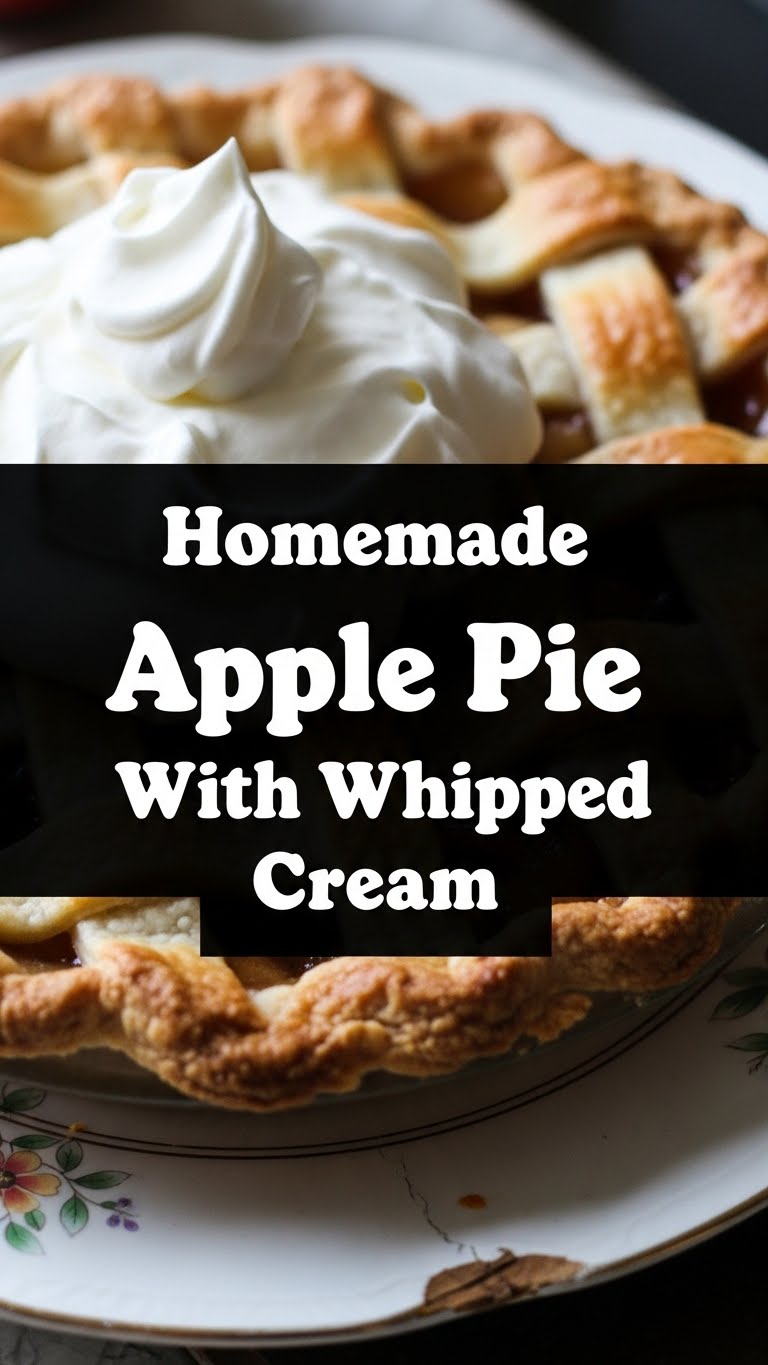
- For the Whipped Cream (the cloud on top of heaven):
- 1 cup heavy cream (cold): Gotta be cold for peak fluffiness!
- 2 tablespoons powdered sugar: Sweetens without adding graininess.
- ½ teaspoon vanilla extract: A touch of magic.
Step-by-Step Instructions
Deep breaths, folks! You got this. We’re breaking it down into bite-sized (pun intended) pieces.
Prep the Battlefield (aka Your Kitchen):
First things first, preheat your oven to 425°F (220°C). Don’t skip this, rookie! Take out your pie crusts from the freezer and let them sit for about 15 minutes to thaw slightly. This makes them easier to handle without cracking.
Apple Party Time:
Peel, core, and slice your apples into about ¼-inch thick pieces. Try to keep them consistent so they cook evenly. Throw them into a large bowl – this is where the fun begins!
Spice Things Up:
In a separate small bowl, whisk together your granulated sugar, brown sugar, flour, cinnamon, nutmeg, and salt. Now, sprinkle this glorious mixture all over your sliced apples. Toss them gently with your hands (or a spoon, if you’re not into sticky situations) until the apples are evenly coated. They should look happy and well-seasoned.
Crust Foundation:
Carefully unroll one pie crust and gently fit it into a 9-inch pie plate. Don’t stretch it too much, or it might shrink while baking. Pour your apple filling into the crust, mounding it slightly in the center. Dot the top with those little pieces of butter. This is crucial for richness!
Top It Off:
Unroll the second pie crust and place it over the apples. You can crimp the edges together for a fancy look, or just press them firmly with a fork to seal. Cut a few slits (at least 4-5) in the top crust. These are steam vents, preventing your pie from becoming a sad, soggy mess. Brush the top with that lightly beaten egg wash for a beautiful golden finish.
Bake It ‘Til You Make It:
Pop that beauty into your preheated oven. Bake for 15 minutes at 425°F (220°C). Then, without opening the oven door (seriously, resist!), reduce the temperature to 375°F (190°C) and continue baking for another 35-45 minutes. The crust should be deeply golden brown, and the filling should be bubbly. If the crust starts browning too fast, you can loosely tent it with foil.
The Waiting Game (The Hardest Part!):
Once baked, pull your masterpiece out and place it on a wire rack to cool completely. And by “completely,” I mean at least 2-3 hours. I know, I know, it’s torture, but this allows the filling to set properly. Cutting into it too early will result in a soupy mess, and nobody wants that!
Whipped Cream Wonderland:
While the pie is doing its cool-down dance, grab a cold bowl and beat the heavy cream until soft peaks form. Add the powdered sugar and vanilla extract, then continue beating until firm peaks form. Don’t overbeat, or you’ll end up with butter (unless you *want* butter, then go for it, you rebel!).
Serve and Conquer!
Slice up that glorious pie and dollop a generous spoonful (or three) of homemade whipped cream on top. Prepare for instant gratification and endless “oohs” and “aahs.”
Common Mistakes to Avoid
Nobody’s perfect, and kitchen mishaps happen even to the best of us (especially me). Here are a few traps to sidestep:
- Forgetting to preheat the oven: This isn’t a suggestion, it’s a command! Cold oven = sad, pale crust. Always preheat!
- Not venting the top crust: Those little slits aren’t just for decoration; they let steam escape. No vents means soggy crust or, worse, a pie explosion. Don’t make your pie angry.
- Cutting into a hot pie: I get it, the smell is intoxicating. But seriously, resist! The filling needs time to set, or it’ll be a runny disaster. Impatience is not a virtue here.
- Overworking the pie crust: If you *are* brave enough to make your own, avoid over-mixing or over-handling. This develops gluten, making your crust tough instead of tender and flaky. Keep it chill, literally.
- Not enough apples: A flat pie is a sad pie. Pile those apples high; they’ll cook down!
Alternatives & Substitutions
Feeling a little rebellious? Or just ran out of something? Here are some quick fixes and fun twists:
- Crust Quandaries: If store-bought isn’t your jam and you’re feeling ambitious, go for an all-butter homemade crust. It’s a game-changer! Alternatively, a simple streusel topping (oats, flour, brown sugar, butter) can replace the top crust for an apple crumble-pie hybrid. Divine!
- Apple Varieties: Can’t find Granny Smiths? Use any firm, baking-friendly apple like Gala, Pink Lady, Braeburn, or a mix. The key is to avoid super soft apples that turn to mush.
- Spice Rack Shenanigans: No nutmeg? A tiny pinch of allspice or even a whisper of ginger powder can step in. Or, just stick with cinnamon, it’s the MVP anyway.
- Butter Swaps: While butter is king IMO, if you’re out, a neutral oil (like vegetable or canola) can replace some of the butter in the filling, though you’ll lose some richness. For the crust, stick with butter or shortening for best results.
- Sweetener Switch-up: You can experiment with maple syrup or honey for a portion of the sugar in the filling for a different flavor profile, but remember it adds liquid, so adjust flour slightly.
FAQ (Frequently Asked Questions)
Got questions? I’ve got (mostly) sarcastic answers!
Q: Can I use margarine instead of butter?
A: Well, technically yes, but why hurt your soul like that? Butter just tastes better, period. It brings a richness margarine can only dream of. Just sayin’.
Q: My pie crust is browning too fast! What do I do?
A: Don’t panic! Loosely tent a piece of aluminum foil over the pie. This acts as a little sun hat for your crust, protecting it from scorching while the filling finishes cooking. Easy peasy.
Q: How do I know when the apples are cooked through?
A: The easiest way is to gently poke through one of the steam vents with a thin knife or skewer. If it goes in easily, your apples are tender. Also, the filling should be bubbling enthusiastically from the vents – a good sign it’s hot and happy in there!
Q: Can I make this pie ahead of time?
A: Absolutely! Apple pie is actually fantastic the next day, and some argue it tastes even better once the flavors have mingled. Store it loosely covered at room temperature for up to 2 days, or in the fridge for up to 4 days. Reheat gently in the oven for that “fresh-baked” feel.
Q: What if I don’t have fresh apples? Can I use canned?
A: For this recipe, fresh is definitely best for texture and flavor. Canned apple pie filling is usually already sweetened and cooked, so you’d need to seriously adjust the sugars and thickeners, basically making it a different recipe. Stick to fresh if you can, your tastebuds will thank you!
Q: My whipped cream isn’t whipping! What went wrong?
A: Is your cream cold? Is your bowl cold? Are your beaters cold? Cold is key for whipped cream success! Also, make sure it’s *heavy* cream (or whipping cream), not half-and-half or milk. And be patient; it takes a few minutes for the magic to happen!
Final Thoughts
See? You survived! And now you have a glorious, homemade apple pie that smells like heaven and tastes even better. Who knew you had these superpowers tucked away, huh? Seriously though, pat yourself on the back. You’ve just created something truly delicious that will make hearts (and stomachs) happy. Now go impress someone – or yourself, because honestly, you’ve earned every single bite – with your new culinary skills. Maybe even brag a little. I won’t tell. Enjoy, my friend, you rockstar baker!


