You know that feeling when you *really* want apple pie, but the thought of raw, crunchy apples in a baked pie makes you side-eye the entire universe? Same. Or when the filling shrinks and you get that sad, empty cavern between the crust and the apples? Ugh. Let’s fix all that! We’re diving into the glorious world of apple pie, but with a twist: **cooked apples.** Prepare for pie perfection, no more surprises!
Why This Recipe is Awesome
Because nobody likes a surprise crunch when they’re expecting tender, glorious apple goodness. This recipe pre-cooks the apples, so your filling is perfectly jammy, spiced, and *consistently* delicious, every single time. Plus, no ‘gap’ between the crust and filling – a pet peeve, am I right? It’s basically foolproof, even if your baking skills are usually limited to pressing ‘start’ on the microwave. Trust me, I speak from experience.
Ingredients You’ll Need
Gather your troops, folks! Here’s what you’ll need for this epic pie adventure:
- For the Crust (aka the edible hug):
- 2 ½ cups all-purpose flour (the base of all deliciousness)
- 1 teaspoon salt (don’t skip, it balances the sweet)
- 1 cup (2 sticks) unsalted butter, super cold and diced (no wimpy butter here, it needs to be *cold* for flakiness!)
- ½ cup ice water (the secret to flaky perfection, add a bit more if needed)
- For the Cooked Apple Filling (the real star, IMO):
- 6-8 medium baking apples (like Granny Smith, Honeycrisp, or a mix – about 2 lbs), peeled, cored, and sliced ¼-inch thick (don’t get lazy, peel ’em!)
- ½ cup granulated sugar (or a bit less if your apples are naturally sweet)
- ¼ cup packed light brown sugar (for that caramel-y depth)
- 2 tablespoons all-purpose flour (our little thickener friend)
- 1 teaspoon ground cinnamon (smells like heaven, tastes like heaven)
- ¼ teaspoon ground nutmeg (cinnamon’s bestie)
- Pinch of ground cloves (optional, but adds a nice warm kick)
- 2 tablespoons lemon juice (brightens everything up, prevents browning)
- 2 tablespoons unsalted butter (for cooking the apples, because more butter is always better)
- For Assembly & Glaze (the pretty bits):
- 1 egg, beaten (for that gorgeous golden-brown shine)
- 1 tablespoon milk or water (to thin the egg wash)
- Optional: a sprinkle of turbinado sugar (for extra crunch and sparkle)
Step-by-Step Instructions
- Make Your Crust (Don’t Be Scared!): In a large bowl, whisk flour and salt. Add the cold, diced butter. Use a pastry blender or your fingertips to cut the butter into the flour until it resembles coarse crumbs with some pea-sized pieces. Slowly add ice water, one tablespoon at a time, mixing until the dough just comes together. Don’t overmix! Divide into two discs, wrap tightly in plastic, and chill for at least 30 minutes (or up to 2 days). *This is crucial for flakiness, BTW.*
- Get Those Apples Cookin’: In a large pot or Dutch oven, melt 2 tablespoons of butter over medium heat. Add the sliced apples, both sugars, flour, cinnamon, nutmeg, cloves (if using), and lemon juice. Stir it all up. Cook, stirring occasionally, for 8-10 minutes until the apples have softened but still hold their shape. They should look tender, not mushy. Remove from heat and let cool completely. This is key!
- Roll ‘Em Out: On a lightly floured surface, roll out one disc of dough into a 12-inch circle. Carefully transfer it to a 9-inch pie plate. Trim the edges, leaving about a ½-inch overhang. Pop it in the fridge while you roll out the top crust.
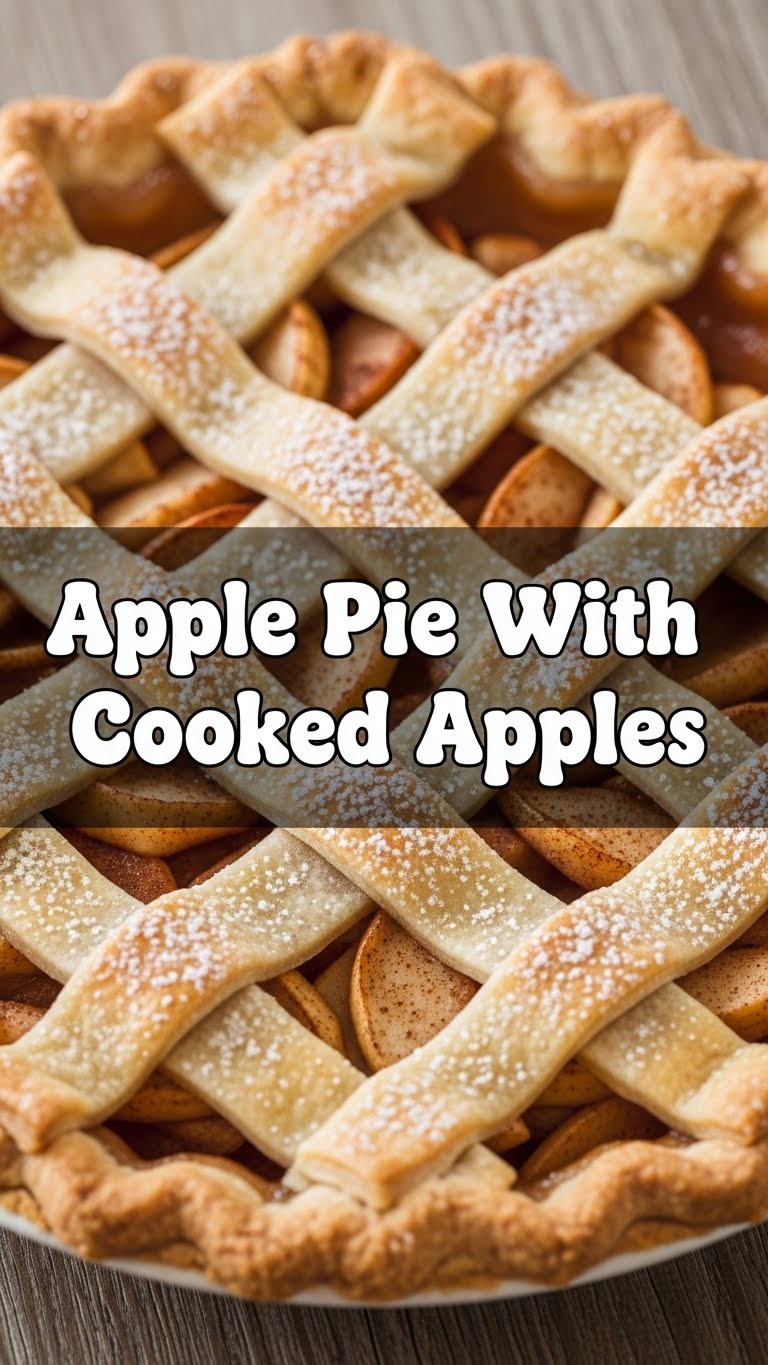
- Top It Off: Roll out the second dough disc. You can make a full top crust or get fancy with a lattice – your call! If doing a full crust, cut a few slits in the top for steam to escape.
- Assemble the Goodness: Pour the completely cooled apple filling into your bottom pie crust. Lay the top crust (or lattice) over the apples. Trim the edges of the top crust to match the bottom. Crimp the edges together using your fingers or a fork to seal it up nice and tight.
- Egg Wash & Bake: Whisk the beaten egg with milk/water to make your egg wash. Brush it all over the top crust. If you’re feeling extra fancy, sprinkle with turbinado sugar for that gorgeous sparkle.
- Bake It Till Golden: Preheat your oven to 425°F (220°C). Place the pie on a baking sheet (to catch any drips – you’re welcome). Bake for 15 minutes, then reduce the oven temperature to 375°F (190°C) and continue baking for another 35-45 minutes, or until the crust is deeply golden brown and the filling is visibly bubbling through the vents. If the edges start browning too fast, cover them with foil strips.
- Cool Your Jets: This is the hardest part. Let the pie cool completely on a wire rack for at least 3-4 hours before slicing. Yes, *completely*. This allows the filling to set properly. Patience, young padawan!
Common Mistakes to Avoid
Nobody’s perfect, but we can avoid these common pitfalls!
- Warm Butter in Crust: Rookie move! Your butter *needs* to be ice-cold. Warm butter equals tough, sad crust, and we don’t do sad crusts here.
- Overmixing Dough: Another path to tough crust-ville. Mix just until it barely comes together. Less handling equals more flakiness.
- Not Cooling Apples: Putting hot apples into a cold crust is a recipe for a soggy bottom. No one wants that. Cool them down completely! Seriously, resist the urge.
- Skipping the Vent Slits: Unless you want an exploded pie (dramatic, but possible!), give that steam an escape route. It’s science!
- Cutting Too Soon: I know, I know, it smells amazing. But if you cut it hot, the filling will just ooze out in a glorious but messy puddle. **Let it set!** It’s worth the wait, promise.
Alternatives & Substitutions
Feeling creative? Or just working with what you’ve got? No judgment here!
- Apples: Can’t find Granny Smiths? Honeycrisp, Fuji, Gala, or a mix work great. Just make sure they’re firm baking apples. Avoid mushy Red Delicious – blech.
- Spices: Not a fan of nutmeg? Skip it! Want more ginger or a pinch of cardamom? Go for it! This is *your* pie. You do you.
- Crust: Feeling lazy (it happens to the best of us)? A good quality store-bought pie crust is totally acceptable. No shame in that game!
- Sweetener: You can play with the sugar levels. If your apples are super sweet, reduce the granulated sugar a bit. Taste as you go!
- Gluten-Free? You can definitely use a GF all-purpose flour blend for the crust and in the filling. Just make sure your blend contains xanthan gum or add ½ tsp per cup of flour for best results.
FAQ (Frequently Asked Questions)
- “Can I use margarine instead of butter for the crust?” Well, technically, yes. But why hurt your soul like that? Butter tastes infinitely better and gives a flakier crust. Just sayin’.
- “My crust always shrinks! Help!” Did you chill it long enough? **Cold dough is key!** Also, avoid stretching it too much when you’re putting it in the pie plate. Let it relax in the fridge.
- “Do I *really* need to pre-cook the apples?” YES! That’s the whole point of this masterpiece! It prevents the dreaded “filling gap” and ensures perfectly tender apples. Trust the process, you won’t regret it.
- “What if I don’t have lemon juice?” You can skip it, but the lemon juice brightens the flavor and prevents the apples from browning too much. A tiny splash of apple cider vinegar can work as a last resort, but lemon is preferred.
- “Can I make this ahead?” Absolutely! You can make the pie crust dough a couple of days in advance. The assembled (unbaked) pie can be chilled for up to 24 hours. Just let it sit at room temp for 15-20 mins before baking.
- “How long does it last?” Covered at room temperature for 2-3 days, or in the fridge for up to 5 days. Though, FYI, it’s usually gone way before that!
Final Thoughts
See? That wasn’t so bad, right? You just whipped up a pie that’s going to make jaws drop and tastebuds sing. Get ready for compliments, because this apple pie is seriously next-level. Now go impress someone—or yourself—with your new culinary skills. You’ve earned it! Don’t forget to grab a slice (or two) for yourself. You deserve it after all that hard work… which wasn’t *that* hard, was it? Enjoy!


