So, you’re staring into the abyss of your fridge, craving something warm, comforting, and utterly delicious, but the thought of a complicated recipe makes you want to curl up with a bag of chips instead? Trust me, I get it. My culinary motivation often peaks at “toast,” so when I tell you this Deep Dish Apple Pie with Crumb Topping is a game-changer, you can bet your favorite sweatpants it’s true. This isn’t your grandma’s fussy, hours-long pie; this is *our* pie – easy, impressive, and perfectly imperfect. Let’s get baking, shall we?
Why This Recipe is Awesome
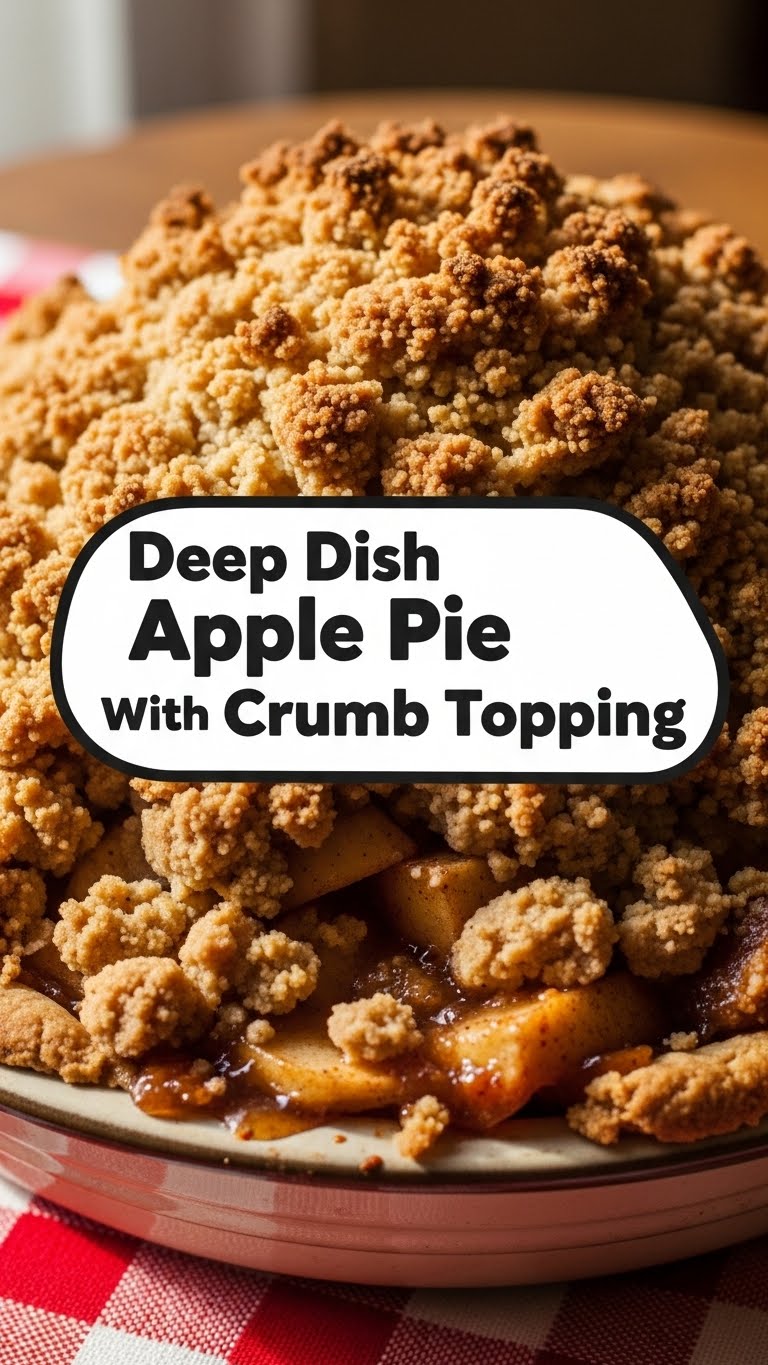
Okay, buckle up, buttercup, because this isn’t just any apple pie. It’s a deep dish apple pie, which means more glorious filling per slice, fewer arguments over who gets the “good” piece, and frankly, more excuses to eat a larger portion. Plus, we’re ditching the fancy lattice top (who has time for that?) for a glorious, buttery, crumbly streusel. It’s like the cozy blanket of pie toppings. It’s idiot-proof, honestly. If I, a person who once set off a smoke detector making popcorn, can nail this, you’re practically a pastry chef already. Seriously, it’s comforting, relatively simple, and looks like you spent hours slaving away. Win-win-win!
Ingredients You’ll Need
Gather your troops! Here’s what you’ll need to transform your kitchen into a fragrant apple paradise. Don’t worry, nothing too exotic here.
For the Pie Crust (Store-bought is fine, no judgment!)
- 1 (14.1-ounce) package refrigerated pie crusts (2 crusts): Seriously, don’t overthink it. Or, if you’re feeling fancy, make your own. You do you.
For the Apple Filling
- 6-8 medium apples: A mix of Granny Smith (for tartness) and Honeycrisp or Fuji (for sweetness and texture) is *chef’s kiss*. Peel ’em, core ’em, slice ’em about 1/4-inch thick.
- 1/2 cup granulated sugar: Sweetness, baby!
- 1/4 cup packed light brown sugar: Adds a lovely caramel note.
- 1/4 cup all-purpose flour: Our secret weapon for a thick, luscious filling, not watery apple soup.
- 1 teaspoon ground cinnamon: Because is it even apple pie without cinnamon? No.
- 1/4 teaspoon ground nutmeg: Just a pinch for that warm, cozy vibe.
- 1 tablespoon lemon juice: Keeps the apples from browning and brightens the flavors. Don’t skip it!
- 2 tablespoons unsalted butter: Cut into small pieces. These little gems melt into the filling, adding richness.
For the Crumb Topping
- 1 cup all-purpose flour: The base of our glorious crumbs.
- 1/2 cup packed light brown sugar: More brown sugar, more deliciousness.
- 1/2 cup (1 stick) cold unsalted butter: Cut into small cubes. Cold butter is key for proper crumbles, FYI.
- 1/2 teaspoon ground cinnamon: A little extra spice never hurt anyone.
- Pinch of salt: Balances out the sweetness.
Step-by-Step Instructions
Alright, apron on (or don’t, I won’t tell), let’s get this pie in the oven!
- Prep the Crust & Oven: Preheat your oven to 425°F (220°C). Seriously, preheat it. Unroll one of your pie crusts and gently press it into a 9-inch deep dish pie plate. Trim any excess dough, leaving about a 1/2-inch overhang. Don’t worry about perfection, it’s rustic chic!
- Whip Up the Filling: In a large bowl, combine your sliced apples, granulated sugar, brown sugar, flour, cinnamon, nutmeg, and lemon juice. Toss it all together until the apples are nicely coated. It should smell amazing already!
- Fill ‘Er Up: Pour the apple mixture into your prepared pie crust. Pile those apples high! Dot the top with those small pieces of butter. This is where the “deep dish” magic really happens.
- Make the Crumb Topping: In a separate medium bowl, combine the flour, brown sugar, cinnamon, and salt for the crumb topping. Add the cold, cubed butter. Now, get your hands in there! Rub the butter into the dry ingredients until it resembles coarse crumbs or small peas. You can also use a pastry blender or a food processor if you’re fancy, but hands are more fun.
- Crumble Time: Sprinkle the crumb topping evenly over the apples. Make sure you get good coverage!
- Bake It Up: Place the pie on a baking sheet (to catch any potential drips – better safe than sorry!). Bake for 15 minutes at 425°F (220°C).
- Lower the Heat & Finish Baking: Reduce the oven temperature to 375°F (190°C). Continue to bake for another 40-50 minutes, or until the topping is golden brown and the apples are tender when poked with a knife. If the topping starts to get too dark, you can lightly tent it with aluminum foil.
- Cool Down: This is the hardest part. Let your masterpiece cool on a wire rack for at least 2-3 hours before slicing. This allows the filling to set up properly. Trust me, it’s worth the wait. Go do something else! Watch an episode of your favorite show!
Common Mistakes to Avoid
We all make mistakes, but let’s try to avoid these rookie errors, shall we?
- Impatience is a Virtue (of the Devil): Trying to slice into the pie before it’s fully cooled. The filling will be runny, and your beautiful pie will turn into a delicious, but messy, heap. Patience, young padawan!
- Ignoring Apple Varieties: Using only super sweet apples, or only super tart ones. A mix gives you the best flavor and texture. Don’t go 100% Granny Smith unless you love a seriously puckery pie.
- Overworking the Crumb Topping: Mixing the crumb topping too much will make it less crumbly and more dough-like. We want glorious, distinct crumbs, not a flat cap.
- Skipping the Lemon Juice: Not only does it prevent browning, but it also brightens the apple flavor. It’s a small step that makes a big difference.
Alternatives & Substitutions
Feeling adventurous or missing an ingredient? No stress, we can totally hack this!
- Different Fruits: Not an apple fan (gasp!) or just want to mix it up? Try pears, peaches (peeled, of course), or a mix of berries. Adjust sugar as needed based on fruit sweetness.
- Spiced Up: Add a pinch of allspice or a tiny bit of ground ginger to your apple filling for an extra kick. Or even a splash of vanilla extract!
- Gluten-Free: Use a gluten-free pie crust and swap the all-purpose flour in both the filling and topping for a 1:1 gluten-free baking flour blend.
- Vegan Vibes: Use a vegan-friendly pie crust and plant-based butter (like Miyoko’s or Earth Balance) for both the filling and crumb topping. Easy peasy!
- Nutty Topping: Add 1/2 cup of chopped pecans or walnuts to your crumb topping for extra crunch and flavor. IMO, nuts make everything better.
FAQ (Frequently Asked Questions)
- “Can I use applesauce instead of fresh apples?” Uh, no. I mean, technically you *could* bake applesauce, but it wouldn’t be pie. It’d be… hot applesauce. We want texture, friend!
- “My pie crust looks terrible, does it matter?” Nope! This is deep dish, baby, and we’re covering it with glorious crumbs. Nobody will see that imperfect crust. It’s like wearing a fancy hat to hide a bad hair day – genius!
- “Can I make this ahead of time?” Absolutely! You can assemble the pie (without baking) and refrigerate it for up to a day, then bake as directed (you might need a few extra minutes). Or, bake it, let it cool completely, and then gently reheat individual slices in the oven or microwave.
- “How do I store leftovers?” Cover it loosely with plastic wrap or foil and keep it at room temperature for a day or two, or pop it in the fridge for up to 4-5 days. It never lasts that long in my house, though!
- “Is vanilla ice cream mandatory?” Is the sky blue? Is water wet? YES. A scoop (or three) of vanilla bean ice cream is not just recommended, it’s practically a requirement. It’s the law.
Final Thoughts
See? That wasn’t so scary, was it? You just whipped up a show-stopping Deep Dish Apple Pie with Crumb Topping that smells like autumn dreams and tastes even better. Now go impress someone – or yourself – with your new culinary skills. You’ve earned it! Grab a generous slice (and that mandatory scoop of ice cream), kick back, and enjoy the fruits of your not-so-laborious labor. You’re basically a kitchen wizard now. Don’t forget to send me a slice!


