So you’re craving something tasty but too lazy to spend forever in the kitchen, huh? Same.
You want that satisfying crunch, that juicy chicken, but you also want to avoid deep-frying drama and the subsequent oil splatters that make your kitchen look like a crime scene. Good news, my friend! We’re diving into the glorious world of **oven-baked breaded chicken**. It’s basically magic – all the crispy goodness, none of the fuss. Get ready to impress yourself (and anyone else lucky enough to be around).
Why This Recipe is Awesome
Let’s be real, some recipes act like they expect you to have a culinary degree and a personal sous-chef. Not this one! This breaded chicken recipe is so straightforward, it practically makes itself. It’s **idiot-proof** – and trust me, I’ve given it a good test. You get fantastically crispy chicken without a gallon of oil or the fear of burning down your house. Plus, cleanup? Minimal. That’s a win in my book, because who needs more dishes, am I right? This is weeknight dinner perfection, lunch prep gold, or even a fancy-ish meal for when you want to pretend you tried harder than you actually did.
Ingredients You’ll Need
Gather ’round, pantry explorers! Here’s what you’ll need for your culinary adventure. Don’t worry, nothing too exotic here.
- Chicken Breasts: 1.5 lbs boneless, skinless chicken breasts (about 3-4 medium). The star of our show, obvs. You can also use thighs if you prefer darker meat and a bit more moisture!
- Flour: 1/2 cup all-purpose flour. Our first layer of crispy armor.
- Eggs: 2 large eggs, lightly beaten in a shallow bowl. This is our “glue” for all that delicious coating.
- Panko Breadcrumbs: 1.5 cups Panko breadcrumbs. **This is key!** Panko gives you that extra-light, extra-crunchy texture that regular breadcrumbs just dream of having. Seriously, don’t skip the Panko, IMO.
- Parmesan Cheese (Optional, but highly recommended): 1/4 cup finely grated Parmesan cheese. Because cheese makes everything better. Period.
- Seasonings:
- 1 teaspoon salt
- 1/2 teaspoon black pepper
- 1 teaspoon garlic powder
- 1/2 teaspoon onion powder
- 1/2 teaspoon smoked paprika (or regular paprika if you’re not feeling smoky)
- *Bonus:* A pinch of cayenne pepper if you like a little kick!
- Olive Oil or Melted Butter: 2 tablespoons. For drizzling over our chicken for extra crispiness and golden-brown perfection.
Step-by-Step Instructions
Alright, apron on (or not, we don’t judge!), let’s get cooking!
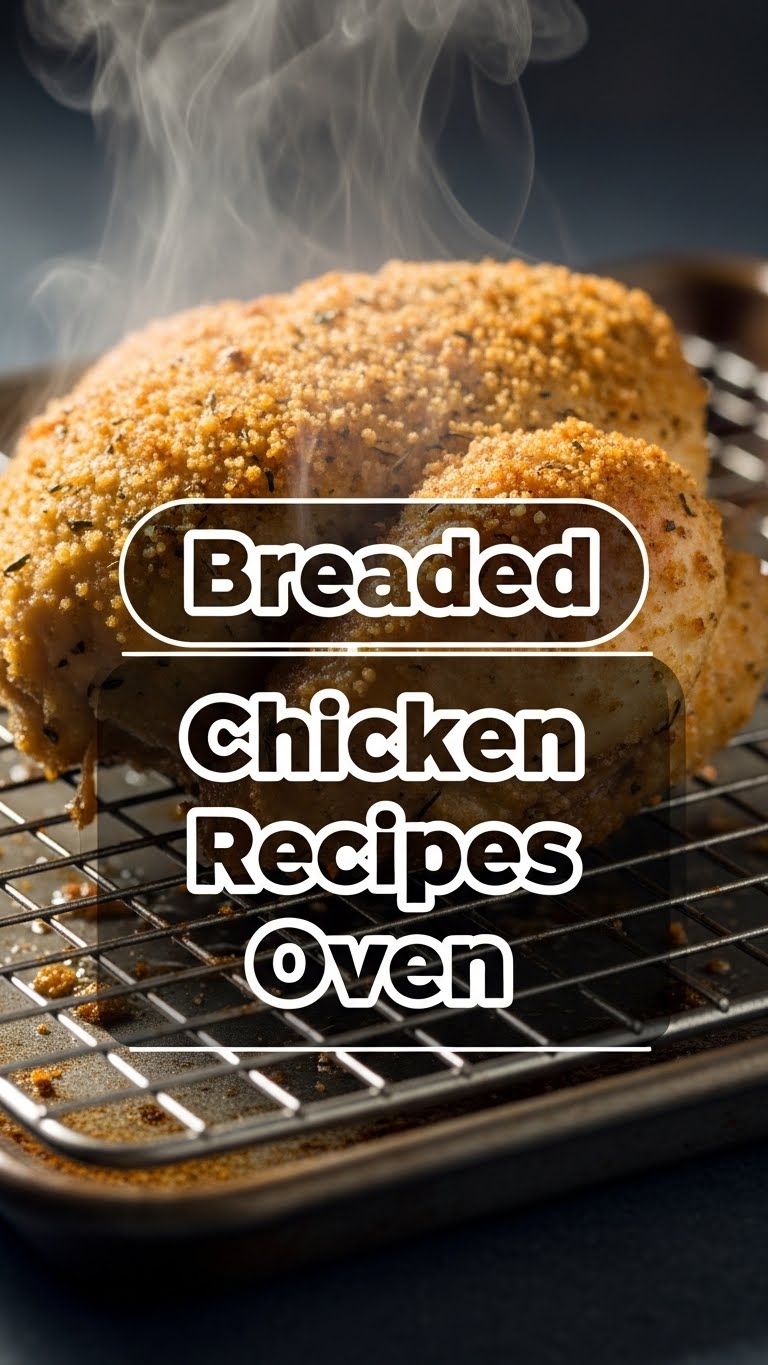
Preheat & Prep: Preheat your oven to 400°F (200°C). Line a baking sheet with parchment paper or foil, then place an oven-safe wire rack on top. This is our secret weapon for crispy bottoms!
Chicken Prep: Pat your chicken breasts super dry with paper towels. This helps the coating stick. If your chicken breasts are super thick, slice them horizontally to create thinner cutlets (about 1/2 to 3/4 inch thick). This ensures even cooking.
Set Up Your Dredging Station: Grab three shallow dishes. In the first, put the flour. In the second, the beaten eggs. In the third, combine the Panko breadcrumbs, Parmesan (if using), salt, pepper, garlic powder, onion powder, and paprika. Mix the breadcrumb mixture really well. This is where all the flavor lives!
Season & Coat: Take one piece of chicken. First, dredge it in the flour, shaking off any excess. Then, dip it in the egg, letting any extra drip off. Finally, press it firmly into the breadcrumb mixture, making sure it’s fully coated on all sides. Repeat with the remaining chicken pieces.
Arrange & Drizzle: Place the coated chicken pieces on your prepared wire rack on the baking sheet, making sure they aren’t touching (we need space for crispiness!). Drizzle or lightly brush the tops of each chicken piece with olive oil or melted butter. This helps them get beautifully golden and extra crunchy.
Bake to Perfection: Bake for 18-25 minutes, flipping them gently halfway through. Cooking time will vary based on thickness, so keep an eye on them! You’re looking for a beautiful golden-brown crust and an internal temperature of 165°F (74°C) when checked with a meat thermometer. Don’t rush it!
Rest & Serve: Once done, take the chicken out of the oven and let it rest for 5 minutes before slicing or serving. This allows the juices to redistribute, keeping your chicken moist and delicious. Serve with your favorite side dishes and bask in the glory of your crispy creation!
Common Mistakes to Avoid
Even though this recipe is pretty foolproof, there are a few little pitfalls that can trip up an otherwise perfect meal. Learn from my (many) past mistakes!
- Not Preheating the Oven: Rookie mistake! A cold oven means your chicken sits there chilling, absorbing heat slowly instead of immediately crisping up. **Always preheat!**
- Overcrowding the Pan: Resist the urge to cram all the chicken onto one sheet. If pieces are touching, they’ll steam instead of crisp, leading to sad, soggy breading. Use two pans if needed.
- Skipping the Wire Rack: If you bake directly on the pan, the bottom gets soggy. The rack allows air circulation, giving you crispy breading all around. It’s a small step, but a game-changer.
- Not Patting the Chicken Dry: Moisture is the enemy of crispiness. Dry chicken = breading that sticks and gets perfectly crunchy.
- Ignoring the Internal Temperature: Guessing if chicken is done is a gamble you don’t want to take (for health reasons, FYI). Get a meat thermometer! 165°F (74°C) is your magic number.
Alternatives & Substitutions
Feeling creative? This recipe is super flexible! Here are some ideas to mix things up:
- Chicken Thighs: Prefer darker meat? Boneless, skinless chicken thighs work wonderfully here. They might need a couple of extra minutes in the oven, but they stay incredibly juicy.
- Different Breadcrumbs: While Panko is my absolute favorite for crispiness, you can use regular fine breadcrumbs or even crushed cornflakes for a unique texture. Just know the crunch factor might vary.
- Spice It Up: Add a pinch of cayenne, chili powder, or even some Italian seasoning to your breadcrumb mix for different flavor profiles.
- Cheesy Goodness: Experiment with different hard cheeses in the breadcrumb mixture, like Pecorino Romano for a sharper tang, or even a little smoked gouda for something unique.
- Herb Heaven: Mix in some dried herbs like oregano, basil, or thyme into your breadcrumbs for an aromatic twist.
FAQ (Frequently Asked Questions)
Got questions? I’ve got answers (mostly humorous, sometimes helpful).
- Can I use regular breadcrumbs instead of Panko?
Technically, yes, you can. But why would you want to deny yourself that glorious Panko crunch? Regular breadcrumbs work, but they won’t give you the same light, airy crispness. Just sayin’.
- Can I make this in an air fryer?
Oh, absolutely! An air fryer is a breaded chicken’s best friend. Cook at 375°F (190°C) for about 12-18 minutes, flipping halfway, until golden and 165°F inside. Adjust time based on your air fryer and chicken thickness.
- How do I know my chicken is really cooked through?
Bestie, get a meat thermometer! It’s the only way to be 100% sure. Insert it into the thickest part of the chicken; it should read 165°F (74°C). No pink = safe to eat!
- Can I prepare the chicken ahead of time?
You can bread the chicken a few hours in advance and keep it refrigerated on a wire rack until you’re ready to bake. If you leave it too long (like overnight), the breading might get a little soggy from the chicken’s moisture.
- What can I serve with this?
Anything! A simple side salad, some roasted veggies (broccoli, asparagus), mashed potatoes, mac and cheese, or even just some rice. It’s super versatile!
- My chicken isn’t getting crispy enough! What went wrong?
Did you use the wire rack? Did you pat the chicken dry? Was your oven hot enough? Did you overcrowd the pan? Any of these could be the culprit. Double-check your steps next time!
Final Thoughts
There you have it, future chef! You just learned how to make ridiculously delicious, perfectly crispy breaded chicken in the oven without breaking a sweat (or the bank). You’ve basically mastered the art of “fake it ’til you make it” in the kitchen. Now go forth and devour your masterpiece, because you deserve every single bite. High five! You’ve earned it!


