So, you’re staring at those gorgeous boneless chicken thighs in your fridge, your Instapot is practically winking at you from the counter, and you’re thinking, “Is culinary magic possible with minimal effort?” Spoiler alert: YES, my friend, it absolutely is! We’re about to unlock the secrets to juicy, flavorful chicken that pretty much cooks itself, leaving you more time for important things, like binging Netflix or perfecting your couch potato technique. You’re welcome.
Why This Recipe is Awesome
Let’s be real, life’s too short for complicated recipes after a long day. This Instapot boneless chicken thigh wizardry is the culinary equivalent of a warm hug. It’s **idiot-proof**, I swear, even I didn’t mess it up! We’re talking melt-in-your-mouth chicken that practically shreds itself, perfect for tacos, salads, sandwiches, or just devouring straight from the pot (no judgment here). Plus, it’s fast. Like, really fast. You’ll go from “what should I make?” to “dinner is served!” in less time than it takes to decide what to watch on streaming. Talk about a win-win, right?
Ingredients You’ll Need
Gather ’round, pantry explorers! Here’s what you’ll need for this delicious adventure. Don’t worry, it’s mostly stuff you probably already have, because who needs fancy ingredients when you have an Instapot?
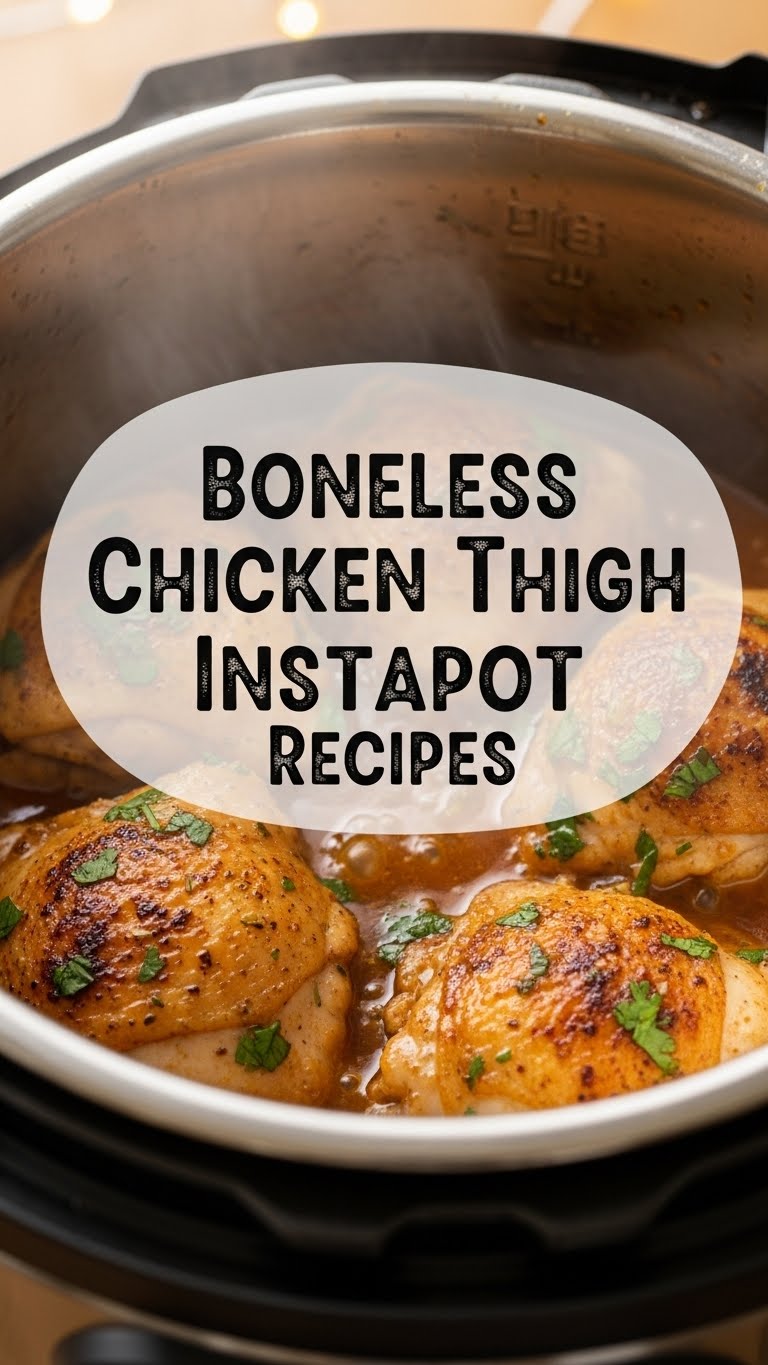
- 1.5-2 lbs Boneless, Skinless Chicken Thighs: The absolute star of our show. Thighs are superior for juiciness, IMO.
- 1 tbsp Olive Oil (or Avocado Oil): Just a little sizzle for the browning step. Don’t skip it!
- 1 cup Chicken Broth (or Water): Our liquid magic that makes the pressure cooking happen.
- 1 tsp Garlic Powder: Because everything’s better with garlic, obviously.
- 1 tsp Onion Powder: Garlic’s trusty sidekick.
- 1/2 tsp Paprika: For a little color and warmth.
- 1/2 tsp Salt: The flavor MVP. Adjust to your taste, always!
- 1/4 tsp Black Pepper: A little kick never hurt anyone.
- Optional: 1 tbsp Soy Sauce or Worcestershire Sauce: For extra umami oomph, if you’re feeling fancy.
Step-by-Step Instructions
Okay, put on your metaphorical chef’s hat (or just a regular hat, whatever floats your boat). These steps are so easy, you might just do a happy dance.
- First things first, pat those chicken thighs dry with a paper towel. This helps them get a nice sear. Then, season them generously all over with the garlic powder, onion powder, paprika, salt, and pepper.
- Hit the “Sauté” button on your Instapot and add the olive oil. Let it get nice and hot – you should see a shimmer.
- Carefully place 2-3 seasoned chicken thighs into the hot pot, making sure not to overcrowd it. Sear for about 3-4 minutes per side until they’re beautifully golden brown. You’re not cooking them through, just building flavor! Remove the browned chicken and set aside. Repeat with any remaining chicken.
- Pour in the chicken broth (and optional soy sauce/Worcestershire). Use a wooden spoon or spatula to **scrape up all those delicious brown bits** from the bottom of the pot. This is called deglazing, and it’s super important to prevent a “Burn” notice.
- Return all the browned chicken thighs to the Instapot. Close the lid and make sure the venting knob is sealed.
- Select the “Manual” or “Pressure Cook” setting and set the timer for 8 minutes. Yes, just 8 minutes!
- Once the cooking cycle is complete, let the pressure natural release (NPR) for 5-10 minutes. This helps keep the chicken extra juicy. After 5-10 minutes, carefully switch the venting knob to “Venting” to quick release (QPR) any remaining pressure.
- Carefully remove the lid. Take out the chicken thighs and let them rest on a cutting board for a few minutes. You can shred them with two forks right in the pot, or slice them against the grain.
- Serve immediately with your favorite sides! Or, you know, just eat it directly from the pot. No judgment.
Common Mistakes to Avoid
Nobody’s perfect, especially in the kitchen! But a little heads-up can save you from a minor culinary mishap. Here are a few “oopsie” moments to steer clear of:
- Forgetting to Deglaze: This is a biggie! If you don’t scrape up those browned bits, your Instapot might throw a tantrum and hit you with the dreaded **”Burn” notice**. Don’t be that person.
- Overcrowding the Pot: We’re cooking, not playing sardine Tetris. Cook in batches if you need to, so your chicken gets a proper sear instead of just steaming. **Give your chicken room to breathe!**
- Not Sealing the Lid Properly: The Instapot isn’t a mind-reader. Make sure that venting knob is in the “Sealing” position, or your chicken will just boil away instead of pressure cooking. Rookie mistake!
- Immediate Quick Release: While sometimes necessary, doing an immediate quick release for chicken can make it a little less tender. That 5-10 minute natural release really does make a difference for juiciness. Patience, my padawan.
Alternatives & Substitutions
Feeling adventurous? Or maybe you’re just out of garlic powder (gasp!). No worries, this recipe is super flexible!
- Spice it Up: Don’t have those exact spices? Use what you have! A tablespoon of your favorite taco seasoning, Italian herbs, or a smoky BBQ rub works wonders.
- Liquid Gold Swap: No chicken broth? Vegetable broth, white wine, or even just plain water will do the trick. The chicken thighs bring a ton of flavor themselves!
- Make it Saucy: After the chicken is cooked, feel free to stir in a few tablespoons of your favorite BBQ sauce, teriyaki sauce, or even a jar of salsa for a whole new vibe. Just make sure to add it *after* pressure cooking.
- Veggies in the Pot: Want to add some veggies? Throw in some quartered potatoes and carrots with the chicken. They’ll cook right along with it, creating a complete meal. FYI, cut them into similar sizes so they cook evenly!
FAQ (Frequently Asked Questions)
You’ve got questions, I’ve got (casual) answers! Let’s clear up some common Instapot queries.
“Can I use frozen chicken thighs?”
Technically, yes, but it’s not ideal for the browning step. If you must, add a few minutes to the cook time (maybe 12-15 minutes total), and be aware that the texture might be slightly different. But really, just thaw them first if you can for the best result!
“How long does it *really* take with the Instapot?”
Okay, so 8 minutes cook time is deceptive. You need to factor in about 10-15 minutes for the pot to come to pressure, and then the 5-10 minutes of natural release. So, total active time is minimal, but total hands-off time is more like 25-30 minutes. Still super fast for a delicious meal, right?
“Do I *have* to brown the chicken first?”
No, you don’t *have* to, but you really, really *should*. Browning adds an incredible depth of flavor that you’ll miss out on if you skip it. It’s like going to a party without your dancing shoes – you’ll still be there, but you won’t be having as much fun.
“What if I don’t have all those spices?”
Relax, it’s not a chemistry experiment! The beauty of this recipe is its flexibility. Use a pre-made spice blend, or just stick to salt and pepper. The chicken thighs themselves are packed with flavor.
“Can I double the recipe?”
Absolutely! The cook time remains the same for the chicken itself, but you might need slightly more liquid (maybe 1.5 cups broth) and more batches for browning. Just don’t overfill your Instapot beyond its max fill line.
“What if I get the dreaded ‘Burn’ notice?”
Don’t panic! This usually means there’s something stuck to the bottom of the pot. Turn off the Instapot, quick release the pressure, and carefully remove the food. Check the bottom for stuck bits, deglaze thoroughly, add a splash more liquid if needed, and try again. It happens to the best of us!
Final Thoughts
And there you have it, folks! Your new go-to, stress-free, incredibly delicious Instapot boneless chicken thigh recipe. You’ve just unlocked a new level of kitchen efficiency and flavor, all while barely breaking a sweat. So go ahead, pat yourself on the back, and prepare to bask in the glory of a meal well-made (with minimal effort). Now go impress someone—or yourself—with your new culinary skills. You’ve earned it!


