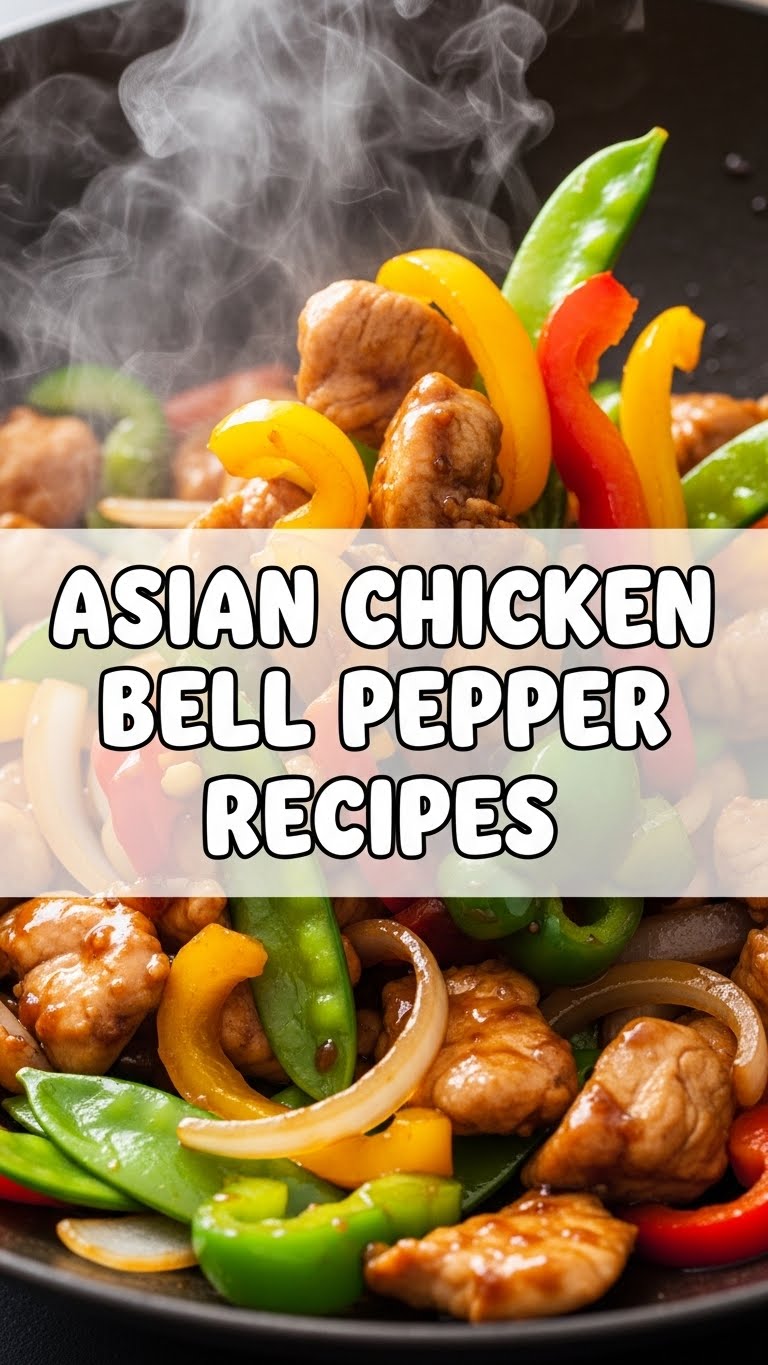
So you’re craving something tasty but too lazy to spend forever in the kitchen, huh? Same. Your fridge is probably giving you the side-eye because you keep ordering takeout. Well, let’s silence that judging fridge (and your rumbling stomach) with a recipe that’s ridiculously easy, super flavorful, and involves minimal effort for maximum deliciousness. We’re talking Asian Chicken and Bell Peppers, my friend. It’s basically a hug in a bowl, but with less commitment than a new Netflix series.
Why This Recipe is Awesome
Okay, so why should you even bother with this one when there’s a whole world of instant ramen out there? Simple. This dish is:
- **Faster than deciding what to binge-watch.** Seriously, from chopping to chowing down, you’re looking at about 30 minutes.
- **Idiot-proof.** I mean, if *I* can make it without setting off the smoke alarm, you definitely can. No complicated techniques, just good old-fashioned stir-frying.
- **Packed with flavor.** We’re talking savory, a touch sweet, and perfectly balanced. Your taste buds will throw a party.
- **Healthy-ish.** You’ve got lean protein, colorful veggies, and a homemade sauce that isn’t packed with mystery ingredients. It’s a win-win, FYI.
Plus, your kitchen will smell like an actual restaurant, which is a bonus if you’re trying to impress someone (or just convince yourself you’re a culinary genius).
Ingredients You’ll Need
Gather ’round, my little chef-in-training! Here’s your shopping list. Don’t worry, nothing too exotic here.
- **For the Chicken:**
- **1 lb Boneless, Skinless Chicken Thighs or Breasts:** Cut into bite-sized pieces. Thighs give more flavor and stay juicier, but breasts are totally fine if you’re feeling virtuous.
- **1 tbsp Cornstarch:** Our secret weapon for perfectly tender chicken and a silky sauce.
- **1 tbsp Cooking Oil:** Any neutral oil (vegetable, canola, grapeseed) will do the trick.
- **For the Veggies:**
- **2-3 Bell Peppers:** Pick your favorite colors! Red, yellow, green, orange – the more vibrant, the better. Chop ’em into 1-inch pieces.
- **1/2 Medium Onion:** Roughly chopped. It adds a nice aromatic kick, doesn’t get enough credit, IMO.
- **2-3 Cloves Garlic:** Minced. Don’t even think about using that pre-minced jar stuff. Fresh is best!
- **1-inch Fresh Ginger:** Grated or finely minced. The other half of our aromatic dream team.
- **For the Sauce (our liquid gold!):**
- **1/4 cup Low-Sodium Soy Sauce:** Umami central!
- **1 tbsp Rice Vinegar:** Adds a little tang, like your sassy friend.
- **1 tbsp Brown Sugar or Honey:** Just a touch to balance the savory notes. Sweetness is key, but don’t overdo it.
- **1 tsp Sesame Oil:** A few drops for that signature nutty aroma. Don’t use too much or it’ll overpower everything!
- **1/2 cup Chicken Broth or Water:** Helps thin out the sauce.
- **1 tbsp Cornstarch (again!):** To thicken the sauce into that glorious, glossy coating.
- **Optional Garnishes (for that ‘chef’s touch’):**
- **Sesame Seeds:** Toasted, because we’re fancy now.
- **Sliced Green Onions:** Adds a pop of color and freshness.
Step-by-Step Instructions
Alright, apron on (or not, I’m not your boss), let’s get cooking! These steps are so easy, you’ll wonder why you ever paid for takeout.
- **Chicken Prep Party:** Grab your chicken pieces and toss them with 1 tablespoon of cornstarch. Make sure they’re all nicely coated. This makes them super tender when cooked!
- **Sauce Boss:** In a small bowl, whisk together all the sauce ingredients: soy sauce, rice vinegar, brown sugar/honey, sesame oil, chicken broth/water, and the second tablespoon of cornstarch. Set it aside. **Give it another whisk right before adding to the pan!**
- **Heat Things Up:** Heat 1 tablespoon of cooking oil in a large skillet or wok over medium-high heat. When it’s shimmering, add your cornstarch-coated chicken in a single layer.
- **Sear the Chicken:** Cook the chicken for 3-4 minutes per side, until it’s beautifully golden brown and almost cooked through. Don’t overcrowd the pan—work in batches if you need to! Once done, remove the chicken from the pan and set it aside.
- **Aromatics Assemble!** Add a tiny splash more oil to the pan if it looks dry. Toss in your minced garlic, ginger, and chopped onion. Sauté for about 1-2 minutes until fragrant. Your kitchen should be smelling amazing right about now.
- **Bring on the Bell Peppers:** Add your chopped bell peppers to the pan. Stir-fry for 3-5 minutes, until they’re tender-crisp. We want them to still have a little bite, not be sad and soggy.
- **Chicken’s Back!** Return the cooked chicken to the pan with the veggies. Give everything a good stir to combine.
- **The Grand Finale (Sauce Time!):** Give your sauce mixture one final whisk to ensure the cornstarch hasn’t settled. Pour it evenly over the chicken and veggies. Stir constantly for 1-2 minutes, watching it magically thicken into a glossy, irresistible sauce that clings to everything.
- **Serve it Up:** Remove from heat. Serve immediately over fluffy rice, noodles, or even quinoa. Garnish with sesame seeds and green onions if you’re feeling fancy. Boom! Dinner is served.
Common Mistakes to Avoid
Even the simplest recipes have their pitfalls. Learn from my (many) culinary blunders:
- **Overcrowding the Pan:** This is probably the biggest no-no. If you cram too much chicken or too many veggies into your skillet, they’ll steam instead of sear. Result? Grey, sad chicken and mushy veggies. **Cook in batches if your pan isn’t huge!**
- **Overcooking the Chicken:** Dry chicken is sad chicken. Remove it from the pan once it’s mostly cooked through, as it’ll finish cooking when you add the sauce.
- **Soggy Bell Peppers:** They should be tender-crisp, not limp. Don’t cook them into oblivion.
- **Skipping the Cornstarch on the Chicken:** That initial cornstarch coating on the chicken is what gives it that lovely, tender texture, almost like takeout. Don’t skip it!
- **Forgetting to Whisk the Sauce Before Adding:** Cornstarch settles. If you don’t re-whisk, you’ll end up with a watery sauce and a lump of starch at the bottom. Nobody wants that.
Alternatives & Substitutions
This recipe is super flexible, so feel free to play around!
- **Veggies:** Not a bell pepper fan? Or just want more greens? **Broccoli florets, snap peas, sliced carrots, or even mushrooms** would be delicious additions. Just add them at the same time as the bell peppers.
- **Protein Swap:** This sauce is a chameleon! Swap chicken for **shrimp, thinly sliced beef, pork, or even firm tofu**. Adjust cooking times accordingly. For shrimp, add them at the very end as they cook super fast.
- **Make it Spicy:** Want a kick? Add a pinch of **red pepper flakes** to the sauce, or drizzle some **Sriracha** over the finished dish.
- **Different Sweetener:** Out of brown sugar? **Honey or maple syrup** works just as well.
- **Citrus Zing:** A tiny squeeze of **fresh orange or lime juice** (about a teaspoon) at the end can brighten up the flavors beautifully.
FAQ (Frequently Asked Questions)
Got questions? I’ve got answers (and maybe a joke or two).
- **Can I make it spicier?** Absolutely! Add a pinch or two of red pepper flakes to your sauce or while sautéing the aromatics. Or, you know, just douse it in Sriracha when you serve. Live your best spicy life!
- **How long does this last in the fridge?** About 3-4 days in an airtight container. It’s fantastic for meal prep, just saying.
- **Can I use frozen chicken or veggies?** You bet! Just make sure your chicken is fully thawed and patted dry before cooking. Frozen bell peppers can go straight into the pan, but they might release a bit more water.
- **What if I don’t have rice vinegar?** A tiny splash of apple cider vinegar or even a squeeze of fresh lime juice can work in a pinch, but the flavor profile will be slightly different. Don’t use white vinegar though, unless you want it super tart!
- **Is this gluten-free?** Only if you use gluten-free soy sauce (like Tamari)! Otherwise, nope.
- **Can I skip the cornstarch?** For the chicken? Don’t you dare! For the sauce? You can, but your sauce won’t be as thick and glossy. It’ll still taste good, just be more watery.
Final Thoughts
See? Told you it was easy! You just whipped up a delicious, flavor-packed meal that’s probably healthier (and definitely cheaper) than your usual takeout. Go ahead, pat yourself on the back, you magnificent chef, you. Now go forth and impress someone—or just yourself—with your new culinary skills. You’ve earned it!


