Listen up, buttercup! Got that ‘hangry but don’t wanna adult’ vibe hitting hard? Welcome to the club! We’ve all been there, staring into the fridge, wishing deliciousness would just magically appear. Well, today, we’re making a little magic happen with simple chicken strips that are so easy, you’ll wonder why you ever bothered with takeout. Seriously, these aren’t your average bland, sad chicken strips. These are the *heroes* your tastebuds deserve, and you, my friend, are about to become their champion.
Why This Recipe is Awesome
Let’s be real, life’s too short for complicated cooking. You want maximum flavor with minimum fuss, right? This recipe delivers! It’s practically **idiot-proof**, so even if your culinary skills usually extend to microwaving popcorn, you got this. It’s quick, adaptable, and a guaranteed crowd-pleaser (even if the crowd is just you, curled up on the couch). Plus, it uses ingredients you probably already have lurking in your pantry. No obscure, expensive stuff needed here, thank goodness!
Ingredients You’ll Need
Time to gather your culinary comrades!
- 1-1.5 lbs Boneless, Skinless Chicken Breasts: The star of our show! Get the good stuff, or whatever’s on sale, IMO.
- 1 cup All-Purpose Flour: Your trusty base for that perfect coating.
- 2 Large Eggs: The sticky glue that holds it all together.
- 1.5 cups Panko Breadcrumbs: Don’t skimp here! Panko gives you that **next-level crunch** that regular breadcrumbs only dream of.
- 1 tsp Garlic Powder: Because everything is better with garlic. Duh.
- 1 tsp Paprika: For a lovely color and a hint of smoky sweetness.
- 1/2 tsp Onion Powder: Another flavor booster.
- Salt & Freshly Ground Black Pepper: To taste, but don’t be shy!
- 1/4 cup Vegetable Oil (or preferred cooking oil): For pan-frying. If you’re baking, a little olive oil spray works wonders.
Step-by-Step Instructions
Get ready to transform that chicken into golden, crispy perfection!
- The Prep Rally: Grab those chicken breasts. Pat them super dry with paper towels (this is key for crispiness!). Now, slice them lengthwise into strips, about 1/2-inch thick. Think uniform; they’ll cook evenly that way.
- The Assembly Line: Set up your dredging stations! In a shallow dish, mix your flour with a good pinch of salt and pepper. In another dish, whisk your eggs until they’re light and frothy. In a third dish, combine your Panko breadcrumbs with the garlic powder, paprika, onion powder, and another pinch of salt and pepper. **Pro tip: mix those spices well into the breadcrumbs!**
- The Great Dunk: Take each chicken strip, one by one. First, dredge it in the flour, shaking off any excess. Then, into the egg wash, letting any extra drip off. Finally, press it firmly into the seasoned Panko breadcrumbs, making sure it’s completely coated. Give it a good squeeze to really adhere those crumbs!
- Heat It Up: If pan-frying, heat your oil in a large skillet over medium-high heat. You want it shimmering, but not smoking. If baking, preheat your oven to 400°F (200°C) and lightly grease a baking sheet.
- The Grand Finale:
- Pan-Frying: Carefully place the coated chicken strips in the hot oil. **Don’t overcrowd the pan!** Cook in batches if needed. Fry for 3-4 minutes per side, or until golden brown and cooked through (internal temp 165°F/74°C).
- Baking: Arrange the coated chicken strips on your prepared baking sheet in a single layer. Bake for 15-20 minutes, flipping halfway through, until golden and cooked through.
- Rest & Devour: Transfer your glorious chicken strips to a plate lined with paper towels to drain any excess oil. Let them rest for a minute or two before diving in. Serve with your favorite dipping sauces and bask in the glory of your creation!
Common Mistakes to Avoid
Even simple recipes have their pitfalls. Learn from my past (many, many) mistakes!
- Not drying the chicken: Wet chicken = soggy coating. You want crisp, not limp.
- Forgetting to season each layer: Bland chicken strips are a sad, sad thing. Season the flour, season the breadcrumbs. **Don’t skip the salt!**
- Overcrowding the pan: This drops the oil temperature and steams your chicken instead of frying it. You’ll end up with pale, sad strips instead of golden, crispy beauties. Give them space!
- Under- or overcooking: Undercooked chicken is a no-go. Overcooked chicken is dry and tough. Use a meat thermometer if you’re unsure – 165°F (74°C) is the magic number.
- Not pressing the breadcrumbs firmly: They’ll just fall off during cooking. Be firm but gentle!
Alternatives & Substitutions
Feeling adventurous? Or just missing an ingredient? No sweat!
- Baking vs. Frying: Already covered it, but if you’re avoiding oil, baking is your best friend. For ultimate crunch when baking, you can lightly spray the strips with cooking oil before popping them in the oven.
- Air Fryer Magic: Got an air fryer? Toss those strips in there! Usually 10-15 minutes at 375°F (190°C), flipping halfway. They get ridiculously crispy.
- Gluten-Free: Swap regular flour for a gluten-free all-purpose blend and use gluten-free Panko breadcrumbs. Easy peasy!
- Spice It Up: Want some heat? Add a pinch of cayenne pepper to the flour or breadcrumbs. Craving Italian? A teaspoon of dried Italian seasoning with your Panko works wonders. Lemon pepper? Go for it!
- No Panko? Crushed cornflakes make an surprisingly excellent crispy coating. Or even finely crushed crackers or stale potato chips for a wilder twist (don’t knock it till you try it!).
FAQ (Frequently Asked Questions)
Got questions? I’ve got (casual, probably sarcastic) answers!
Q: Can I use chicken thighs instead of breasts? A: Absolutely! Chicken thighs are more forgiving and super juicy. Just make sure to trim any excess fat and slice them into similar strip sizes. The cooking time might be a minute or two longer, so keep an eye on them.
Q: My chicken strips aren’t crispy! What gives? A: Did you dry the chicken? Was your oil hot enough (or oven)? Did you overcrowd the pan? Did you *really* press those Panko crumbs on? One of those is usually the culprit. Or maybe you just thought really hard about crispiness and forgot the actual cooking part.
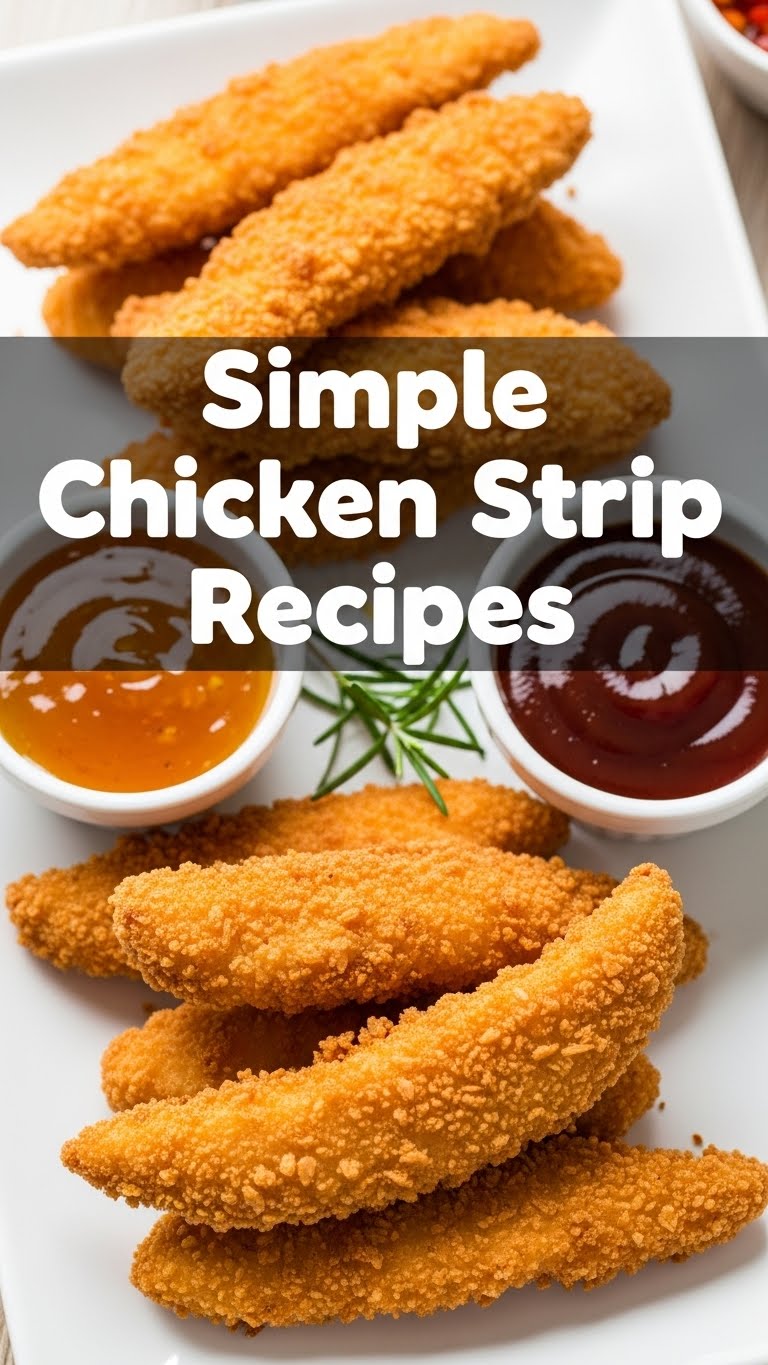
Q: What’s the best dipping sauce? A: Oh, friend, that’s like asking who your favorite child is! Honey mustard, ranch, BBQ, sweet chili, sriracha mayo, plain old ketchup… The world is your oyster! Live your best sauce life.
Q: Can I make these ahead of time? A: You *can* bread them ahead of time and store them in the fridge for a few hours (covered!). But for peak crispiness, cook them right before you’re ready to eat. Reheating them will never be quite the same as fresh, FYI.
Q: Can I freeze cooked chicken strips? A: Yes! Let them cool completely, then freeze them in a single layer on a baking sheet before transferring to an airtight bag or container. Reheat in the oven or air fryer for best results, but be warned, they might lose a little bit of that initial crisp.
Final Thoughts
See? Told ya it was easy! You’ve just whipped up a batch of delicious, crispy chicken strips that are light years beyond anything you’d get from a drive-thru. Now go impress someone—or just yourself—with your new culinary skills. You’ve earned it! And maybe send me a plate, K? Thx.


