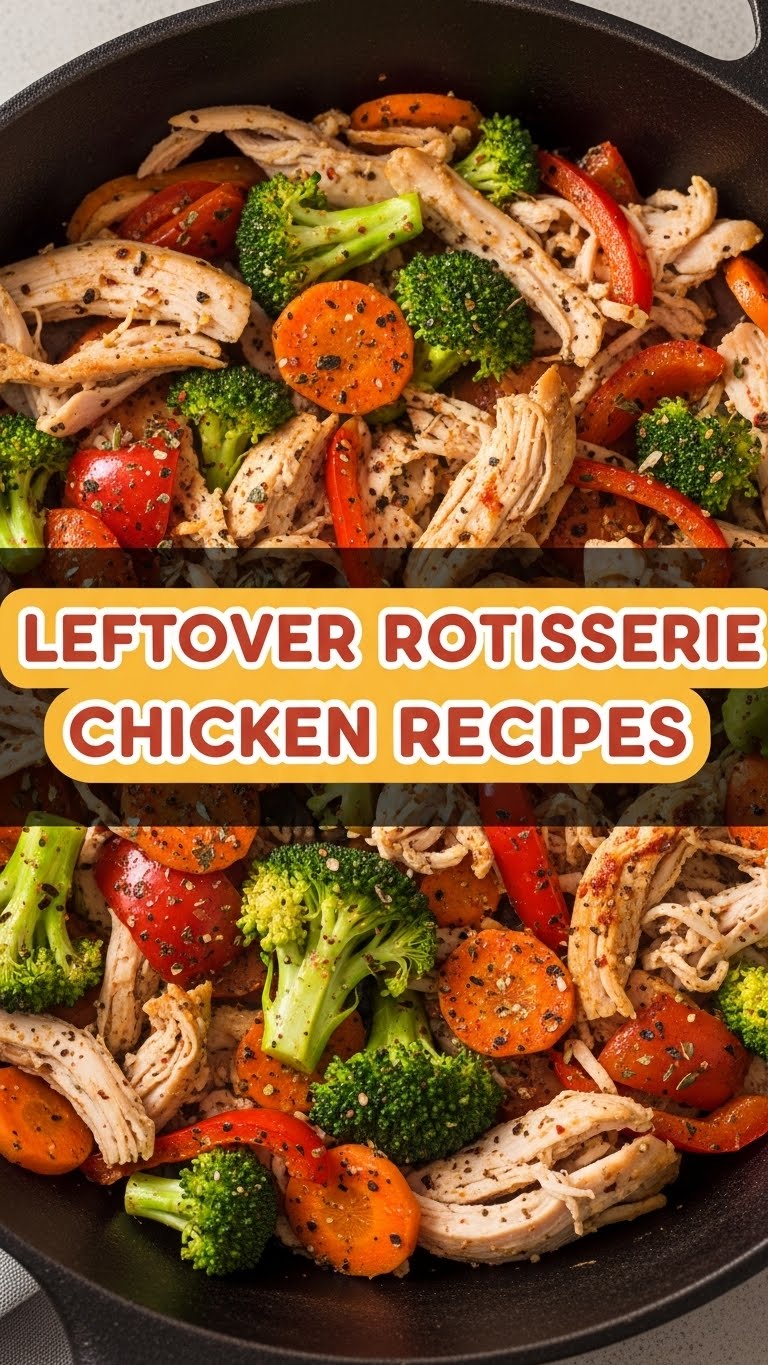
So, Your Rotisserie Chicken Has Seen Better Days, Huh?
So you’ve conquered the grocery store, snagged that glorious rotisserie chicken, and maybe even had a few epic meals from it. But now it’s just… sitting there. Staring at you from the fridge, silently judging your lack of culinary inspiration. Don’t worry, my friend, we’ve all been there. That half-eaten bird is a ticking clock, but also a hidden gem! We’re not letting that deliciousness go to waste. Nope! Today, we’re turning that humble leftover into something *chef’s kiss* without breaking a sweat or even thinking too hard. Think “minimal effort, maximum flavor” – because who has time for complicated, right? IMO, this is peak adulting.
Why This Recipe (Lazy Chicken Fiesta Wraps) Is Awesome
Alright, gather ’round, because this isn’t just a recipe; it’s a lifestyle choice. We’re talking about Lazy Chicken Fiesta Wraps. Why is it awesome? Let me count the ways:
- First, it’s idiot-proof. Seriously, if you can shred chicken and open a jar, you’re practically a Michelin-star chef with this one. Even *I* didn’t mess it up, and my kitchen sometimes looks like a culinary crime scene.
- It’s a masterclass in “use what you got.” Got some random veggies lurking in the crisper drawer? Toss ’em in! Feeling spicy? Add hot sauce! It’s your edible canvas.
- Speed demon status achieved! From fridge to face in about 10-15 minutes. Perfect for those “I’m starving but also too tired to chew” moments.
- It’s endlessly customizable. This isn’t a strict rule-follower recipe; it’s more like a suggestion from a very chill friend.
Ingredients You’ll Need
Here’s your shopping list (which, let’s be real, you probably already have most of):
- Leftover Rotisserie Chicken (about 2-3 cups shredded): The star of our show! Shredded means no bones, no fuss. If you haven’t shredded it yet, now’s your chance.
- Tortillas (flour or corn, your preference): The vehicle for all this goodness. Large ones are great for wrapping, small ones for snack-sized bites.
- Your Favorite Salsa (1/2 cup to 1 cup): Mild, medium, hot, mango salsa… whatever makes your taste buds sing. This is your main flavor driver.
- Cream Cheese or Sour Cream (1/4 cup, optional but highly recommended for creaminess): Because sometimes we need a little indulgence. Or Greek yogurt if you’re feeling virtuous.
- Shredded Cheese (Cheddar, Monterey Jack, Mexican blend – about 1/2 cup): Because cheese makes everything better, it’s science.
- Optional Veggie VIPs (about 1 cup chopped):
- Bell peppers (any color, for crunch and sweetness)
- Red onion (finely diced, for a little zing)
- Corn (canned, frozen, or fresh – sweetness factor)
- Black beans (rinsed and drained, for extra protein and fiber)
- Avocado (sliced or diced, for that creamy, healthy fat)
- Lettuce or spinach (for wrapping or serving on the side)
- Seasonings (to taste): Cumin, chili powder, garlic powder, salt, pepper. Or just a dash of your favorite taco seasoning mix.
Step-by-Step Instructions
Ready? Let’s get cooking (or, you know, assembling).
- Shred That Bird: First things first, if your chicken isn’t already shredded, grab a fork (or your clean hands, no judgment here!) and get to shredding. Remove all bones and skin. We’re aiming for roughly 2-3 cups of delicious, moist chicken.
- Mix It Up, Baby: In a medium bowl, combine your shredded chicken, salsa, cream cheese (if using), shredded cheese, and any of your chosen optional veggies (bell peppers, corn, black beans, etc.). Add a pinch of cumin, chili powder, salt, and pepper.
- Stir It Real Good: Give everything a good stir until it’s all combined and looking like a flavor explosion waiting to happen. Taste it! Does it need more salt? More spice? More salsa? Adjust to your heart’s content. This is *your* fiesta.
- Warm the Tortillas (Optional but Recommended): Pop your tortillas into the microwave for 15-20 seconds or a dry pan for 30 seconds per side. This makes them pliable and less likely to crack when you roll ’em up. Trust me on this, it’s a game-changer.
- Assemble Your Masterpiece: Lay a warm tortilla flat. Spoon a generous amount of your chicken mixture down the center. Don’t overfill, unless you enjoy cleaning up exploding wrap fillings (some people do, I guess).
- Roll ‘Em Up: Fold in the sides of the tortilla, then roll it up tightly from the bottom. If you’re fancy, you can grill or pan-fry your finished wrap for a minute or two on each side for a crispy exterior. This adds a fantastic texture!
- Serve and Devour: Slice your wrap in half (or don’t, I’m not the boss of you). Serve immediately with extra salsa, a dollop of sour cream, or some fresh avocado slices. Enjoy your quick, delicious triumph!
Common Mistakes to Avoid
We’ve all been there. Let me save you some minor culinary embarrassments.
- Overfilling the Tortilla: Rookie mistake! You’ll end up with a messy explosion, not a beautiful wrap. Less is more when it comes to rolling.
- Not Warming Your Tortillas: Cold tortillas are stiff tortillas. Stiff tortillas tear. Torn tortillas lead to sad faces. Just zap ’em!
- Being Afraid to Season: Your leftover chicken needs a little love. Don’t just rely on the salsa; a pinch of chili powder or garlic powder can elevate everything.
- Forgetting the Creamy Element: While optional, cream cheese or sour cream really binds the mixture and adds a delightful richness. Don’t skip it unless you absolutely have to!
- Thinking You Need a Recipe for Everything: This whole article is about embracing the *spirit* of cooking. Don’t get hung up on exact measurements. Cook with your gut!
Alternatives & Substitutions
This recipe is basically a chameleon. Here are some ways to switch things up:
- Not feeling tortillas? Serve the chicken mixture in lettuce cups for a low-carb option, or stuff it into a pita bread. It’s also fantastic as a topping for a baked potato or over rice.
- No salsa? Try BBQ sauce for a smoky twist (then add a splash of apple cider vinegar for tang!), or mix with some mayo and a squirt of Sriracha for a spicy chicken salad vibe.
- Missing the cheese? Nutritional yeast can give a cheesy flavor, or just embrace the dairy-free life. Cashew cream is also an option if you’re fancy.
- Want more veggies? Grated carrots, chopped celery, or even some leftover roasted veggies (broccoli, zucchini) can be tossed in. The more the merrier!
- Spice it up! A dash of cayenne pepper, a few drops of your favorite hot sauce, or finely diced jalapeños (seeds removed if you’re a wimp like me).
FAQ (Frequently Asked Questions)
Got questions? I’ve got answers (and opinions).
- Can I make this ahead of time? Absolutely! Mix the chicken filling and store it in an airtight container in the fridge for up to 3 days. Assemble the wraps just before serving to prevent soggy tortillas.
- Is it good cold? Oh, honey, it’s *fantastic* cold! It’s basically a glorified chicken salad at that point. Perfect for lunchboxes or a quick snack.
- What if I don’t have fresh veggies? Canned corn, black beans, or frozen peas work perfectly. Don’t let a lack of fresh produce stop your fiesta!
- Can I freeze the chicken mixture? Hmm, I wouldn’t recommend it. The texture of the cream cheese and veggies might get a little weird once thawed. Best enjoyed fresh or within a few days from the fridge.
- How long does leftover rotisserie chicken last in the fridge? Generally, about 3-4 days. FYI, if your chicken has been chilling for longer than that, maybe toss it and grab a fresh one. Food safety first, friends!
- Is this recipe healthy? Well, that depends on your definition! You control the ingredients. Load it with veggies, go easy on the cheese, opt for Greek yogurt instead of sour cream, and use whole wheat tortillas, and it can be a pretty balanced meal. Or load it up and enjoy the indulgence – you deserve it!
Final Thoughts
And there you have it, folks! From a slightly sad, lonely rotisserie chicken to a vibrant, delicious meal in mere minutes. You’ve not only saved money and prevented food waste, but you’ve also proven that culinary genius doesn’t require hours in the kitchen or a gazillion fancy ingredients. Now go impress someone—or yourself—with your new culinary skills. You’ve earned it! Seriously, go make these. Your taste buds (and your busy schedule) will thank you. Happy eating!


