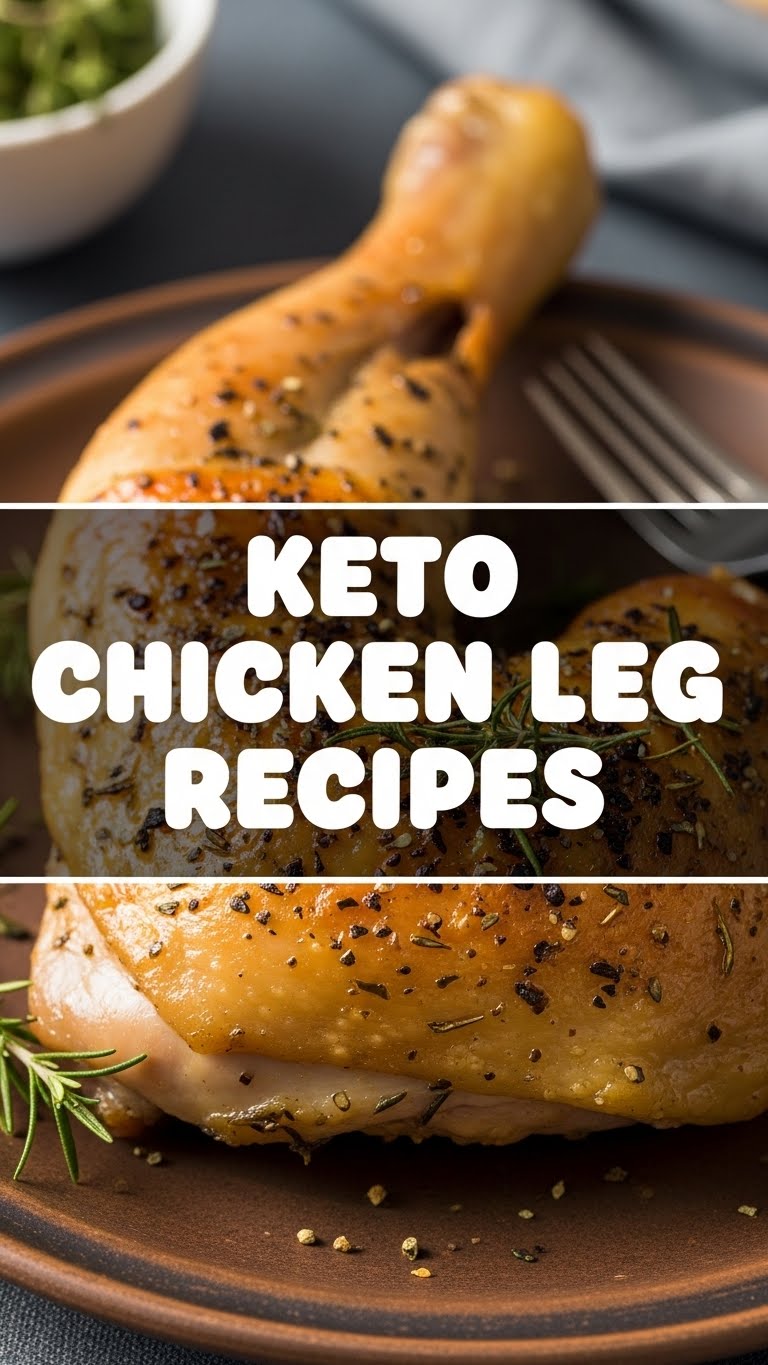
So, you’re craving something ridiculously tasty but also kinda want to pretend you don’t have to put in *any* effort? And it needs to be keto? My friend, you’ve come to the right place. We’re about to dive into the glorious world of Keto Chicken Legs – because who has time for dry, sad chicken breast, honestly?
Why This Recipe is Awesome
Okay, let’s be real. This isn’t just “awesome”; it’s a kitchen wizardry trick. First off, chicken legs are cheap. Like, ridiculously cheap. Second, they’re packed with flavor and fat (hello, keto goals!), so you won’t end up with that dry, chalky chicken situation we all dread. This recipe is practically idiot-proof. Seriously, if I can make it without setting off the smoke detector, you’re golden. Plus, it’s a one-pan wonder, meaning fewer dishes. And isn’t that the real win?
Ingredients You’ll Need
- 6-8 Chicken Legs or Thighs (bone-in, skin-on): Because we’re not shy about flavor or fat. These are the stars, obvs.
- 2 tbsp Olive Oil or Avocado Oil: Just enough to get things crispy and happy.
- 1 tbsp Smoked Paprika: This isn’t just for color; it’s for giving your taste buds a little smoky hug. Don’t skip it!
- 1 tsp Garlic Powder: Because everything is better with garlic. Duh.
- 1/2 tsp Onion Powder: A secret weapon for depth of flavor.
- 1/2 tsp Dried Thyme: Adds a little herby sophistication.
- Salt and Black Pepper to taste: The basics, but oh-so-important. Don’t be afraid to season generously.
- Optional: A sprinkle of Red Pepper Flakes: For a little kick if you’re feeling spicy.
- Optional: 1 Lemon, sliced: For a zesty finish that brightens everything up.
Step-by-Step Instructions
- First things first, preheat that oven, champ! Get it to a toasty 400°F (200°C). While it’s heating up, grab a large baking sheet and maybe line it with parchment paper for easier cleanup. You’ll thank me later.
- Pat those chicken legs super dry with paper towels. This is a crucial step! Dry skin equals crispy skin, and trust me, you want crispy skin.
- In a medium bowl, drizzle the chicken with olive oil. Now, sprinkle on the smoked paprika, garlic powder, onion powder, dried thyme, salt, and pepper. If you’re using red pepper flakes, toss ’em in too.
- Get in there with your hands and really massage that seasoning into every nook and cranny of the chicken. Make sure they’re fully coated. This is where the flavor magic happens!
- Arrange the seasoned chicken legs on your prepared baking sheet in a single layer. Give them some personal space; overcrowding is a no-go for crispy results. If you’re using lemon slices, tuck them around the chicken.
- Roast for about 35-45 minutes, or until the internal temperature reaches 165°F (74°C) and the skin is beautifully golden brown and crispy.
- If you want extra crispy skin (and who doesn’t?), crank up the oven to broil for the last 2-3 minutes. Keep a close eye on it though, because things can go from crispy to charcoal real fast!
- Remove from the oven, let them rest for a few minutes. Then, dig in!
Common Mistakes to Avoid
- Not Preheating the Oven: Rookie move! You need that oven hot from the get-go for a nice sear and even cooking. Patience, young grasshopper.
- Wet Chicken Skin: We talked about this! If the skin isn’t dry, it steams instead of crisps. And nobody wants flabby chicken skin.
- Overcrowding the Pan: This is like trying to fit too many people in a tiny elevator – it just doesn’t work well. Give your chicken room to breathe and crisp up. Use two pans if you have to!
- Under-seasoning: Bland chicken is a tragedy. Don’t be shy with the salt, pepper, and spices. Taste your food, people!
- Not Letting it Rest: Yes, you’re hungry, but give the chicken a few minutes after it comes out of the oven. It helps the juices redistribute, ensuring every bite is juicy and delicious.
Alternatives & Substitutions
Feeling adventurous? Or maybe you just ran out of something. No worries!
- Different Herbs: Instead of thyme, try dried oregano, rosemary, or a mix of Italian herbs. They all play nicely with chicken.
- Spice Blend Swaps: Don’t have smoked paprika? Regular paprika works, or go for a chili powder blend. Want more heat? Add a pinch of cayenne. Your kitchen, your rules!
- Oil Choices: Coconut oil or even melted butter can stand in for olive or avocado oil. Just remember butter can brown a bit quicker.
- Veggie Boost: Want a complete meal? Toss some broccoli florets, asparagus spears, or bell pepper chunks onto the same pan for the last 15-20 minutes of cooking. Instant side dish!
FAQ (Frequently Asked Questions)
- Can I use boneless, skinless chicken thighs instead? Well, technically yes, but why hurt your soul like that? The bone and skin add so much flavor and moisture. If you absolutely must, reduce cooking time and keep an eye on the temp.
- How do I know when the chicken is cooked through? The easiest way is with an instant-read thermometer. Stick it into the thickest part of the thigh (avoiding the bone). It should read 165°F (74°C).
- Can I marinate the chicken beforehand? Absolutely! For even deeper flavor, mix all the seasonings and oil, coat the chicken, and let it hang out in the fridge for 30 minutes to a few hours. (FYI: A little extra planning goes a long way here!)
- What’s a good side dish for this? Roasted asparagus, steamed green beans with butter, a simple side salad, or some cauliflower mash are all fantastic keto-friendly options.
- Can I make a bigger batch? You bet! Just ensure you don’t overcrowd the baking sheets. Use multiple if needed. This recipe scales up beautifully for meal prep or feeding a crowd.
Final Thoughts
See? I told you this was easy. Now you’ve got a ridiculously flavorful, satisfying keto meal that looks like you put in way more effort than you actually did. Go ahead, pat yourself on the back. You deserve it. Now go impress someone—or just yourself—with your newfound culinary superpower. You’ve earned it!


